Undertaking a bathroom remodel can be an exciting yet challenging journey, especially when it comes to designing a space that combines both style and function. Recently, we had the privilege of working on a beautiful shower remodel—a space that needed to be not only visually appealing but also safe and accessible. Here’s the story of this transformation from demolition to the final touches.
Step 1: Demolition and Prep Work
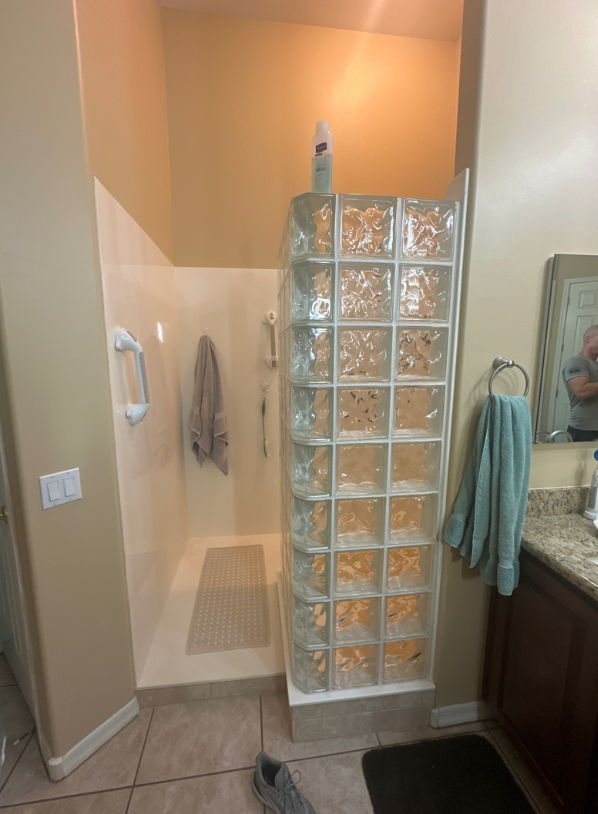
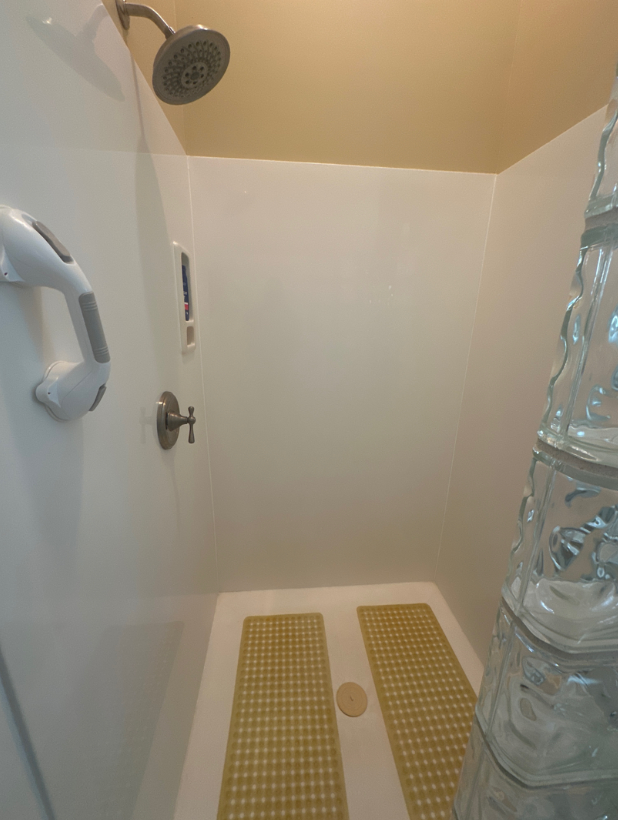
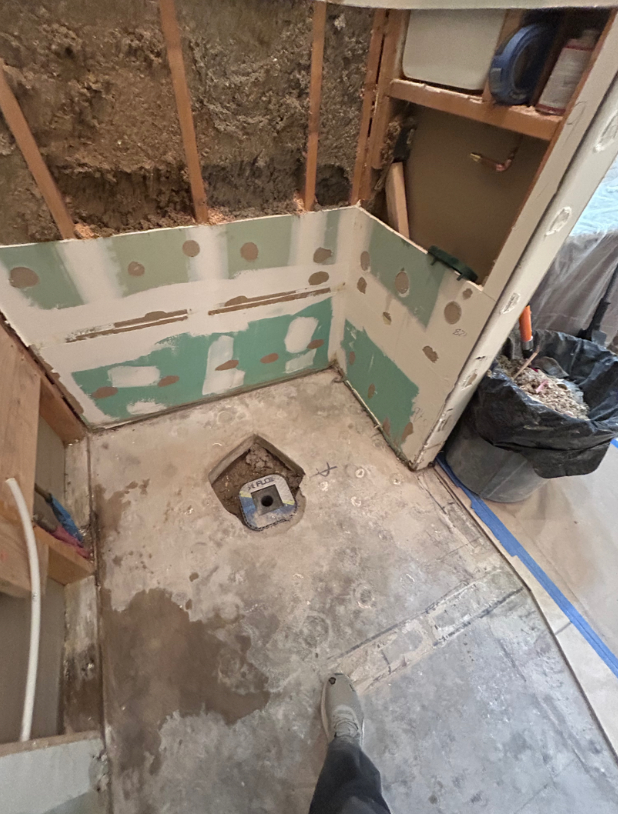
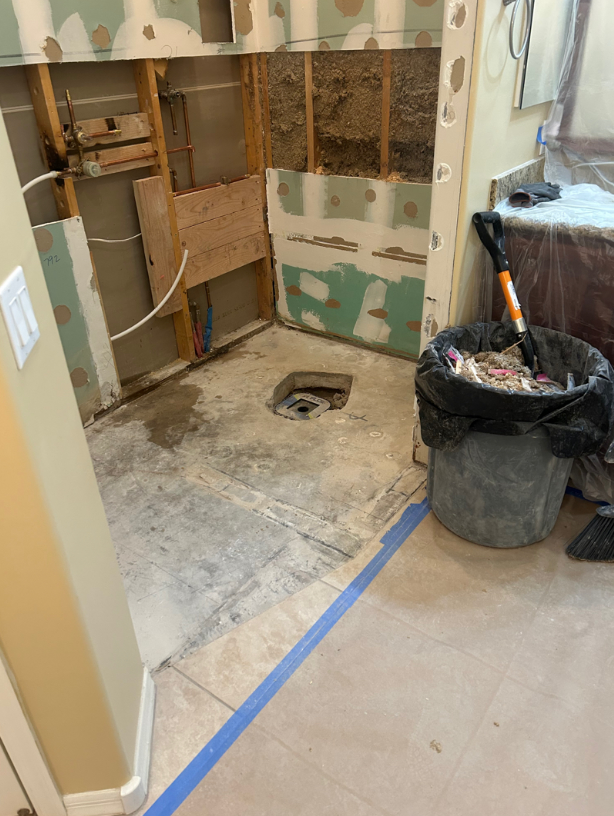
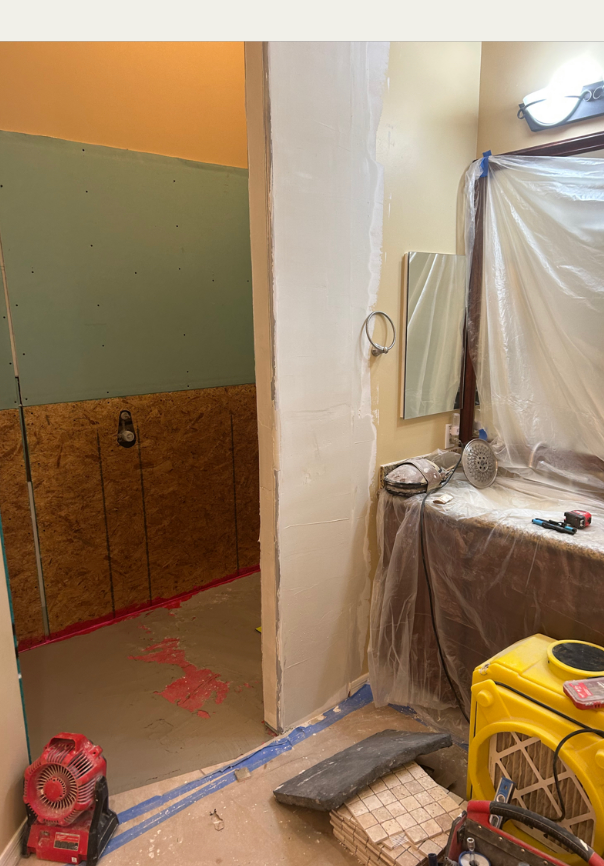
The journey began with the careful demolition of the existing shower. We removed the shower pan, surround, valve, and glass, hauling away all the debris to create a clean slate for the new design. As part of this process, we took extra steps to prepare for a barrier-free shower. This meant removing the concrete beneath the shower to ensure a level surface for the custom-built shower pan, which is a key feature of the new design.
To ensure minimal disruption to the home, we used a HEPA dust collection system. This system helped to control dust and kept the home as clean as possible during the demolition and installation phases.
Step 2: Creating a Barrier-Free Shower
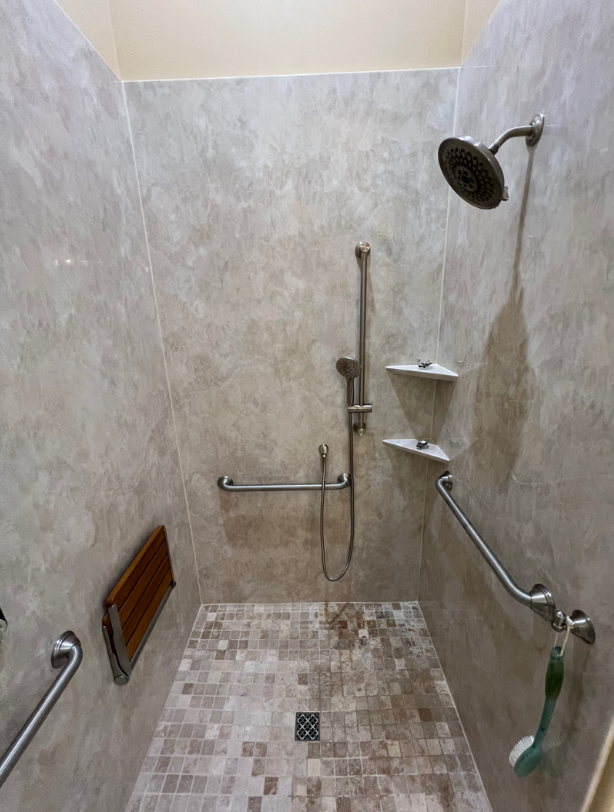
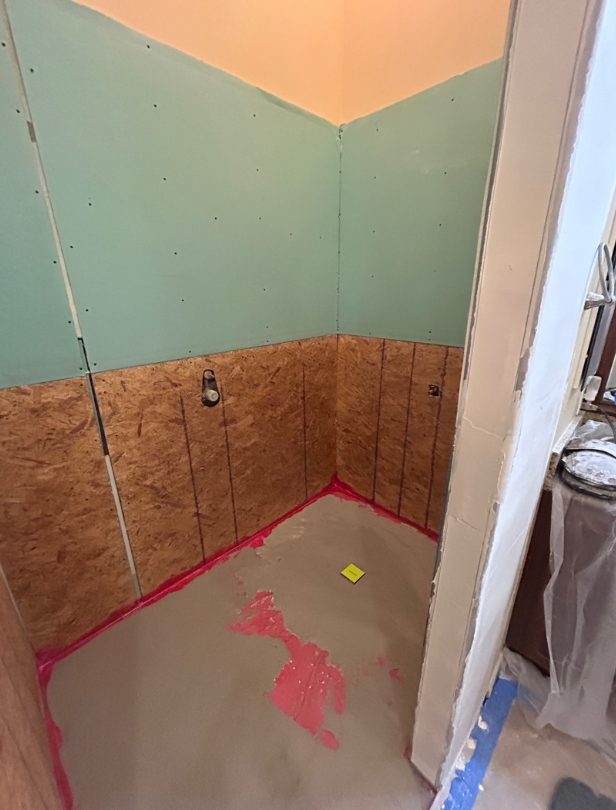
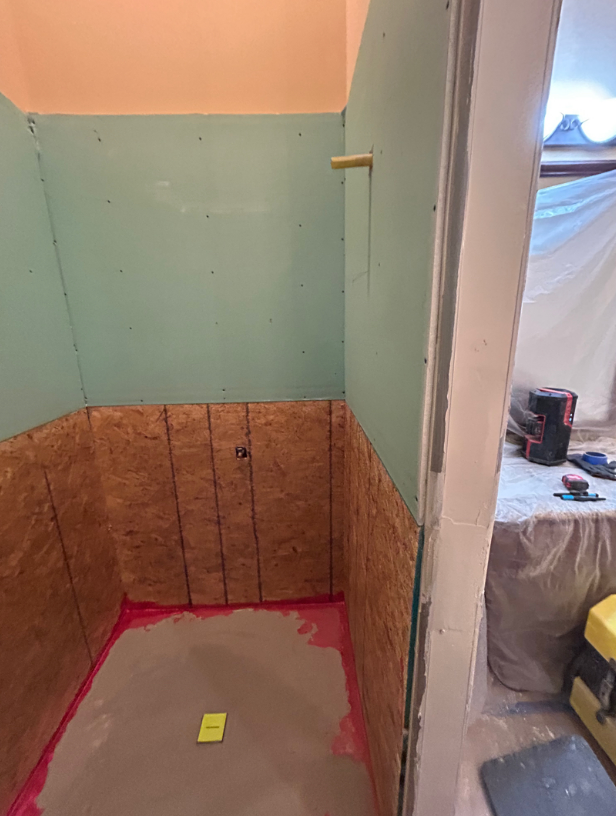
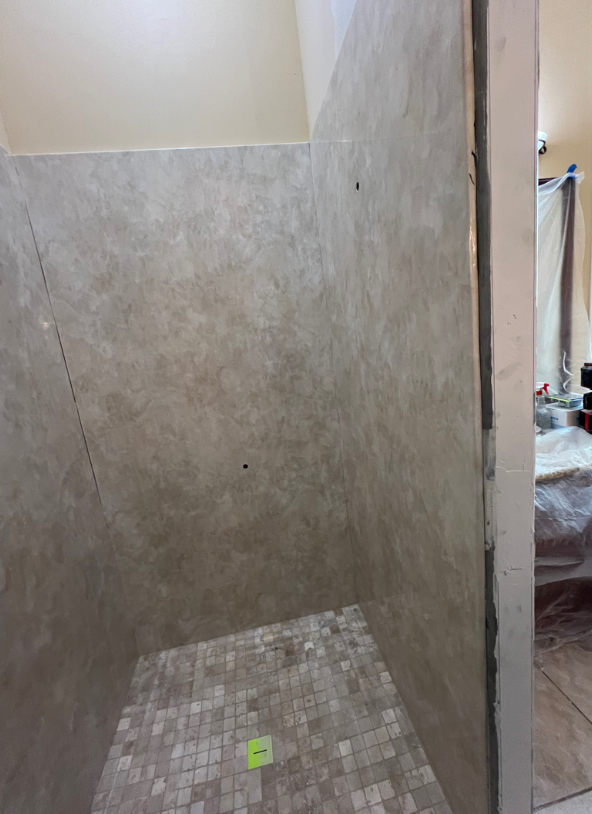
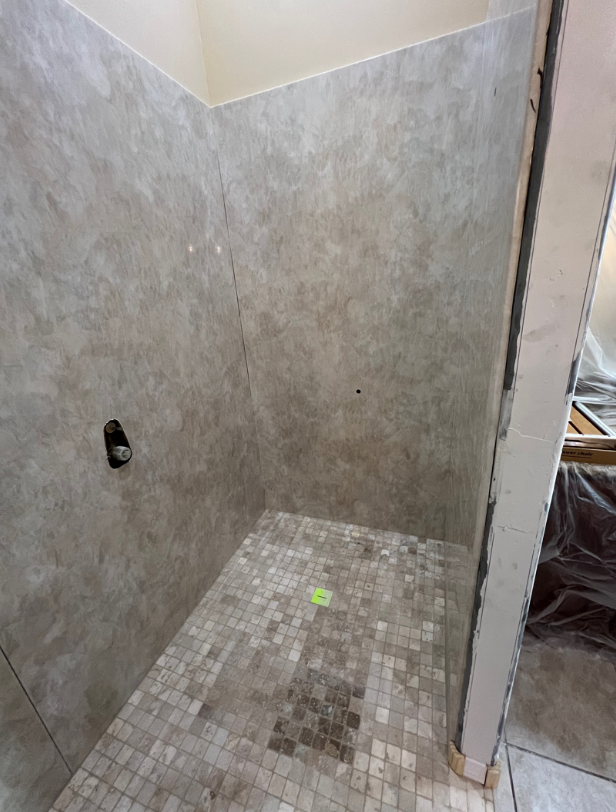
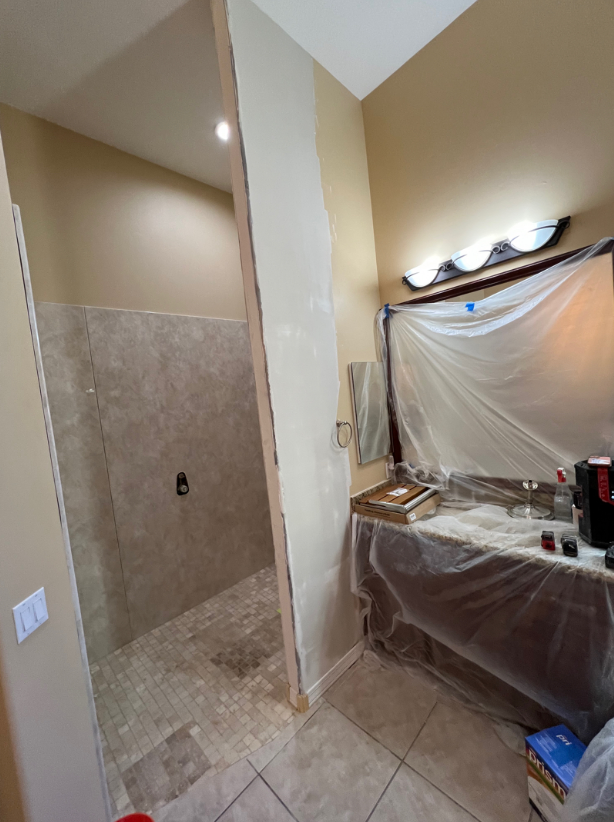
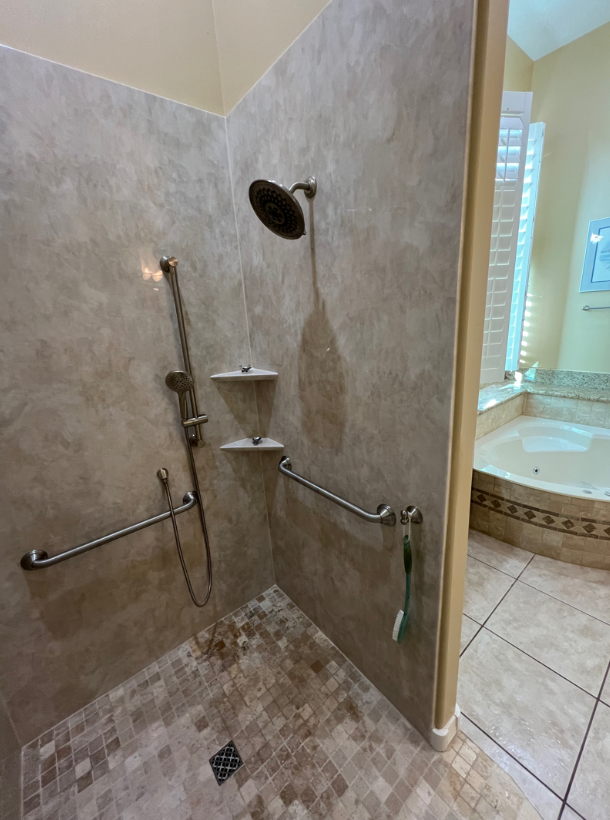
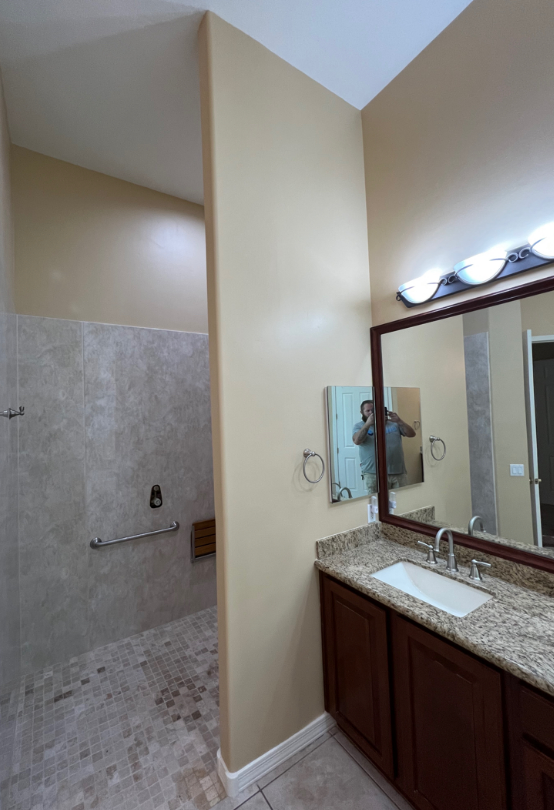
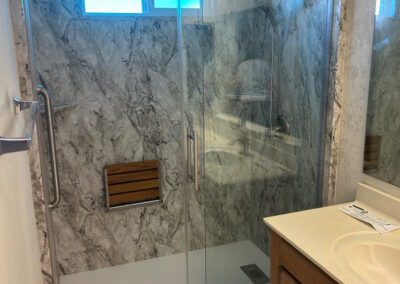
With the demolition complete, we moved on to constructing a custom acrylic shower with a tile floor. The focal point of this new shower is a barrier-free design, which eliminates the need for a shower curb and allows for easy access. We built the shower pan to accommodate this design and lined it with slip-resistant mosaic tiles in a 2” square travertine pattern for a timeless look. The walls were prepped with green board and finished with solid-surface acrylic in a complementary travertine color, extending up to 80″ high. The final touch was sealing the tile to ensure it remained water-resistant and easy to maintain.
Step 3: Upgrading the Shower Valve and Fixtures
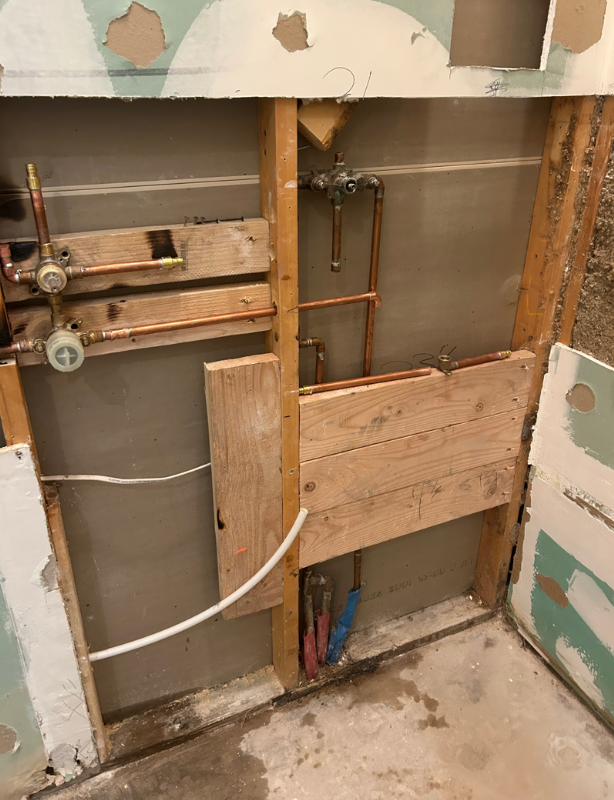
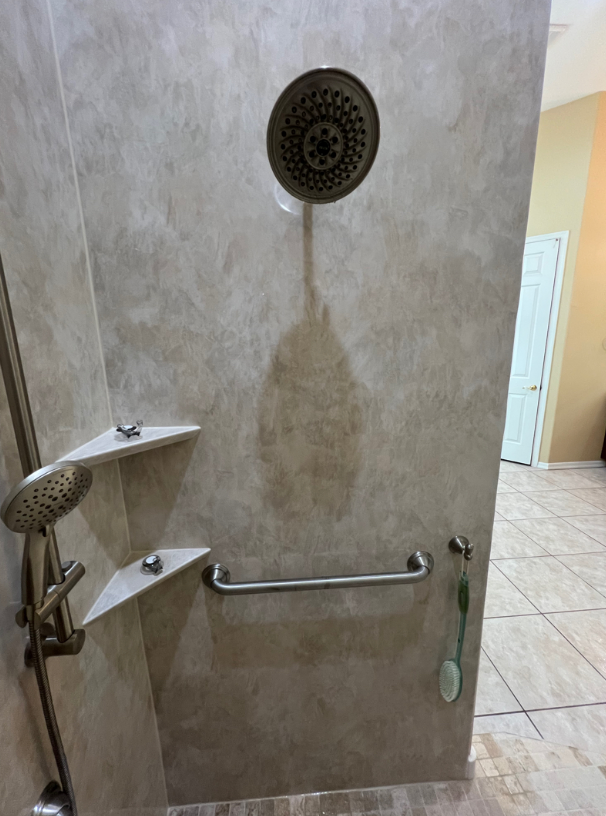
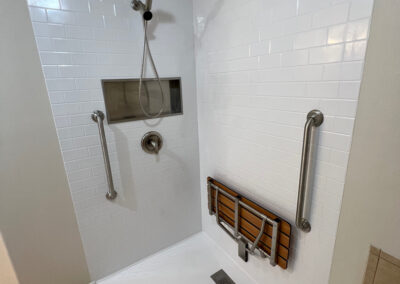
A significant upgrade in this remodel was the installation of a Moen dual-control Posi-Temp valve. This high-quality fixture allows for precise temperature and pressure control, enhancing the overall shower experience. We moved the shower head and valve to the right wall to optimize the space and ensure easy accessibility. The existing shower head was kept, paired with a handy handheld wand mounted on a slide bar for flexibility.
Step 4: Enhancing Safety and Comfort with Grab Bars
Safety was a top priority in this remodel, and we made sure the new shower was equipped with the necessary supports. We installed a Moen Designer Series 24” brushed nickel grab bar with an ADA-compliant mounting system. To ensure the bar was secure, we added backing behind the walls to provide solid support. The grab bar is an essential feature for both comfort and security, especially in a shower where stability is important.
Step 5: Additional Touches for Function and Style
To further enhance the design, we framed the shower wall to the ceiling and added rounded corners, creating a smooth, flowing look. The opening for the shower entry was designed to allow for 32–36 inches of space, based on preferences, offering easy access without compromising on style.
We also added a teak folding shower seat, which provides both practicality and a luxurious touch. Installed with a 2×6 backing for stability, the floating seat is perfect for relaxation during a shower or for added comfort when needed.
To tie everything together, we performed paint and drywall repairs to ensure the space looked pristine. The matching paint was supplied by the customer, and we took care of the rest.
Step 6: Adding Practical Features
In addition to the main components of the remodel, we included a few practical touches. A travertine corner shelf was installed at the desired location in the shower, providing a convenient spot for shampoo, soap, or other shower essentials. We also installed three LED can lights to illuminate the bathroom, ensuring it remained bright and welcoming.
Step 7: The Finishing Details
Throughout the project, we focused on delivering quality and efficiency. Ordering materials took about 2–3 weeks, and once everything was in place, installation took 5–6 days. We ensured the process was smooth and minimal in terms of inconvenience, scheduling work only after the necessary materials had arrived in our warehouse. This ensured that the project could be completed in a timely manner, with all details meticulously executed.
By the end of the remodel, the new shower was not only stylish and luxurious but also safe and functional, with every detail thoughtfully considered. From the custom barrier-free design to the high-quality fixtures and safety features, the remodel transformed the space into a modern, accessible bathroom that is both beautiful and practical.
This remodel is a perfect example of how a well-designed space can enhance everyday life, offering comfort, security, and a touch of elegance.

