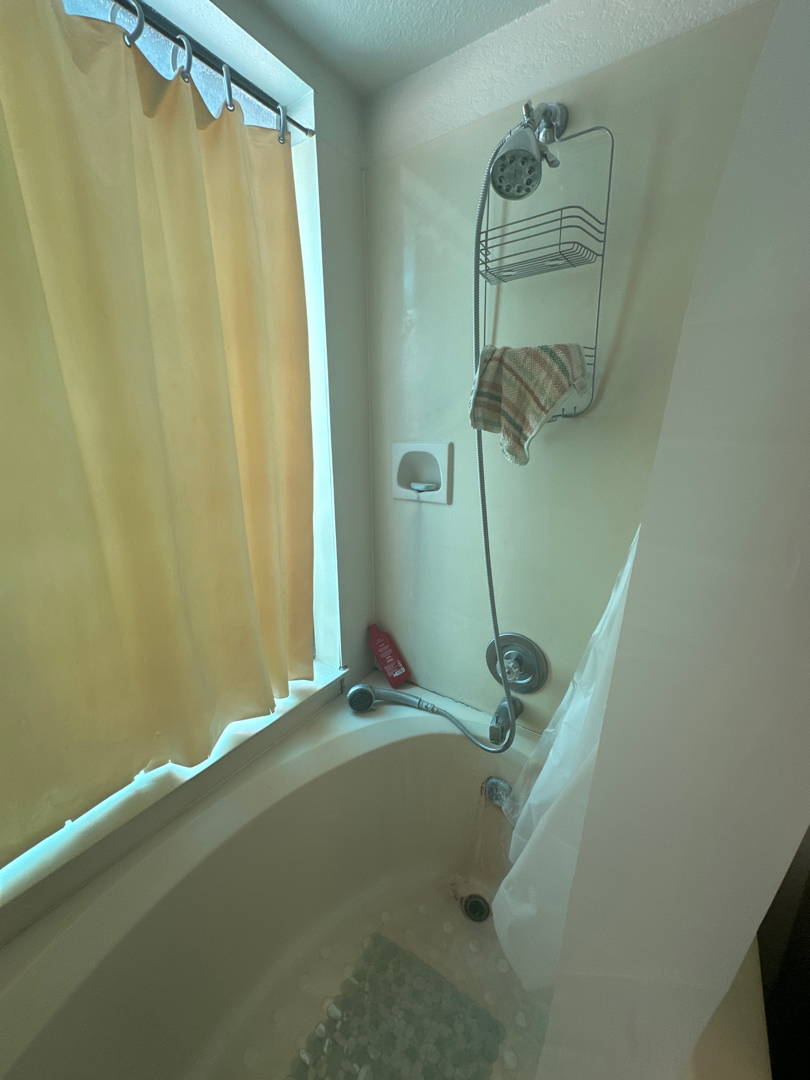
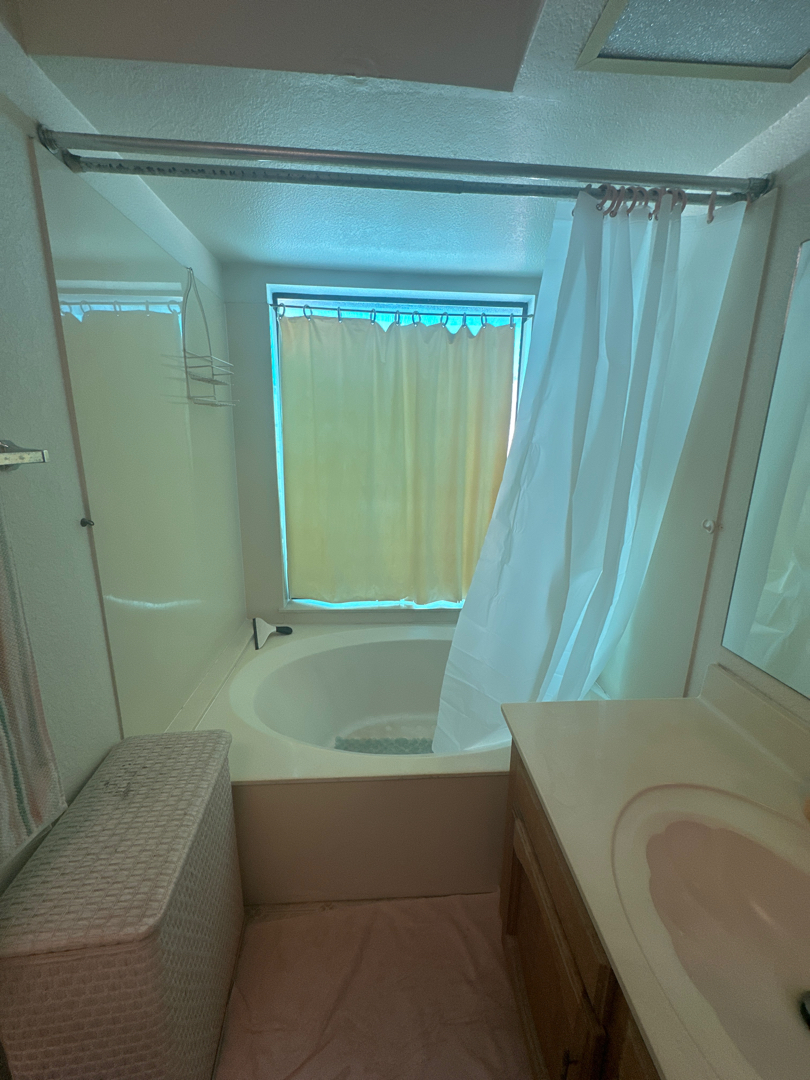
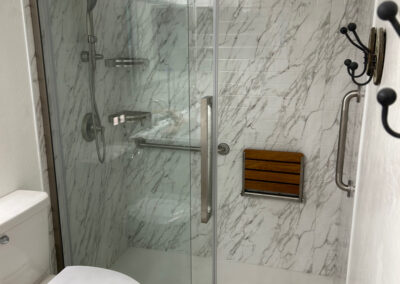
Are you dreaming of a bathroom transformation that blends style, comfort, and functionality? Whether you’re looking for a modern update or need to make your space more accessible, a bathroom remodel can make all the difference. In this guide, we’ll walk you through the entire process—from demolition to the final touches—so you know exactly what to expect. Let’s get started on creating a bathroom you’ll love!
Step 1: Demolition & Prep
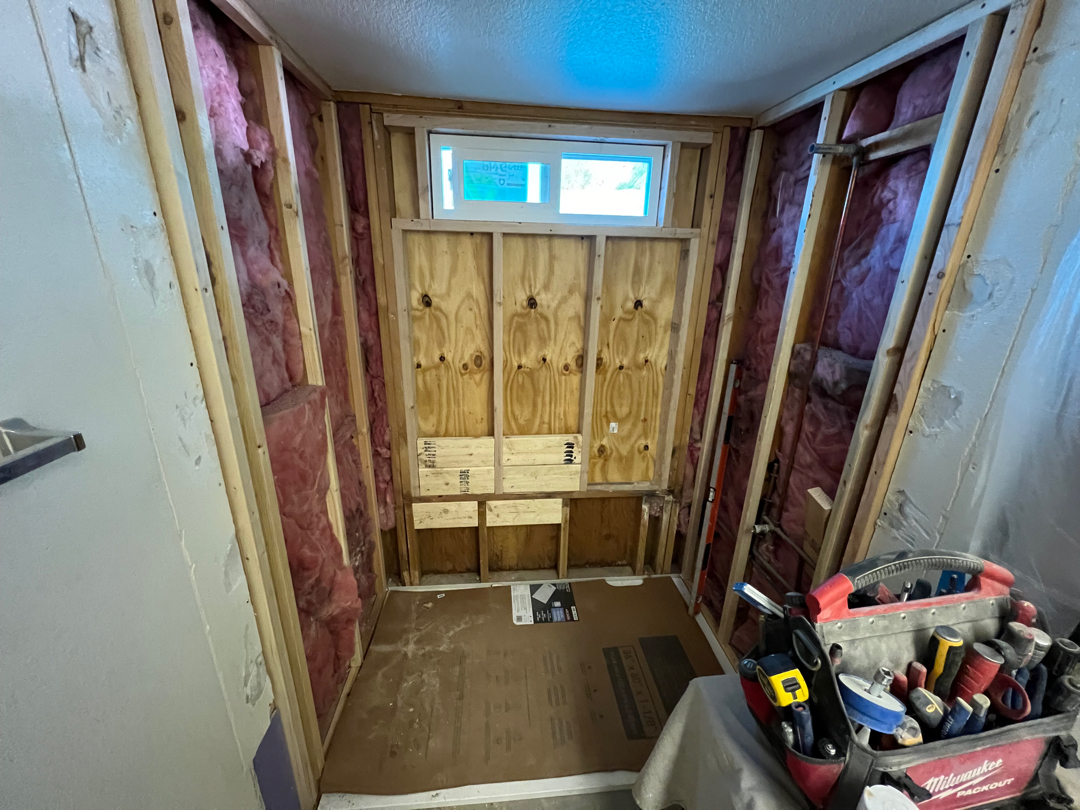
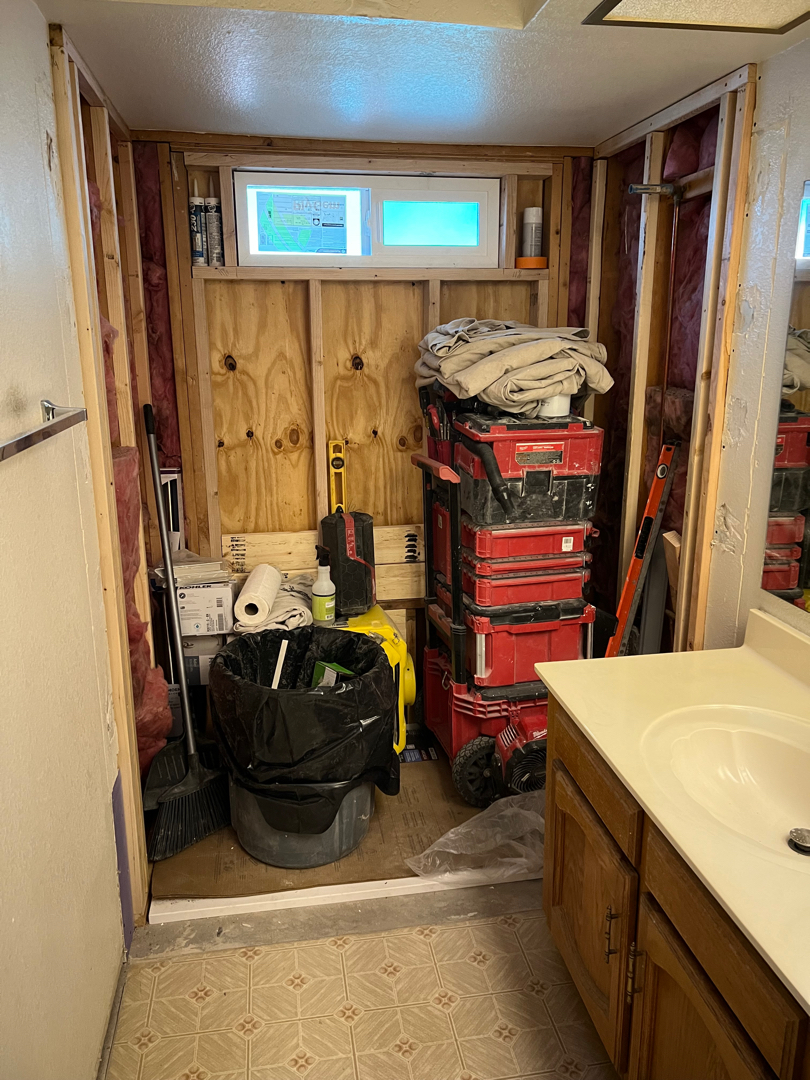
First things first—demolition. We’ll carefully remove the old tub, shower surround, valve, and glass, hauling away all the debris. To keep things clean, we use a HEPA dust collection system, minimizing the mess in your home as we work. After clearing the space, we’re ready to start building your new bathroom.
Step 2: Installing the New Acrylic Barrier-Free Shower
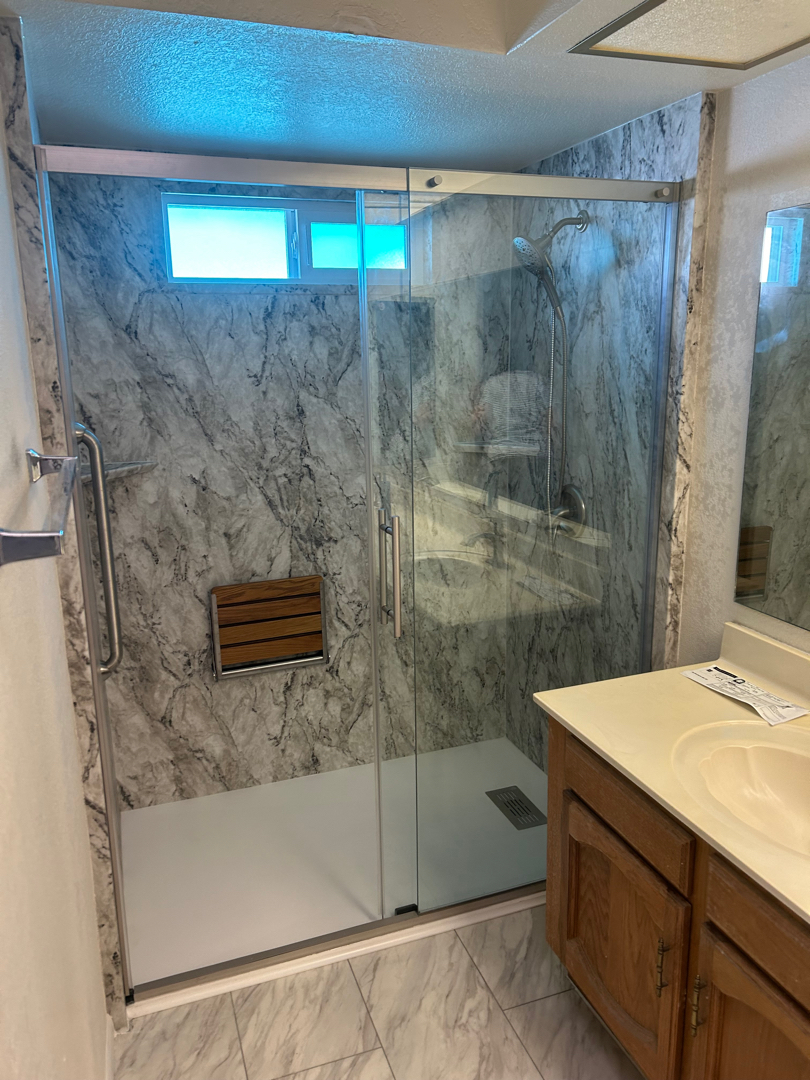
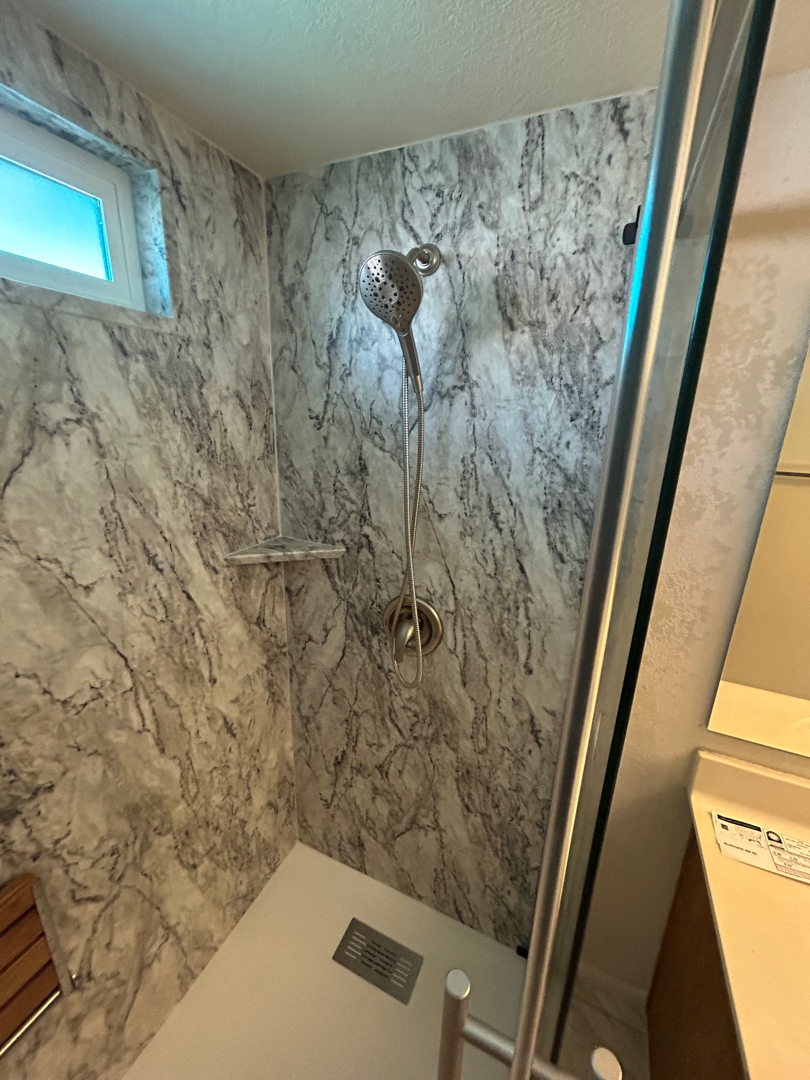
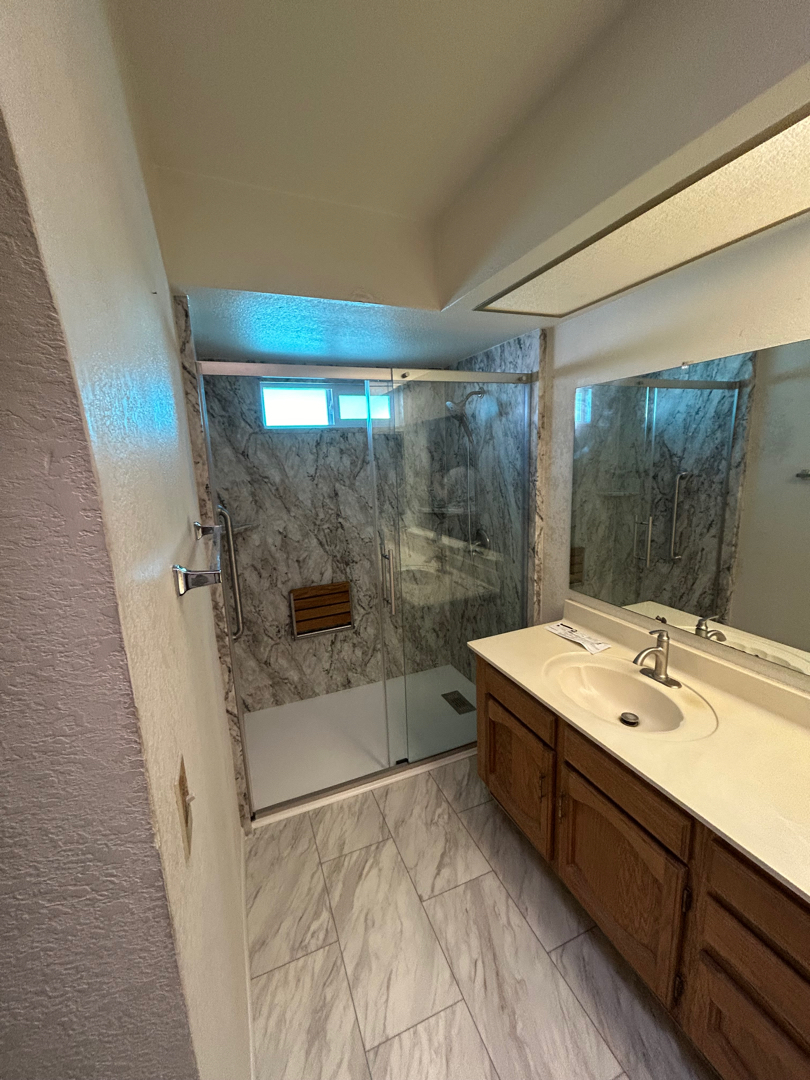
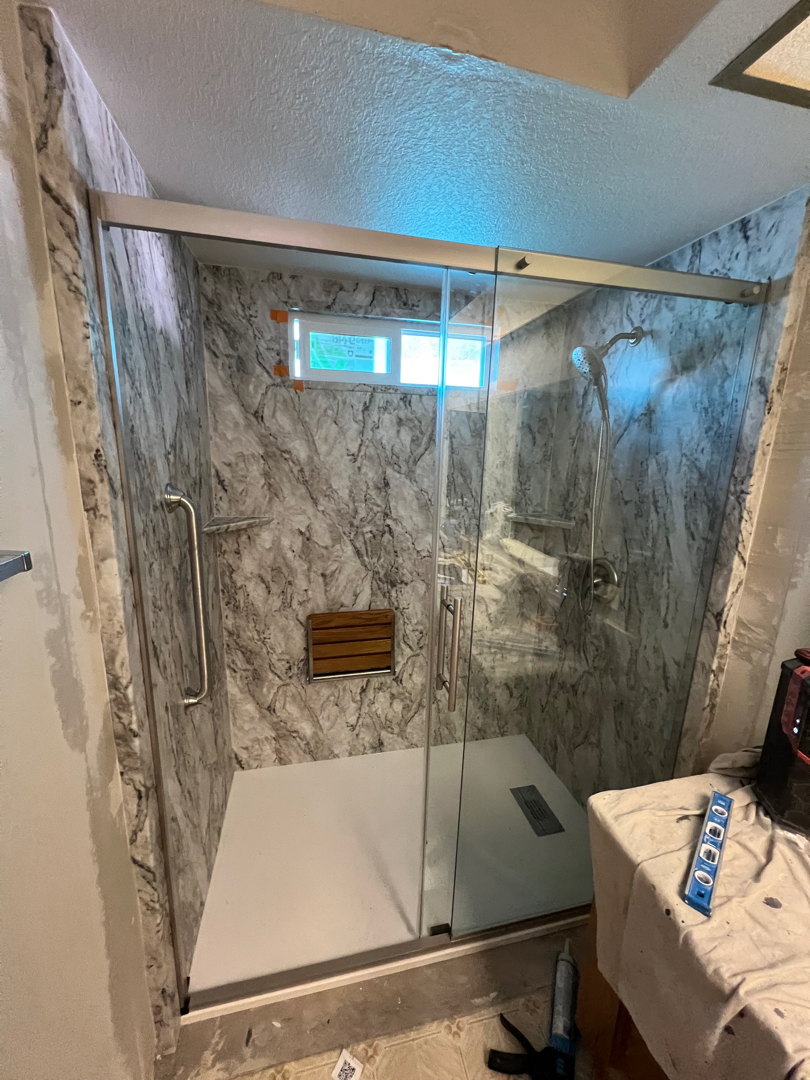
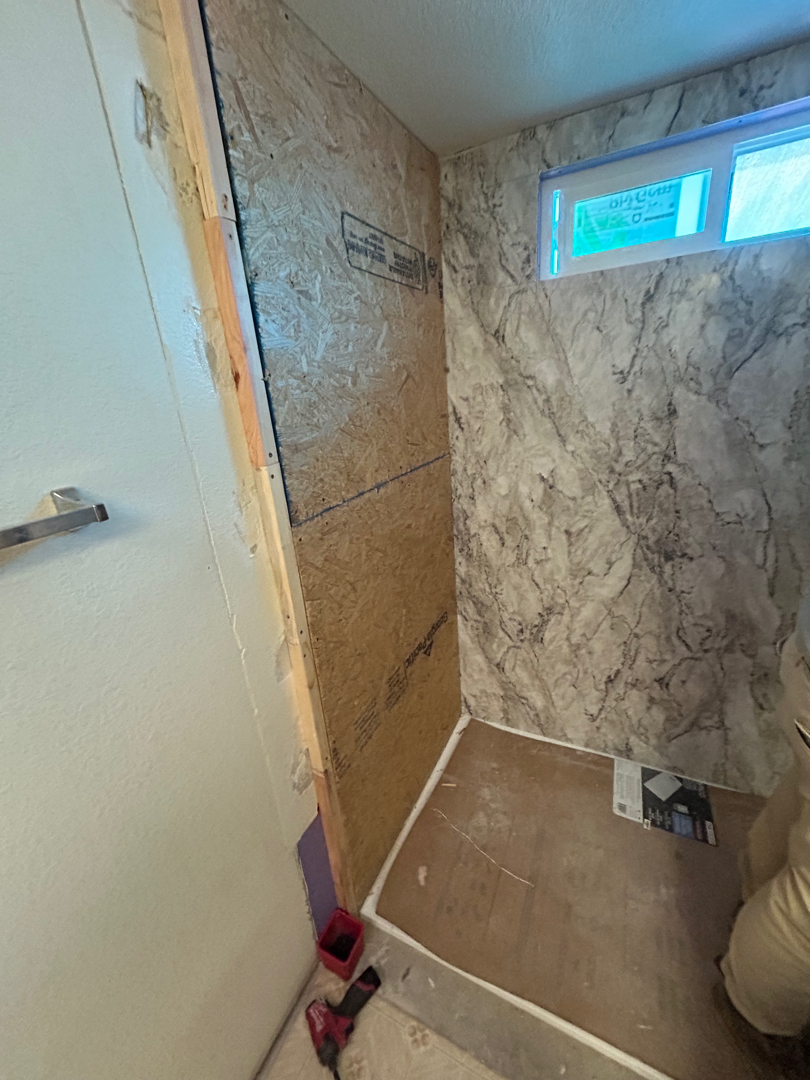
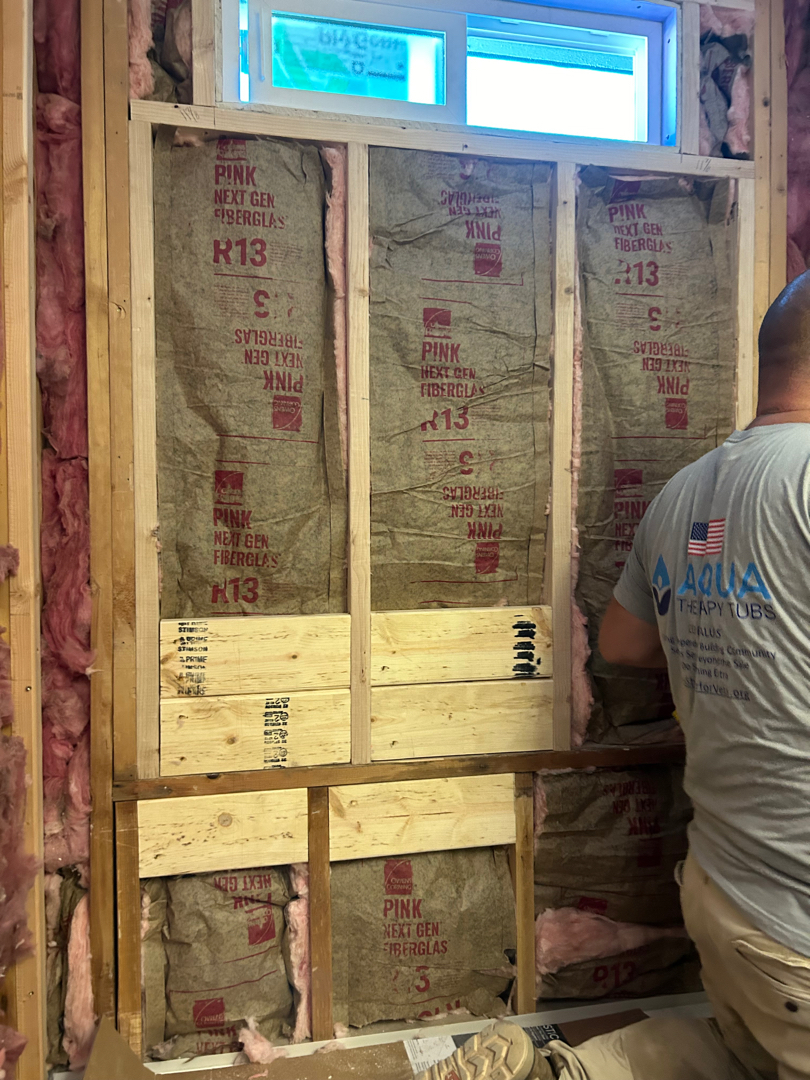
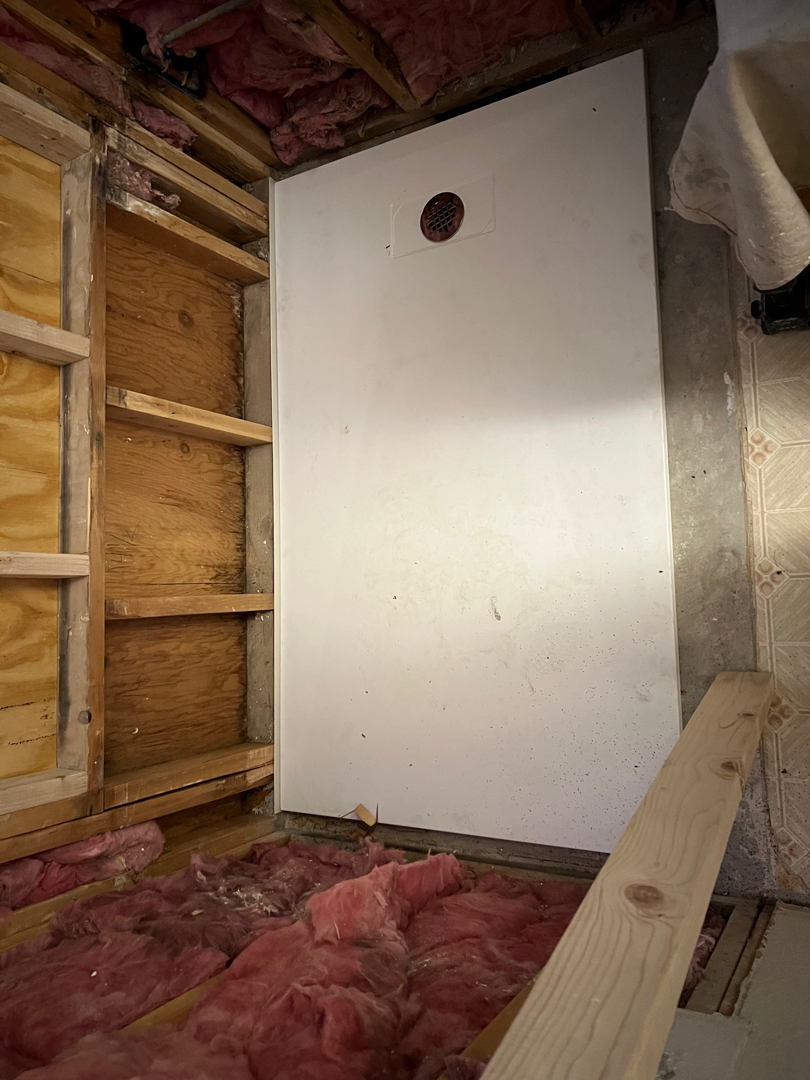
We start the renovation by prepping the walls with moisture-resistant greenboard and installing backing for grab bars. Next, we install a 36 x 60 composite stone acrylic barrier-free, slip-resistant shower pan. We also move the drain to fit the new setup. Finally, we add a 3-wall acrylic surround in Lightning color and seal all the joints, ensuring everything is durable and watertight.
Step 3: Moen Shower Valve & Fixtures
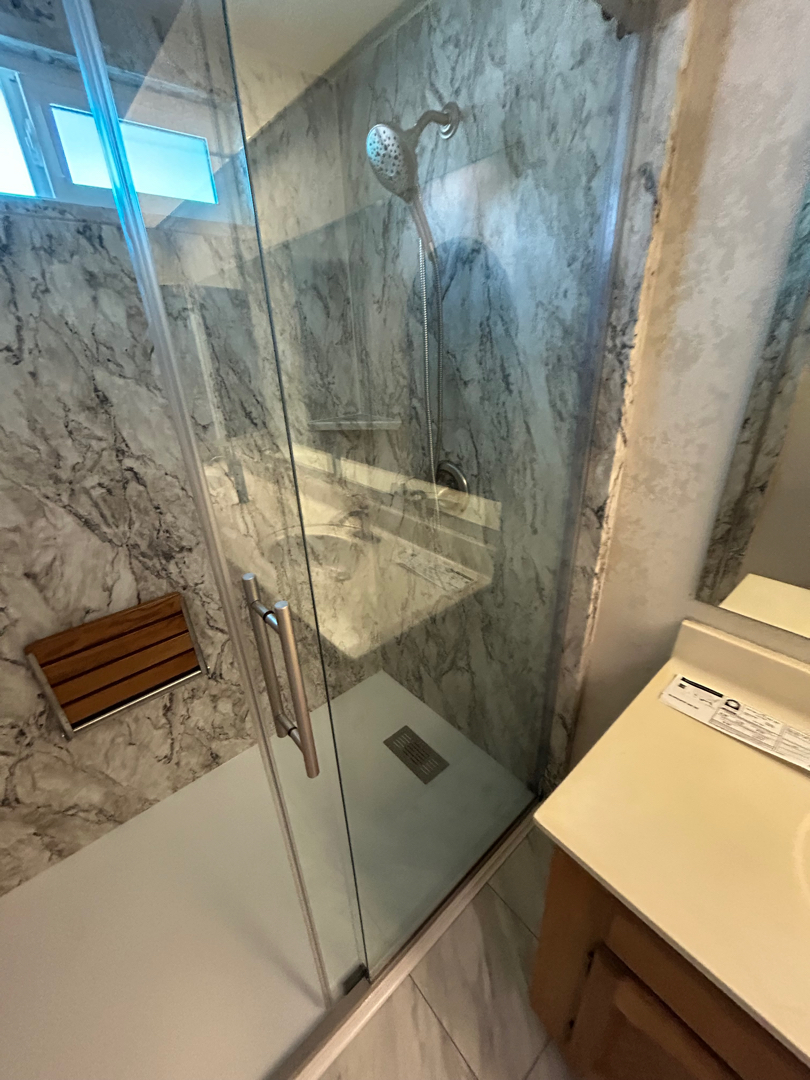
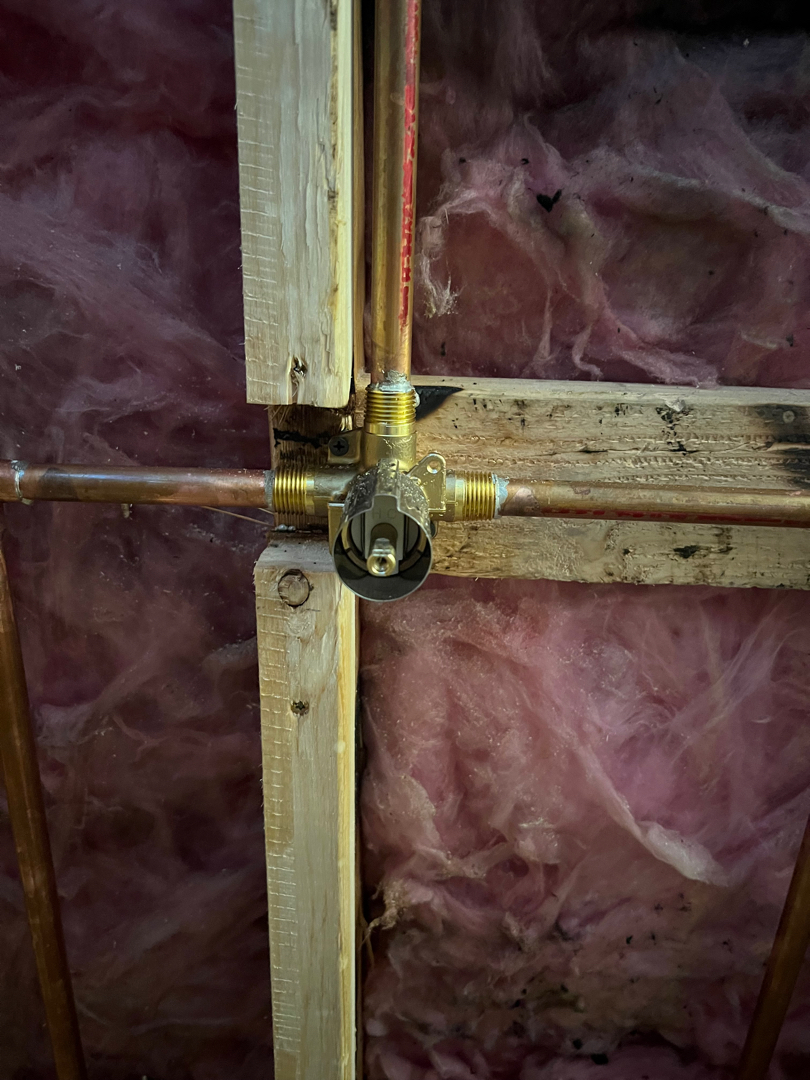
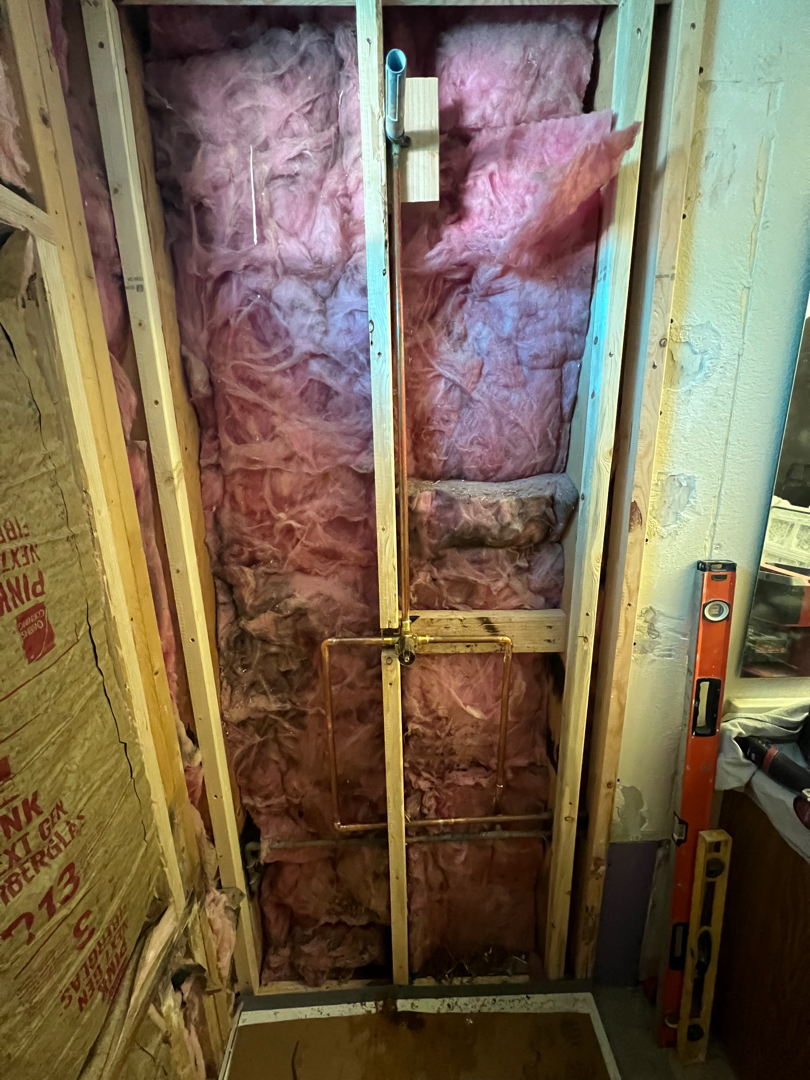
To enhance your shower experience, we install a Moen Adler posi-temp shower valve, along with a new showerhead and handheld wand in brushed nickel. These fixtures offer both style and practicality, ensuring your shower works flawlessly for years to come.
Step 4: Safety First with a Moen Grab Bar
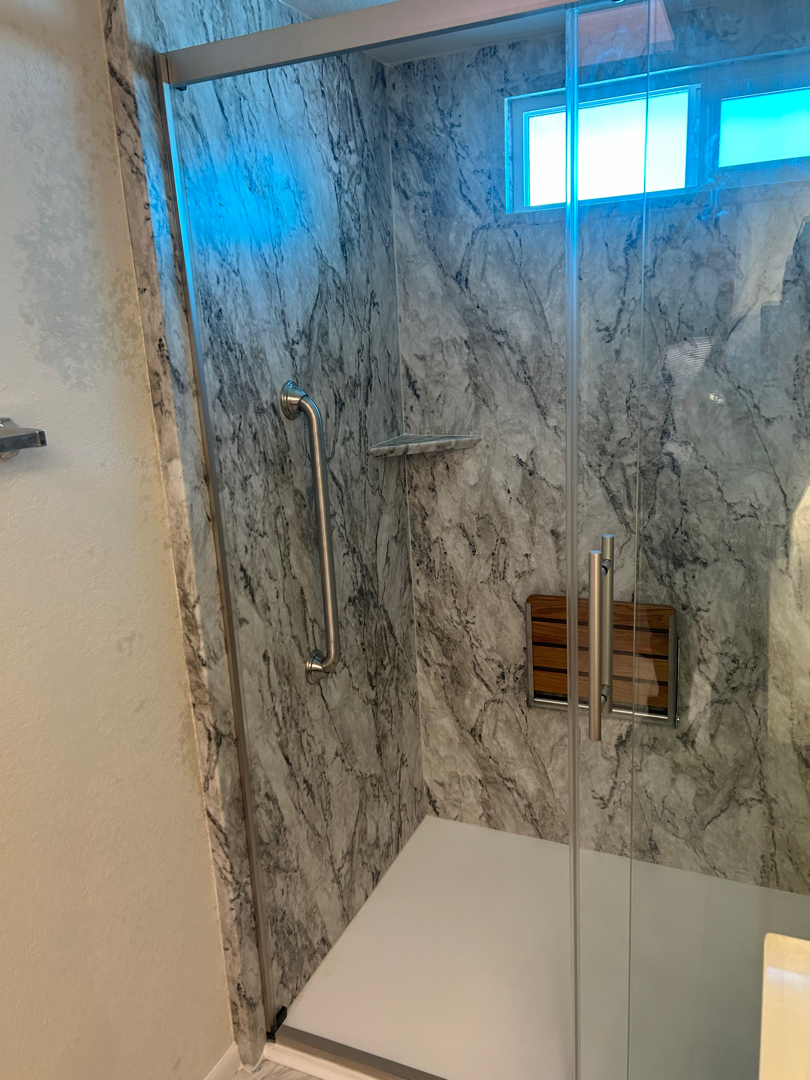
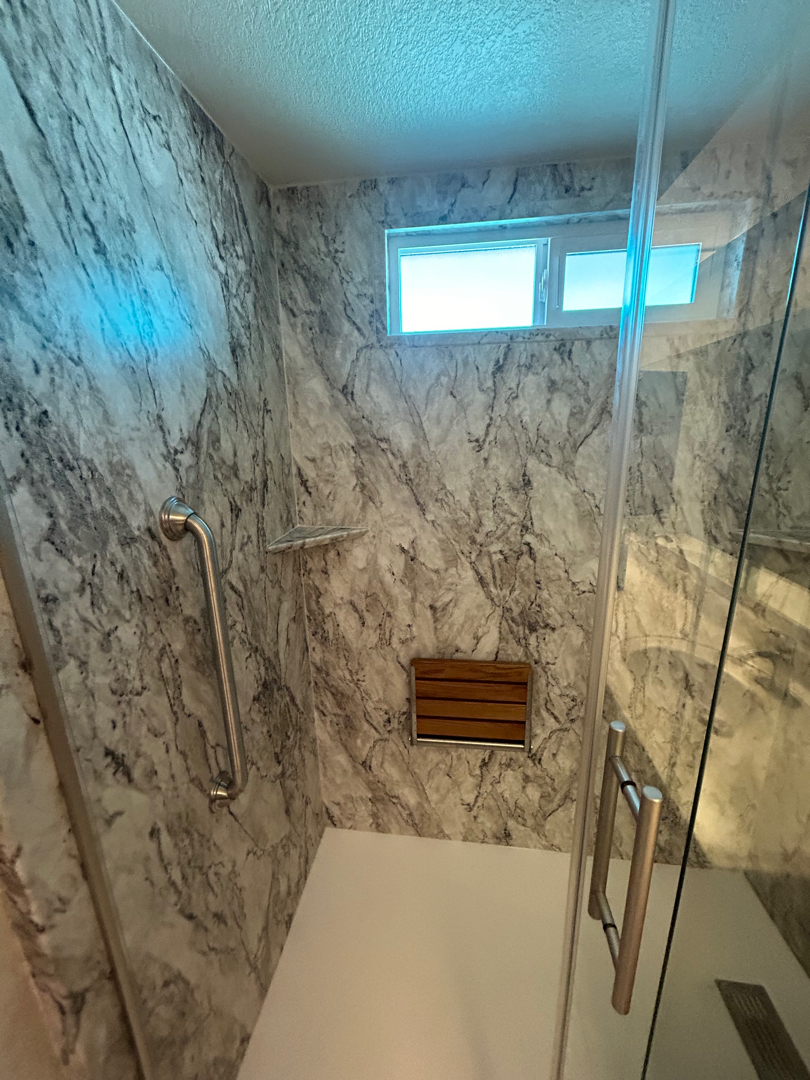
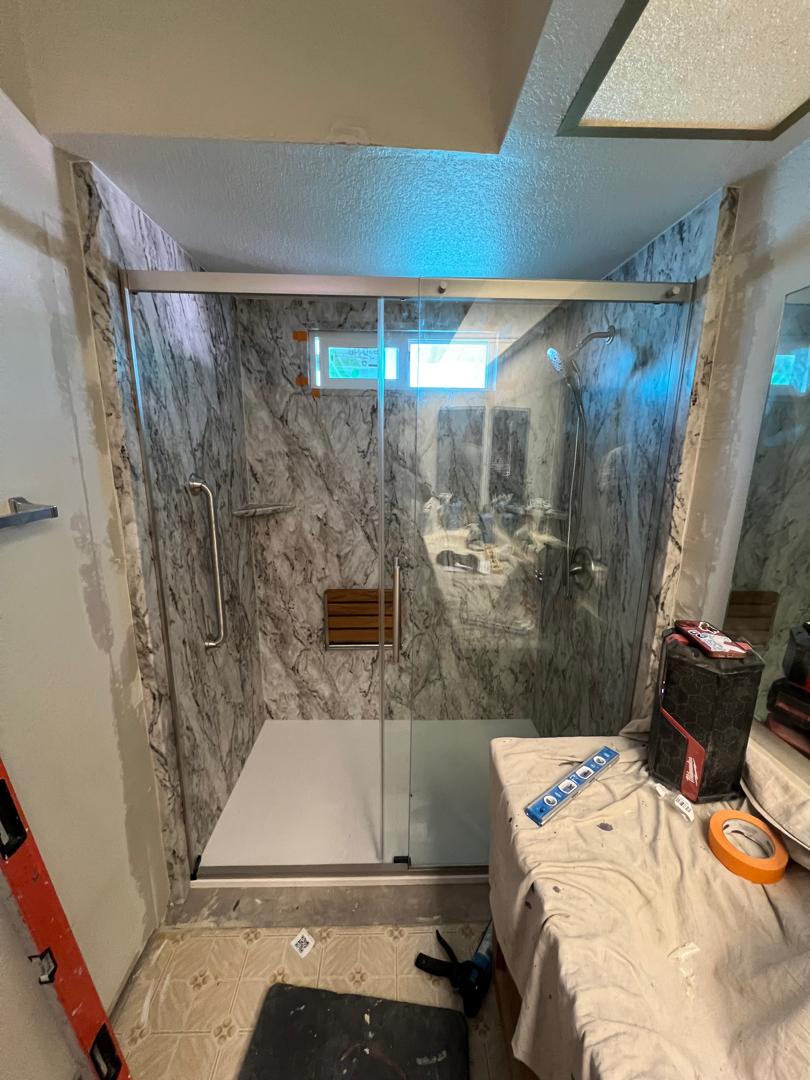
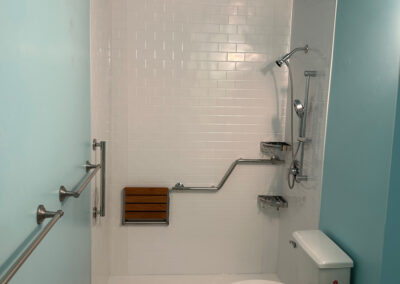
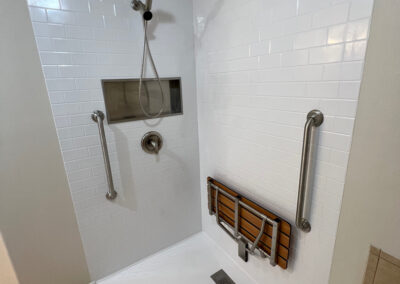
Safety is a priority, especially in the shower. We install a 24” Moen Designer Series grab bar with an ADA-compliant mounting system. With reinforced backing in the walls, the grab bar is secure and safe for daily use, offering added peace of mind.
Step 5: Clear Sliding Glass Shower Door
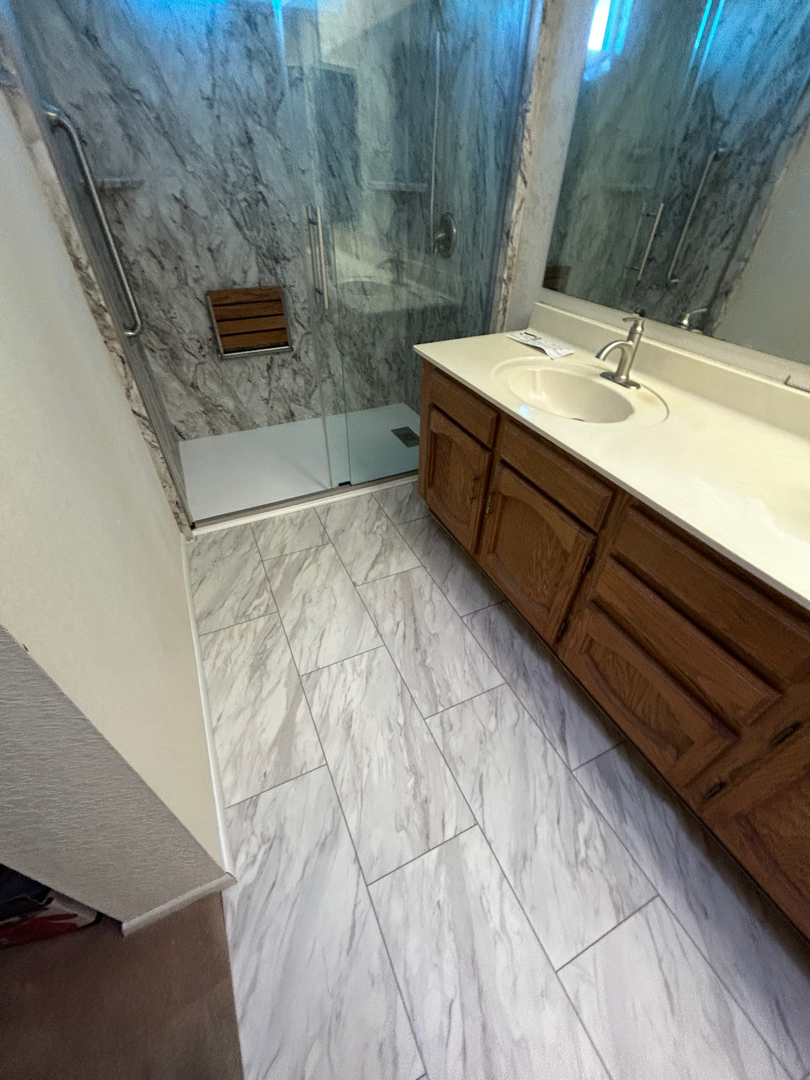
Next, we install a sleek, clear glass shower enclosure with one sliding and one fixed panel. The brushed nickel frame perfectly complements your other fixtures. The glass features a spot-resistant coating, making it easier to clean and maintain (though we recommend using a squeegee after each shower to keep it looking its best!).
Step 6: Teak Floating Shower Seat
For a touch of luxury, we install a floating teak shower seat with secure backing. Not only does this provide a comfortable place to sit while showering, but it also adds a beautiful natural element to the space.
Step 7: Luxury Vinyl Plank Flooring
Next up is the flooring! We install luxury vinyl plank (LVP) flooring, a durable, water-resistant option that’s perfect for bathrooms. The new baseboards match your existing décor, creating a cohesive and polished look that ties everything together.
Step 8: Extra Storage & Style
For additional storage and style, we install a tower caddy that matches the wall color. We also add a marble windowsill and two corner shelves, both custom-designed to complement the rest of your bathroom’s aesthetic.
Step 9: Optional Window Installation
Looking to bring in more natural light? We offer a window installation option. We can install a new 3’ x 1’ sliding, dual-pane window, framed, insulated, and ready to brighten up your space. If needed, we can recommend trusted painters for the exterior finish.
Step 10: ADA Height Toilet (Optional)
For ultimate comfort, we offer the installation of an ADA-height toilet. With a soft-close lid, dual flush and an elongated seat, it’s designed to provide comfort and ease of use. Best of all, if you’re already updating your bathroom, we install it for free!
Project Timeline:
- Ordering materials takes approximately 2-3 weeks from deposit.
- Installation typically takes about 3 days.
A bathroom remodel is a big decision, but with the right plan and expert team, it can be a smooth and rewarding process. From the demolition to the final touches, we handle every detail to create a space that’s beautiful, functional, and built to last. Ready to transform your bathroom? Contact us today to get started and bring your vision to life!

