Upgrading your bathroom can be an exciting project, especially when you’re looking to enhance both its function and aesthetic appeal. If you’re planning a renovation to install a barrier-free shower, here’s a simple step-by-step guide to help you understand the process and the components involved in creating your new, stylish, and accessible shower space.
Step 1: Demolition
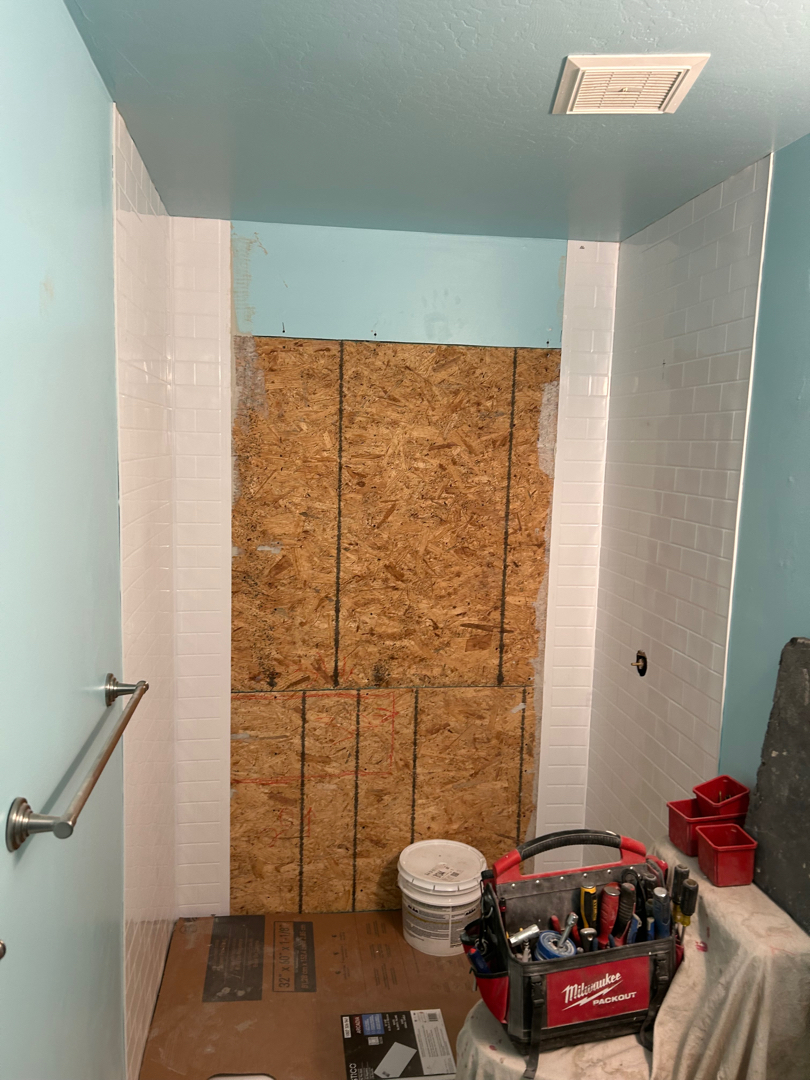
Before any new materials can be installed, we need to remove the old features. The process begins by:
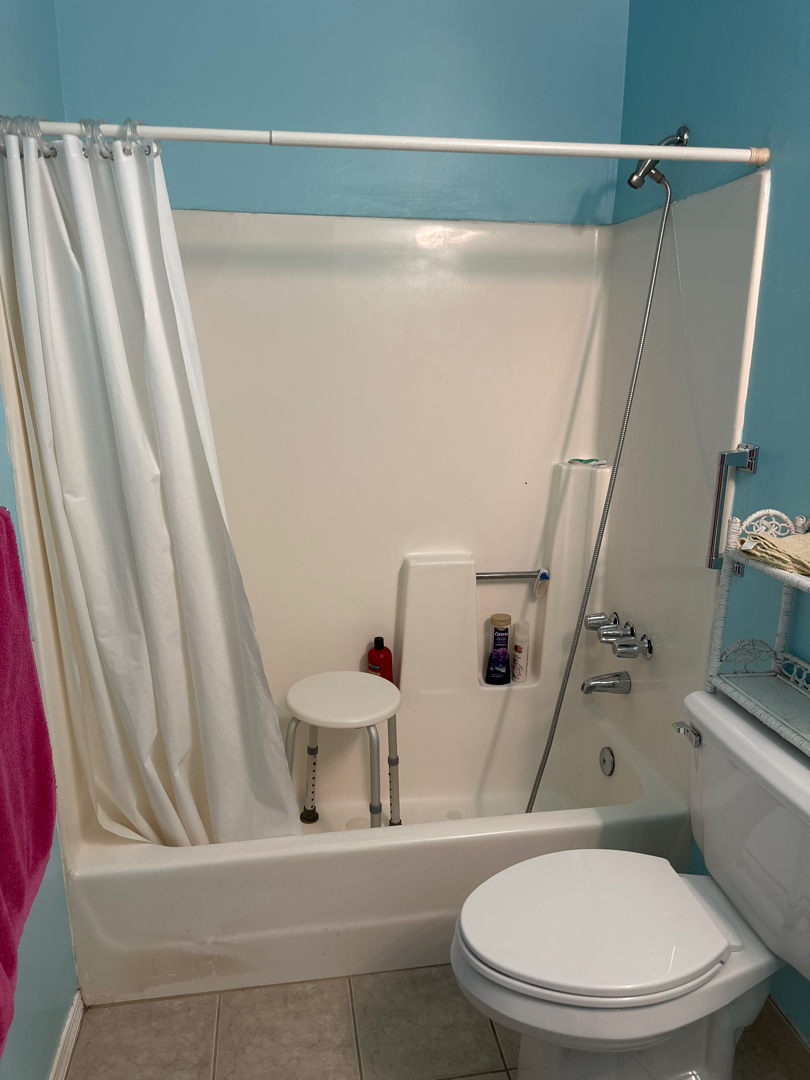
- Removing the existing tub, surround, and shower valve.
- Hauling away all the debris so that the space is clean and ready for new installations.
During this stage, a HEPA dust collection system will be used to keep dust at a minimum, ensuring your home stays as clean as possible throughout the process.
Step 2: Preparing the Shower Space
Once the demolition is complete, it’s time to prepare the walls:
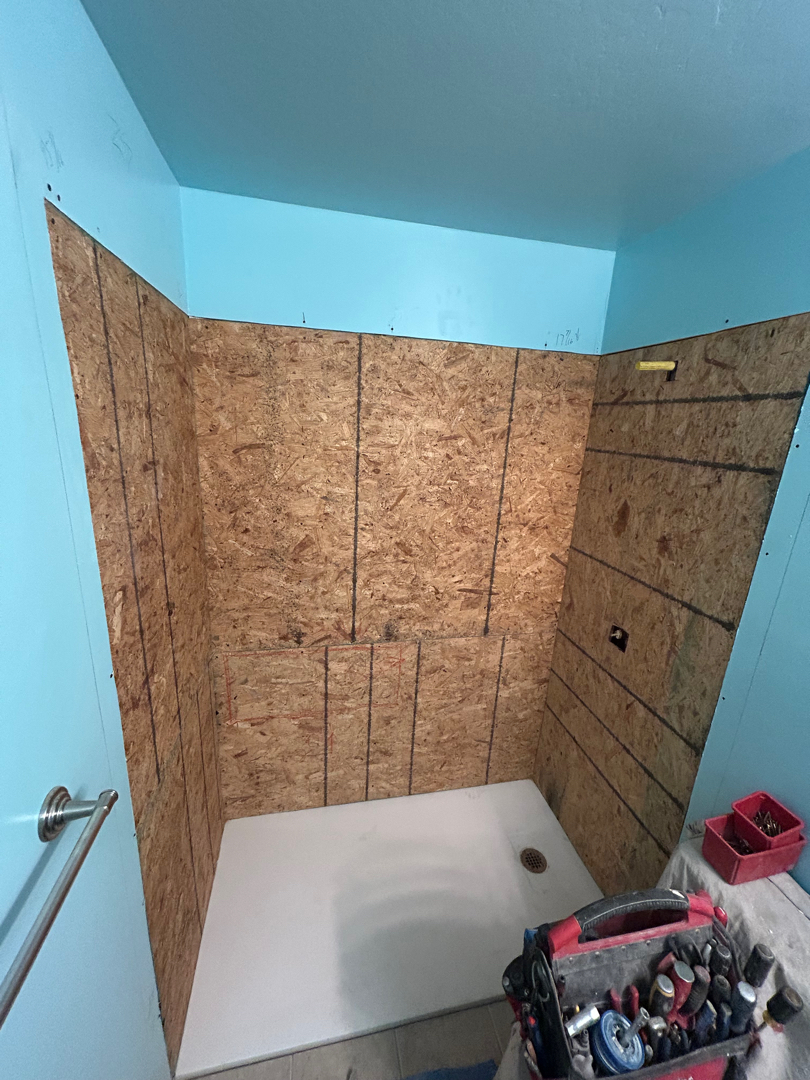
- Moisture-resistant greenboard is installed on the walls to protect against water damage.
- Backing for grab bars is added, ensuring that you can safely and securely install support bars later on.
Step 3: Installing the Shower Pan
Next, we move on to installing the barrier-free shower pan:
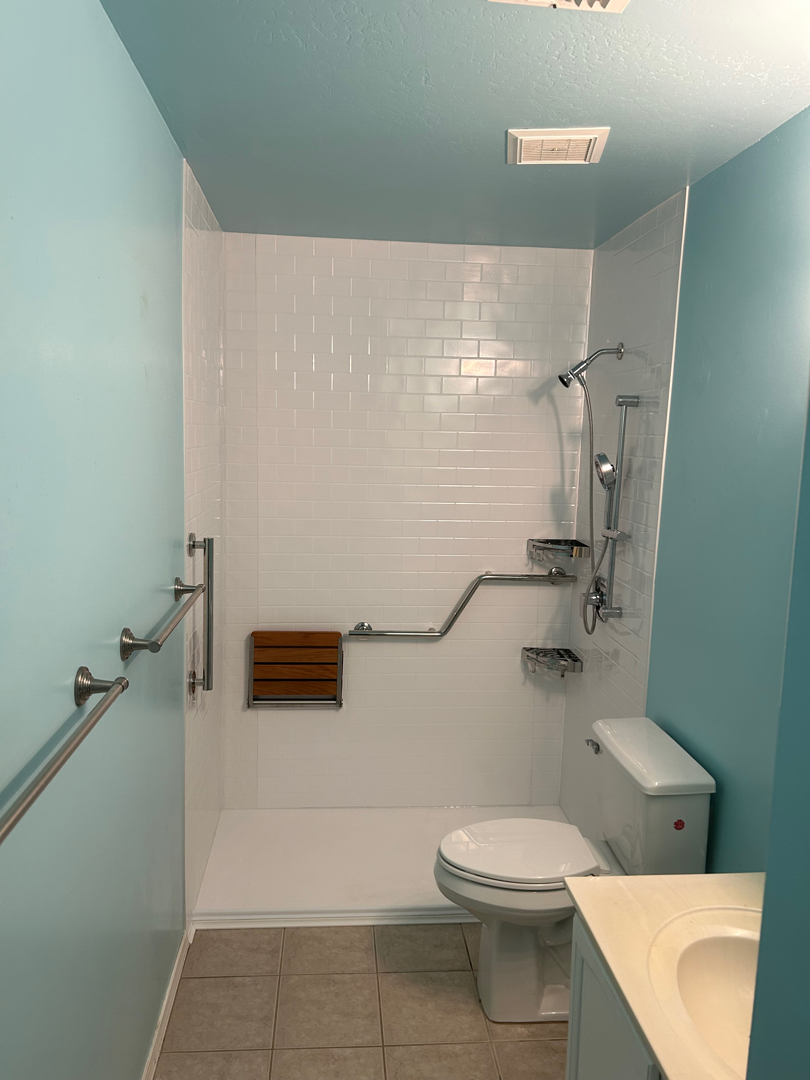
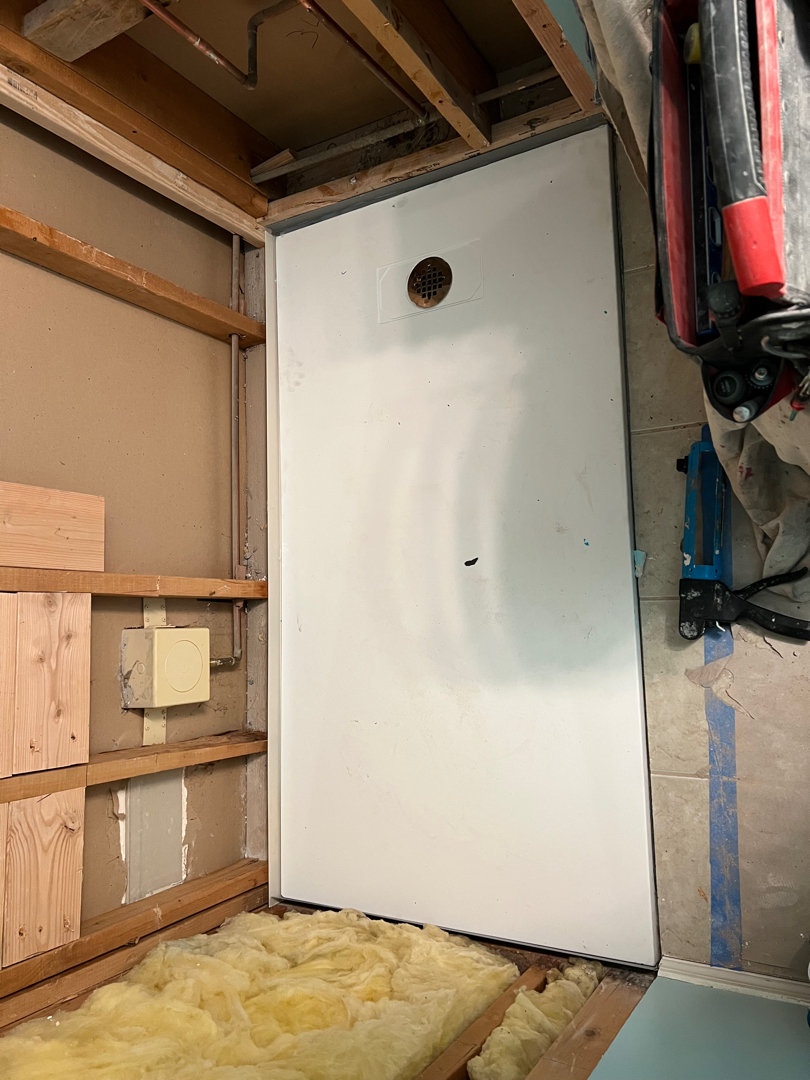
- A white composite stone shower pan is used for its durability and slip-resistant surface. It’s designed to be both safe and visually appealing.
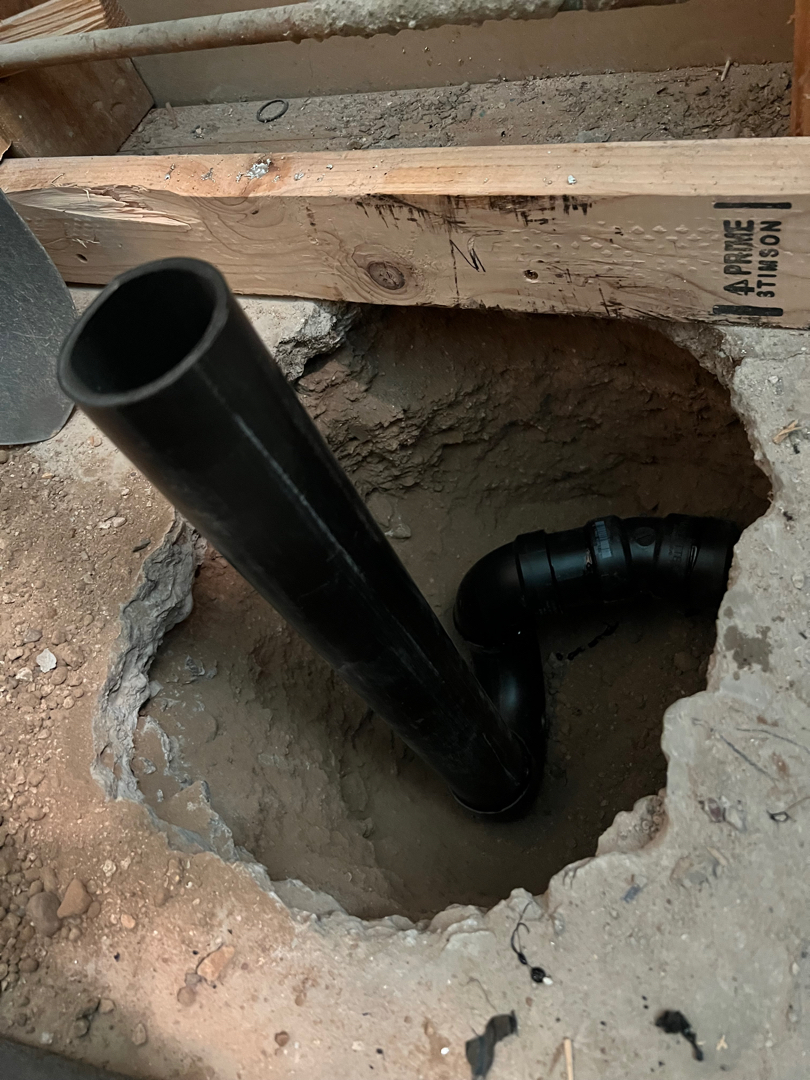
- The drain is relocated to fit the new pan, ensuring proper water flow and drainage.
- A collapsible foam threshold is installed, along with a shower curtain clip, to help retain water in the shower area.
Step 4: Adding the Acrylic Surround
To create a clean, modern look, an acrylic surround is installed:
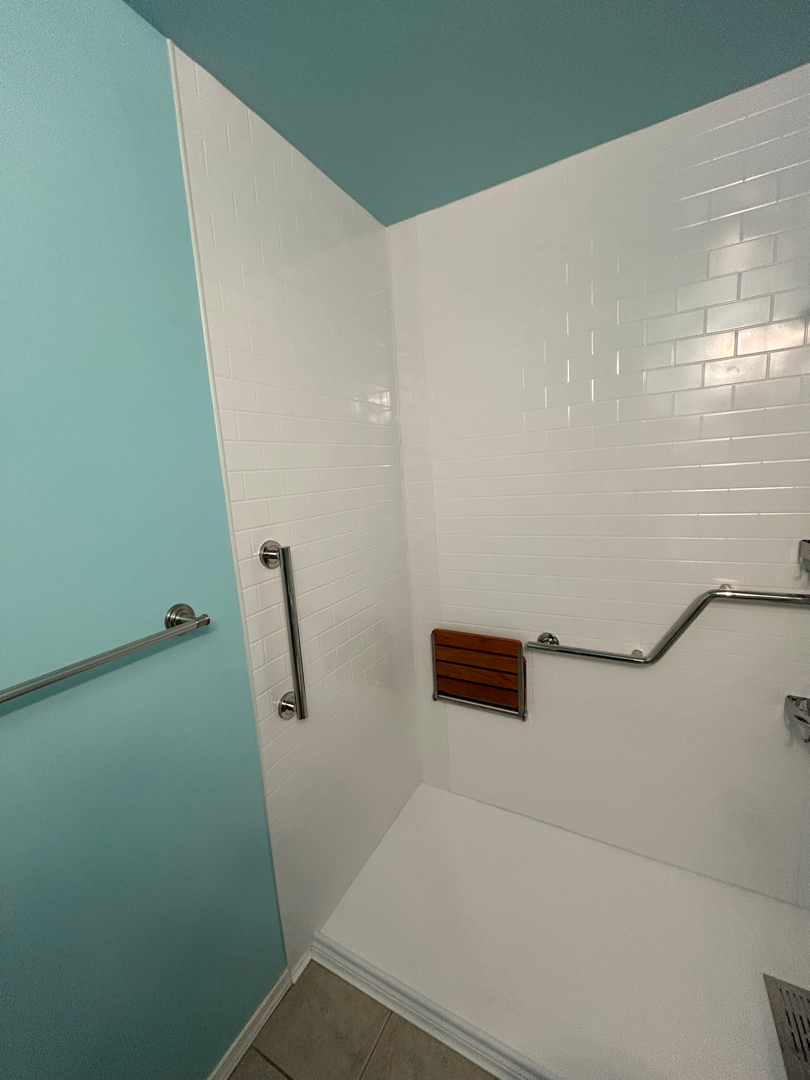
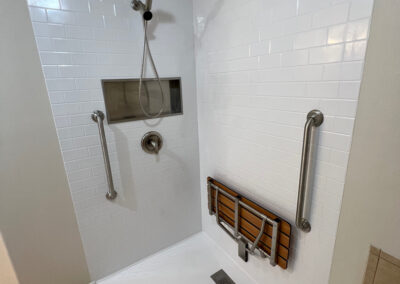
- The surround features a subway tile pattern in a sleek white finish, making it both easy to clean and stylish.
- We seal all joints and the shower pan to prevent water leaks and ensure long-lasting performance.
Step 5: Installing the Moen Shower Valve and Features
Now it’s time to add the plumbing and shower controls:
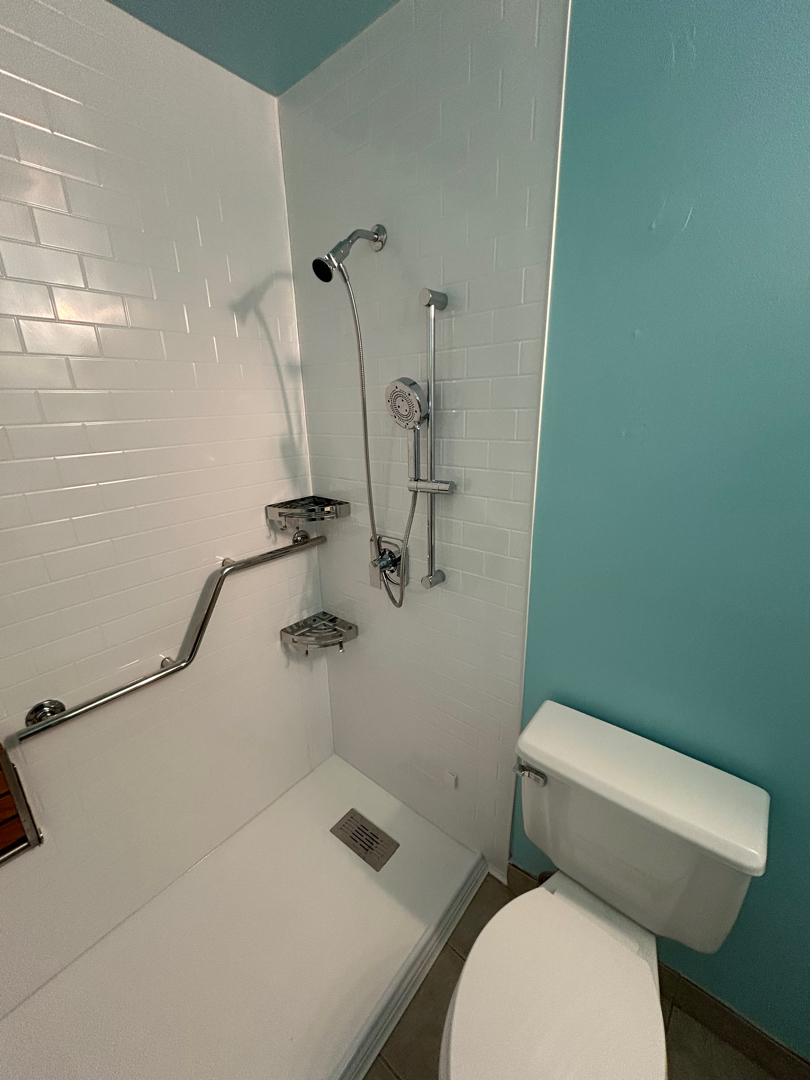
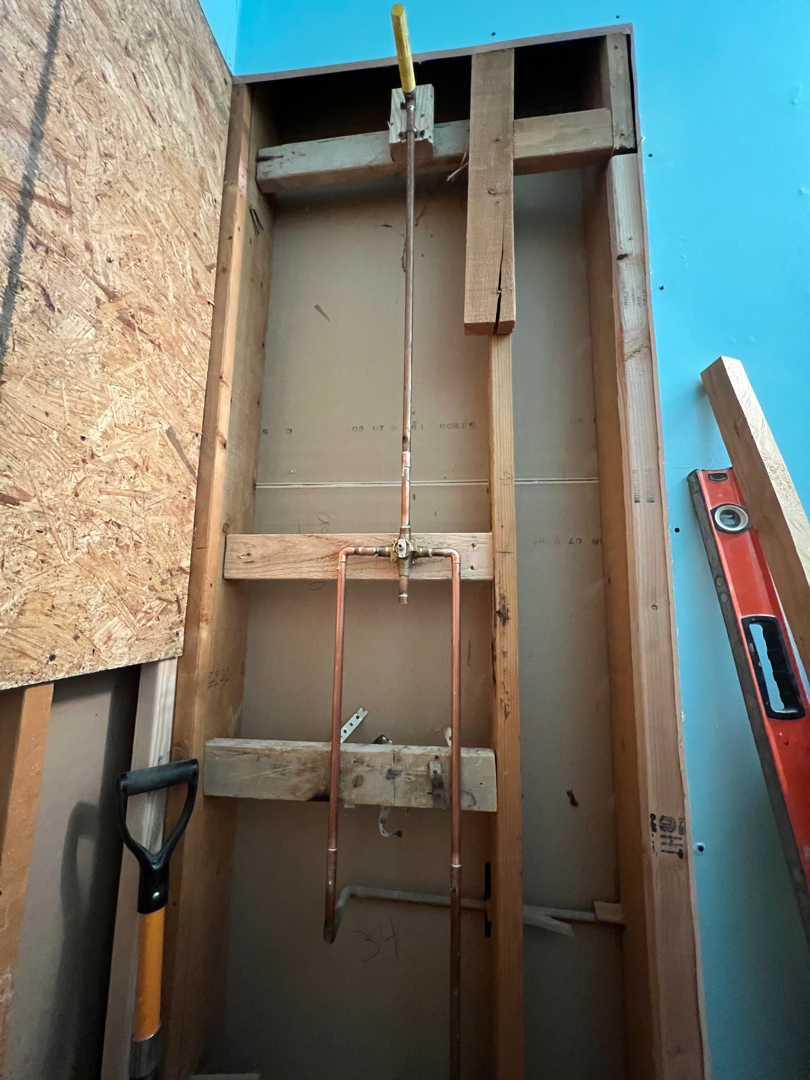
- A Moen Adler posi-temp valve is installed along with a shower head and handheld wand in chrome. This valve is designed for easy temperature control and offers a smooth, consistent shower experience.
- A slide bar is also added for convenience when using the handheld shower.
Step 6: Adding Safety Features with Grab Bars
Safety is a top priority in any bathroom renovation, so we’ll install two grab bars to help you safely enter and exit the shower:
- A 36-inch grab bar is mounted on the back wall, 34 inches above the floor, following ADA guidelines for proper placement.
- A 24-inch grab bar is installed vertically outside the shower, offering extra support when needed.
Both grab bars are made by Moen and feature an ADA-compliant mounting system for added safety and reliability.
Step 7: Additional Accessories
To complete your shower space, we’ll add a few finishing touches:
- A chrome metal corner shelf is installed at your preferred location to store your shower essentials.
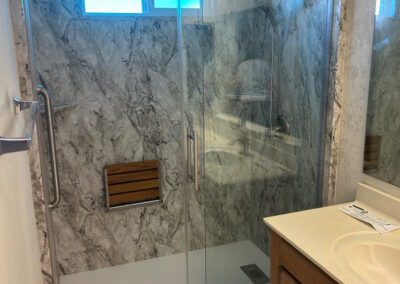
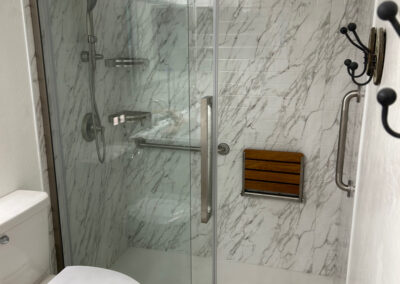
- A floating teak shower seat is mounted for added comfort, especially for those who may need a place to rest while showering.
Step 8: Completing the Installation
After all the components are in place, we finalize the installation:
- The acrylic shower comes with a lifetime warranty against issues like bubbling, peeling, cracking, or fading, so you can rest assured knowing your shower will stand the test of time.
- The Moen valves are covered by a lifetime warranty as well, and all of our workmanship is guaranteed for five years.
The entire process takes approximately two weeks for material ordering and just two days for installation once all materials are in place. With top-quality materials, professional installation and a focus on safety and accessibility, the new bathroom will be both a functional and beautiful space to enjoy for years to come.

