Remodeling a bathroom can be an exciting yet challenging experience, especially when you’re looking to upgrade with quality materials and thoughtful design. Whether you’re aiming for functionality, aesthetics, or both, each step in the process can bring you closer to your dream bathroom. Here’s a detailed look at the remodeling process for a barrier-free shower renovation that enhances both style and accessibility.
Step 1: Demolition and Preparation
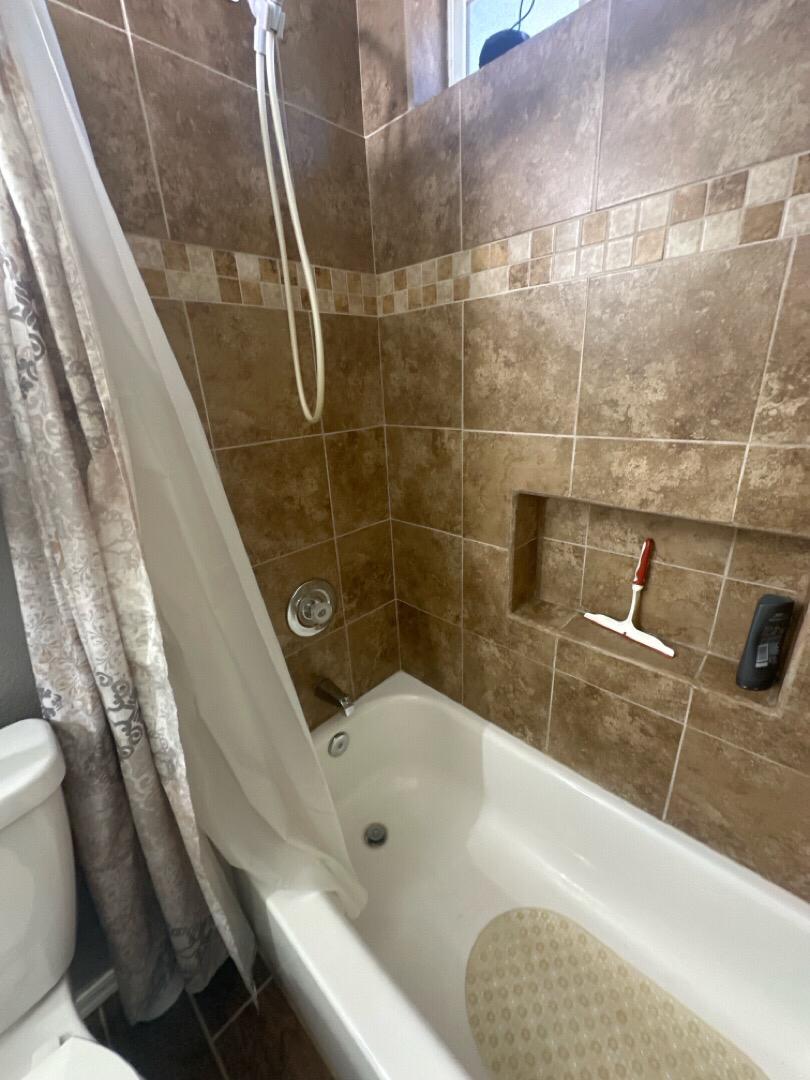
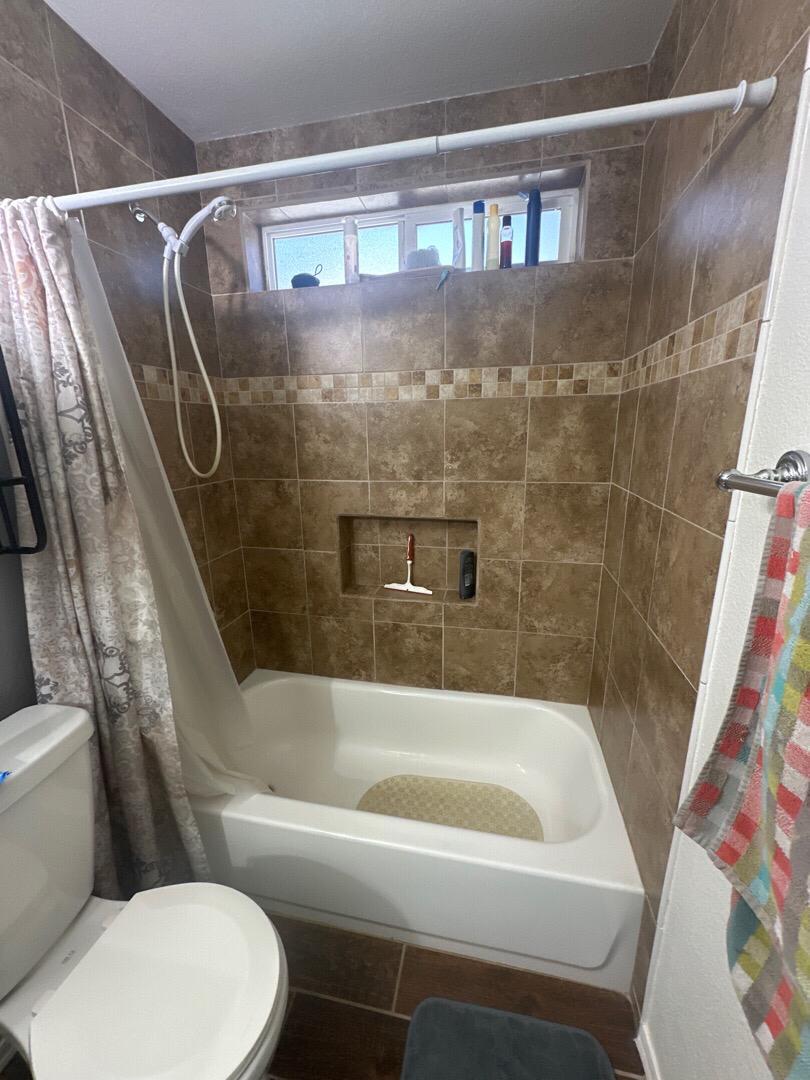
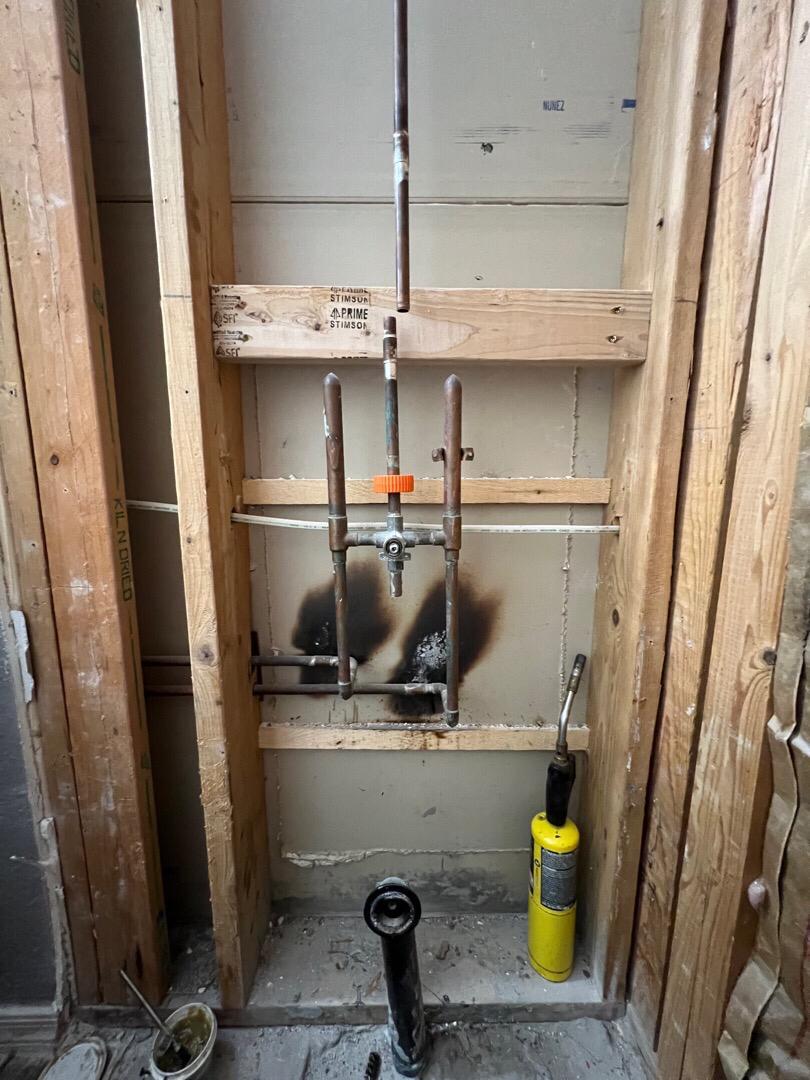
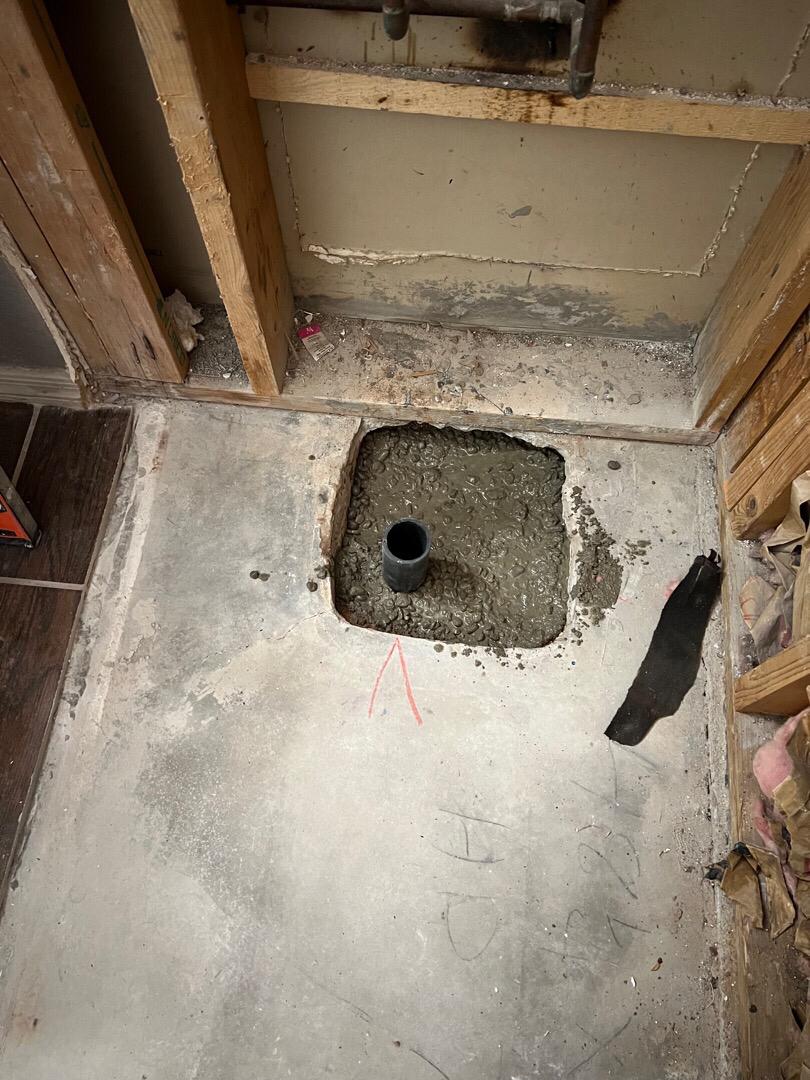
The first step in any bathroom remodel is demolition. We begin by carefully removing the existing tub, surround, and valve. All debris is hauled away, ensuring your home remains clean throughout the process. To minimize dust and debris, a HEPA dust collection system is used, protecting the air quality and maintaining a safe environment for your family during the renovation.
Step 2: Installing the Acrylic Barrier-Free Shower
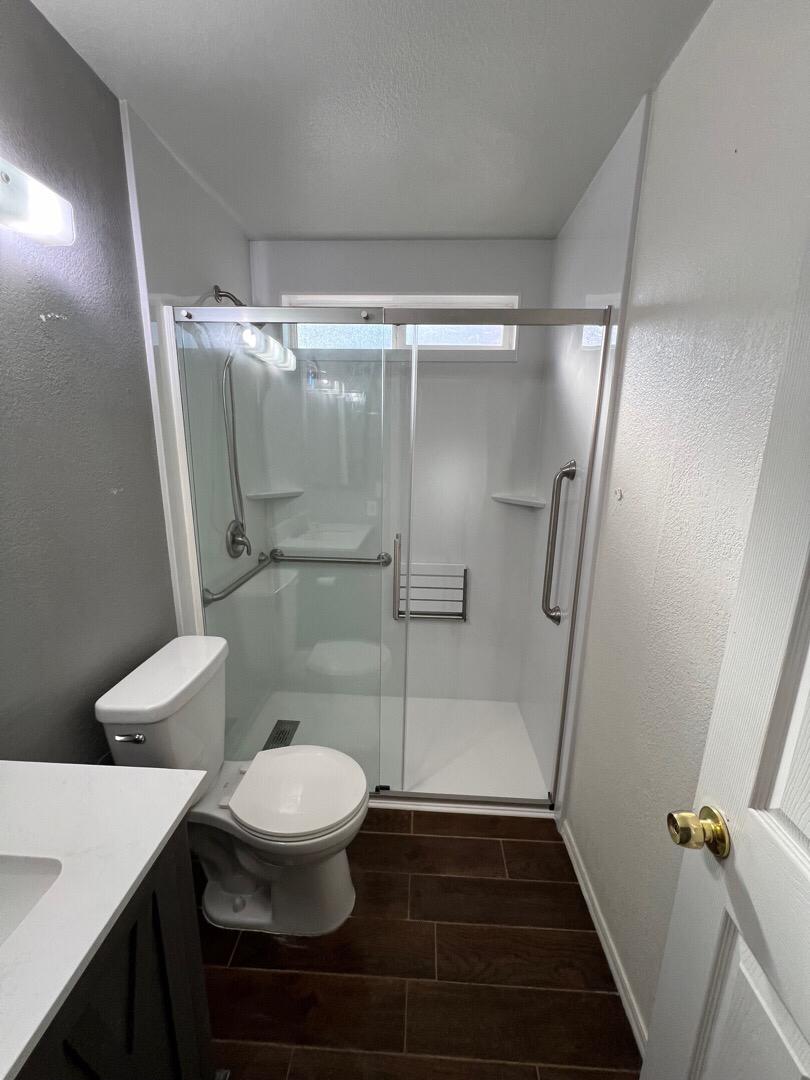
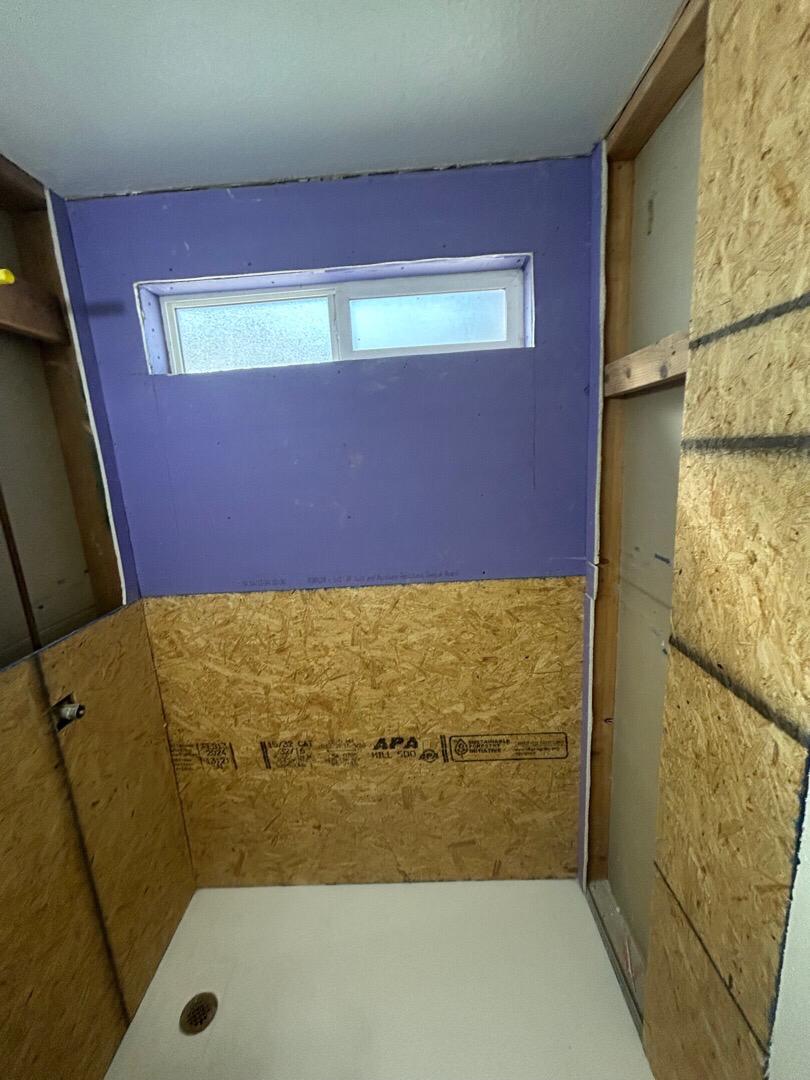
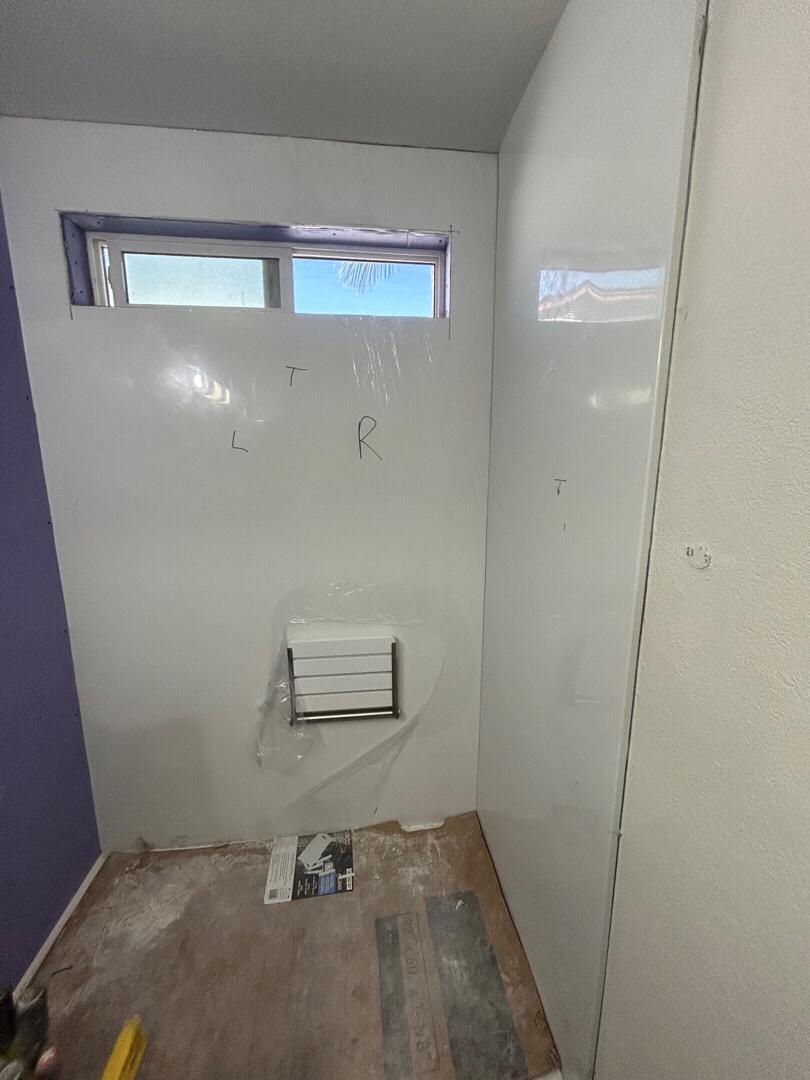
A barrier-free shower is an excellent choice for modern bathrooms, offering a sleek, contemporary look and improved accessibility. We start by prepping the walls with moisture-resistant greenboard, ensuring durability and longevity in a humid environment. The walls are also reinforced with backing to support grab bars, ensuring safety in the shower.
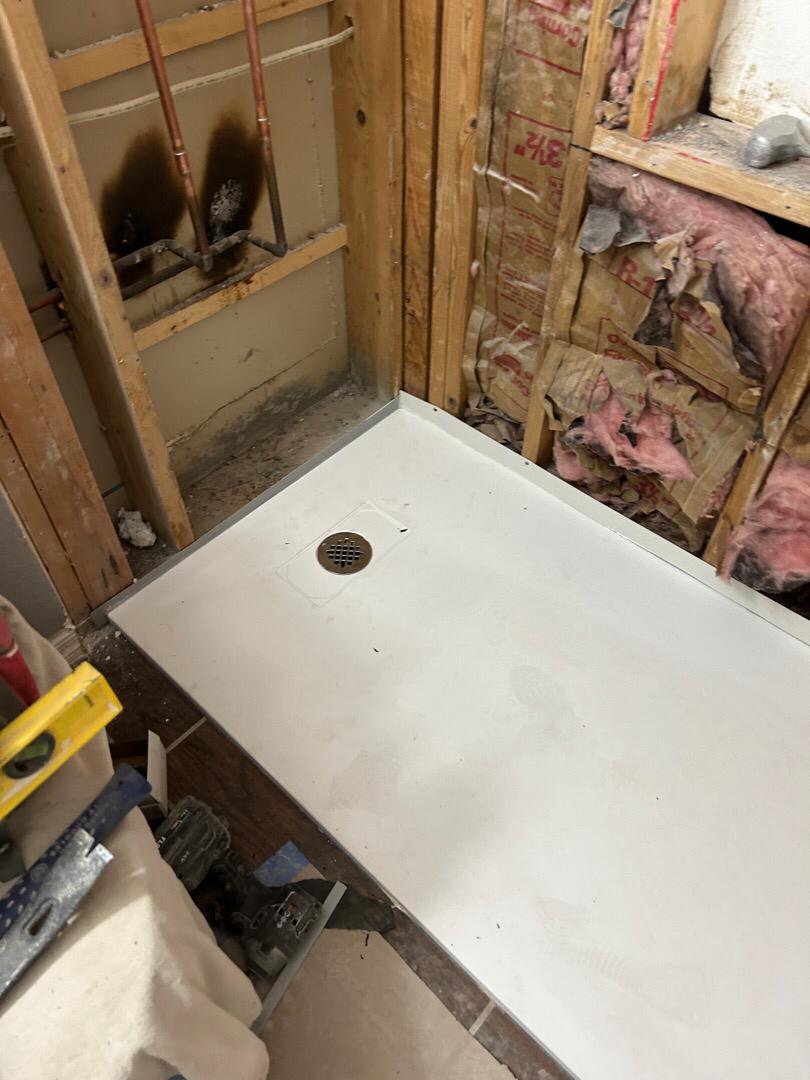
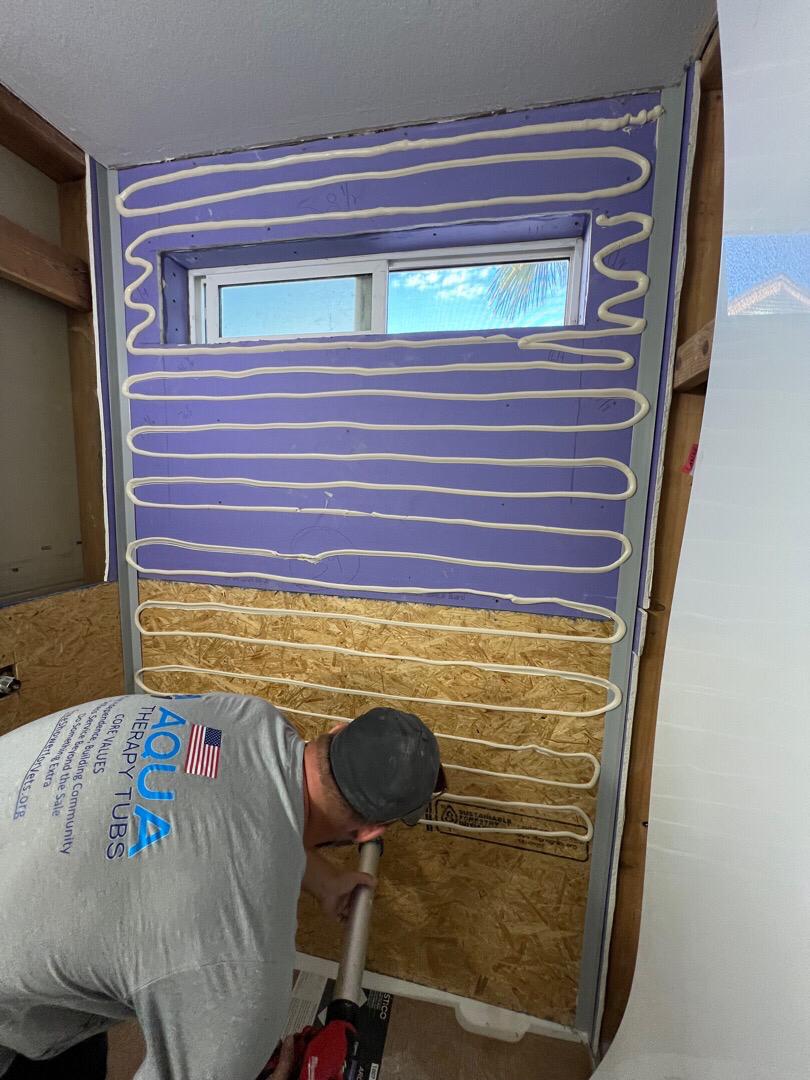
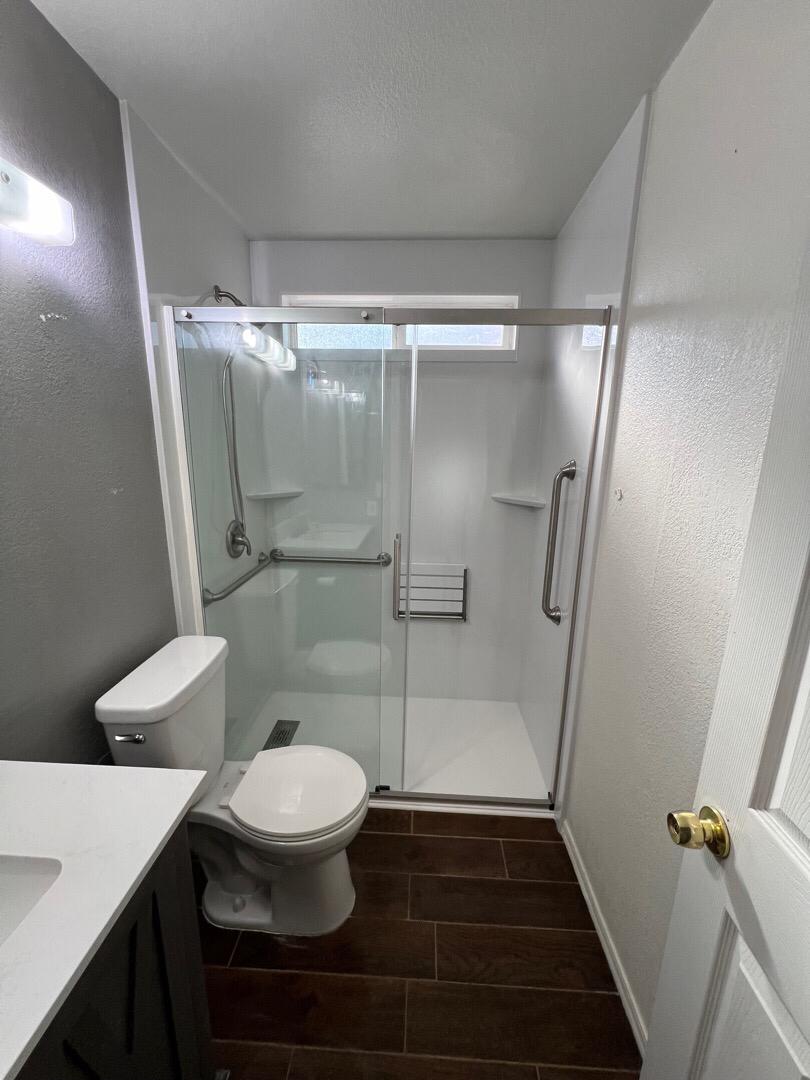
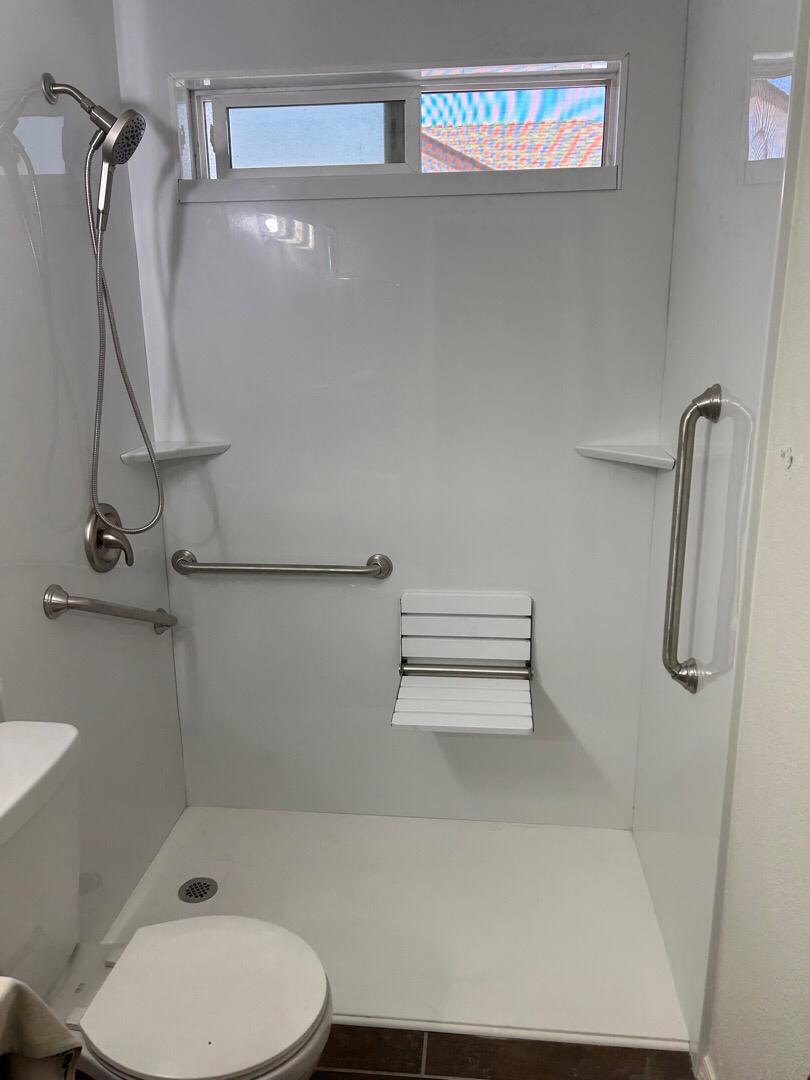
Next, a white composite stone, slip-resistant shower pan is installed, along with a new drain system that is relocated to match the new pan’s positioning. To complete the look, a 3-wall acrylic surround in white is installed, reaching up to the ceiling, creating a smooth and easy-to-clean surface. We also wrap the window with matching acrylic to maintain a uniform appearance.
Step 3: Upgrading the Shower Valve
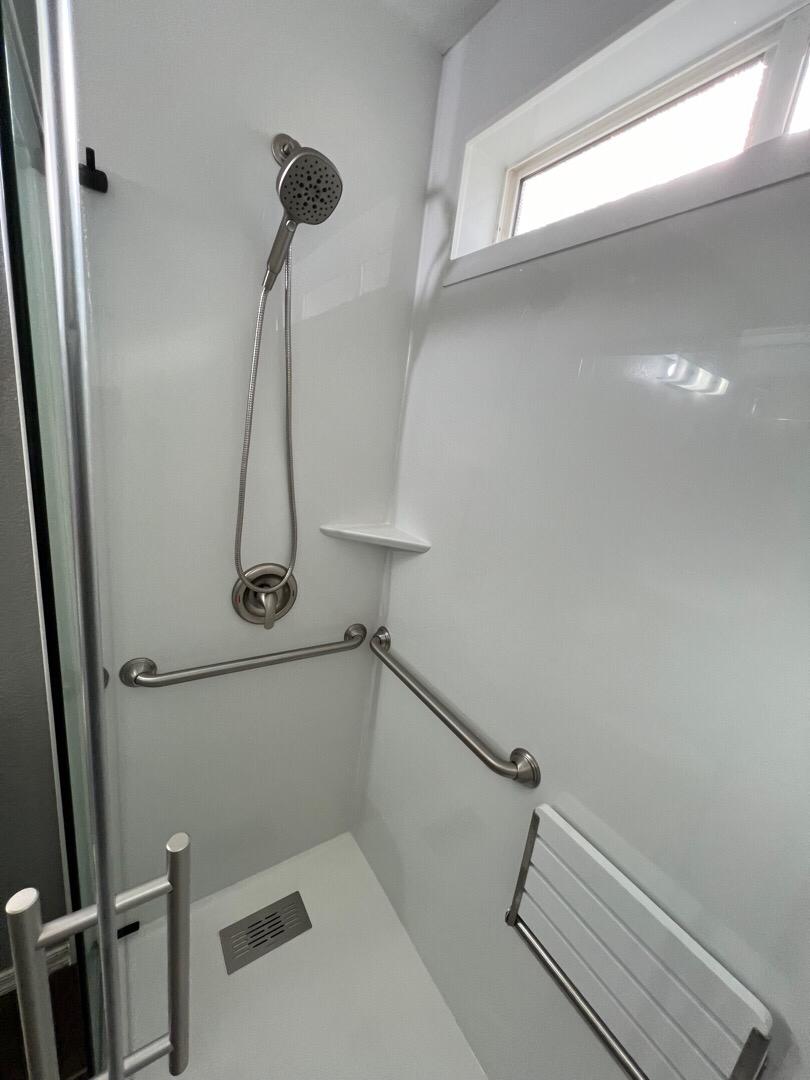
Next, we enhance the functionality of your shower by installing a top-of-the-line Moen Adler posi-temp valve system. This includes a new shower head and handheld wand, offering precise water temperature control and flexibility. The brushed nickel finish adds a sophisticated touch to the design, complementing the sleek, modern look of the bathroom.
Step 4: Adding a Floating Shower Seat
Comfort is key, and a floating shower seat is an excellent addition to your new bathroom. This sturdy, white seat is mounted with 2×6 backing to ensure support and safety, and provides a convenient place to sit while showering. It’s a functional and stylish feature for those who want added comfort and accessibility.
Step 5: Installing ADA-Compliant Grab Bars
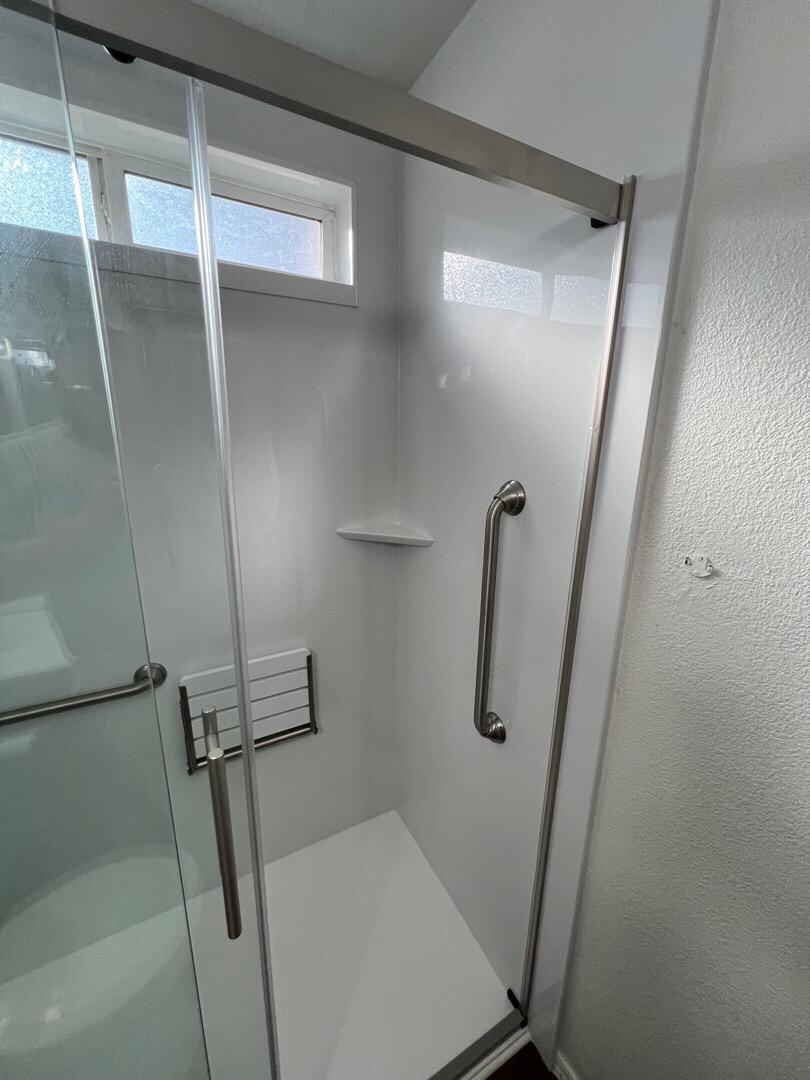
For increased safety, we install Moen Designer Series 24″ grab bars. These brushed nickel grab bars are not only functional but also stylish, featuring an ADA-compliant mounting system for maximum support. The walls are prepped with proper backing to ensure the grab bars are securely installed for your peace of mind.
Step 6: Sliding Glass Shower Door
A clean, modern look is achieved with a sliding glass shower door. We install a clear glass enclosure with one sliding panel and one fixed panel, all in brushed nickel. The glass comes with a spot-resistant coating to reduce water spots and maintain the clarity and beauty of the glass. While the coating helps keep the door looking new, we recommend using a squeegee after each shower for the best results.
Step 7: Adding a Floating Corner Shelf
To complete the remodel, a white floating corner shelf is added in your desired location. This shelf provides functional storage for toiletries or decorative items while maintaining a minimalist aesthetic.
If you’re ready to transform your bathroom into a relaxing, functional retreat, this guide can help you take the first step toward bringing your vision to life. With the right team and materials, your dream bathroom is within reach—let the remodeling journey begin!

