A bathroom remodel is an exciting and rewarding project that can breathe new life into one of the most important spaces in your home. Recently, we had the pleasure of working on a complete bathroom renovation that involved a total transformation—from demolition to the final touches. Here’s a look at how we brought the design to life.
Demolition & Preparation
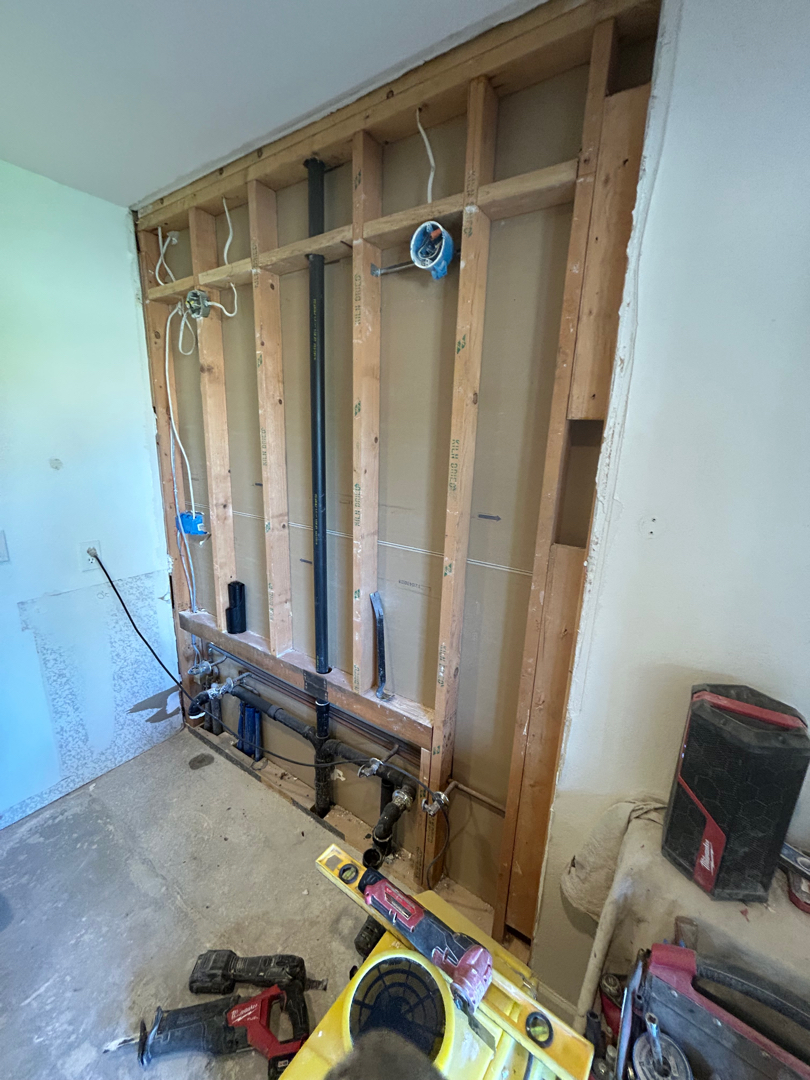
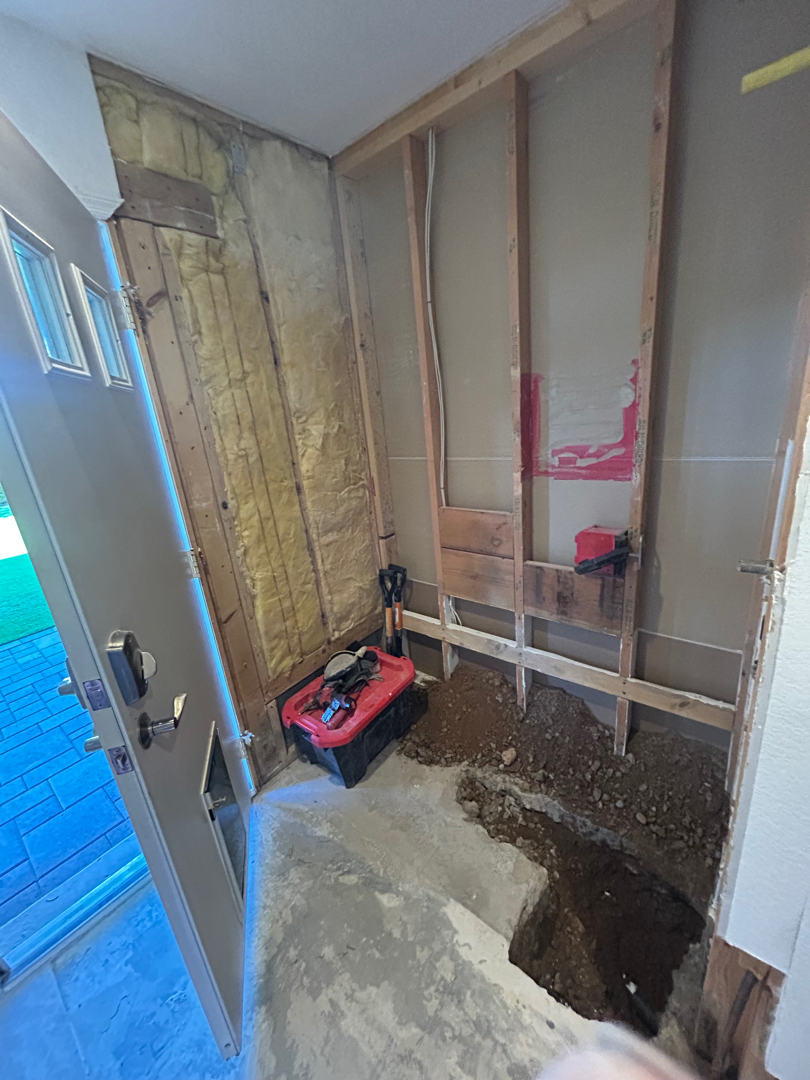
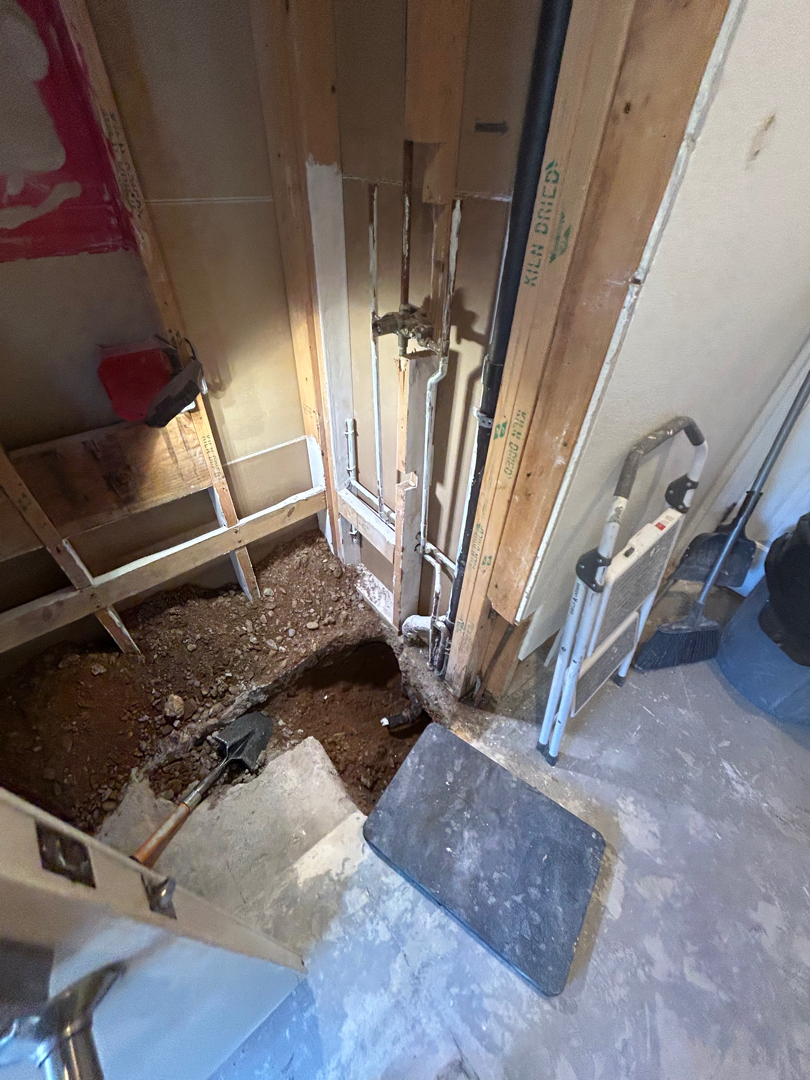
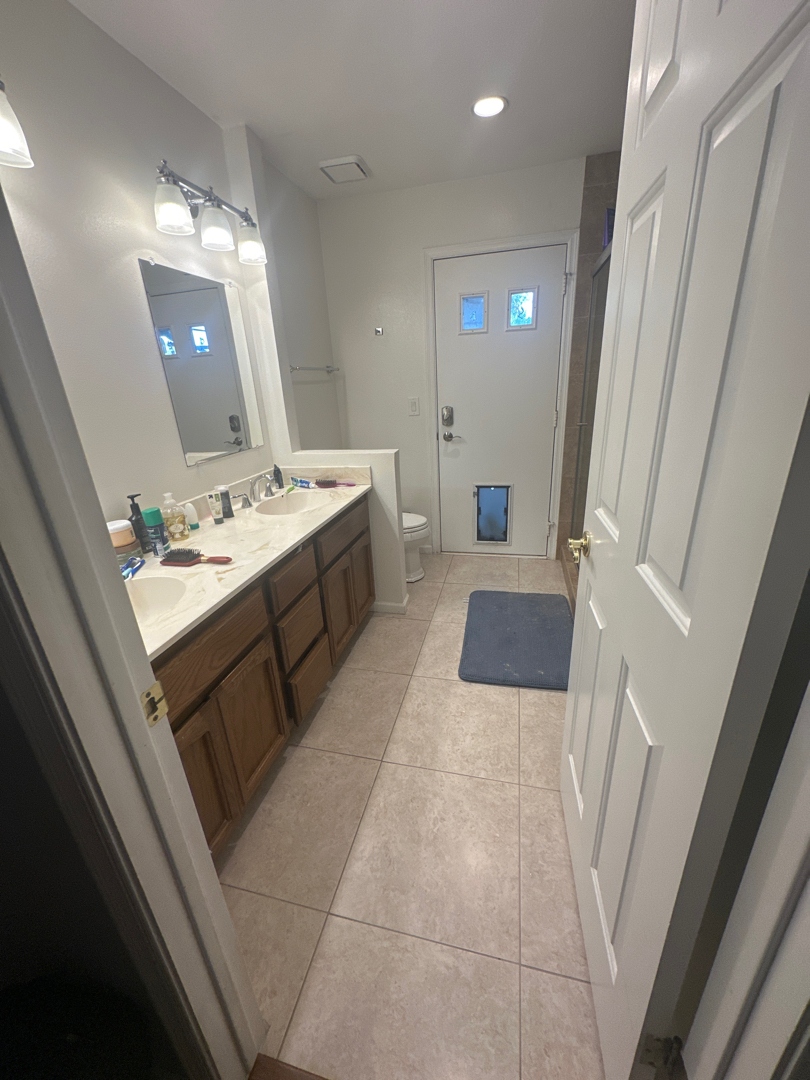
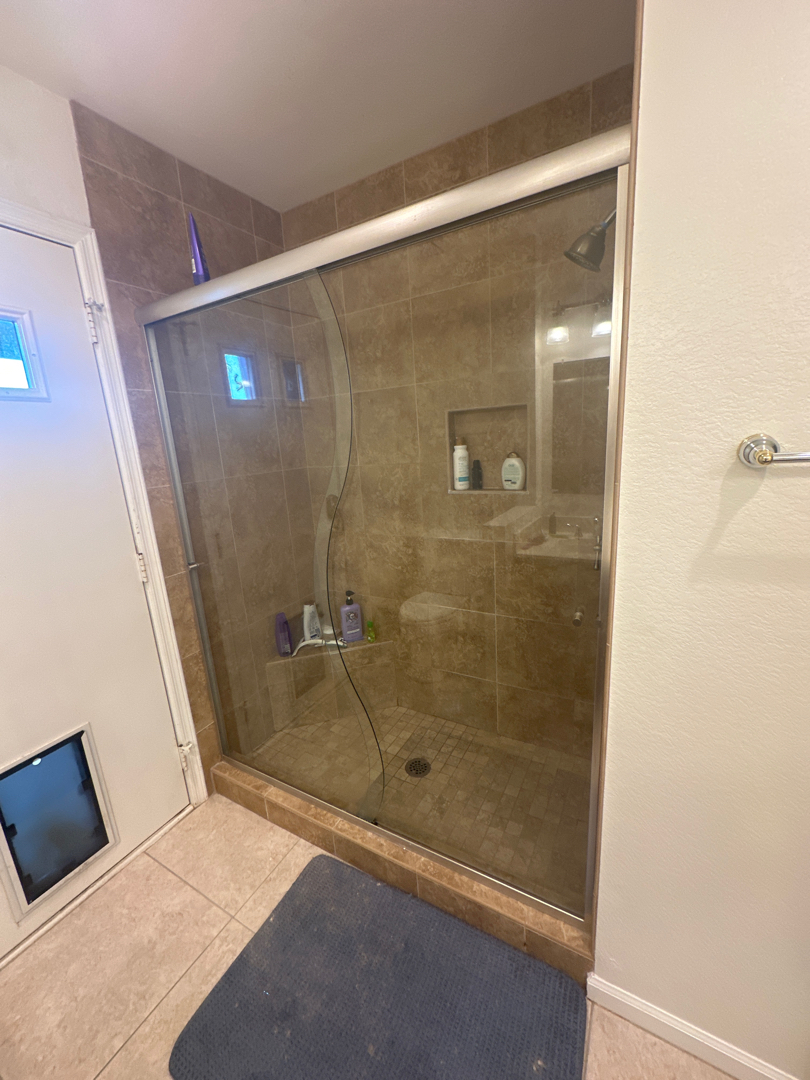
The first step in this remodeling project was the demolition of the existing bathroom. We carefully removed the shower pan, surround, valve, glass, vanity, tile flooring, exterior door, toilet, and pony wall up to the ceiling. All debris was hauled away, ensuring the space was clean and ready for the new design. A HEPA dust collection system was utilized throughout the demolition to minimize the dust in the home, keeping the environment as clean as possible for the homeowners.
Custom Tile Shower Installation
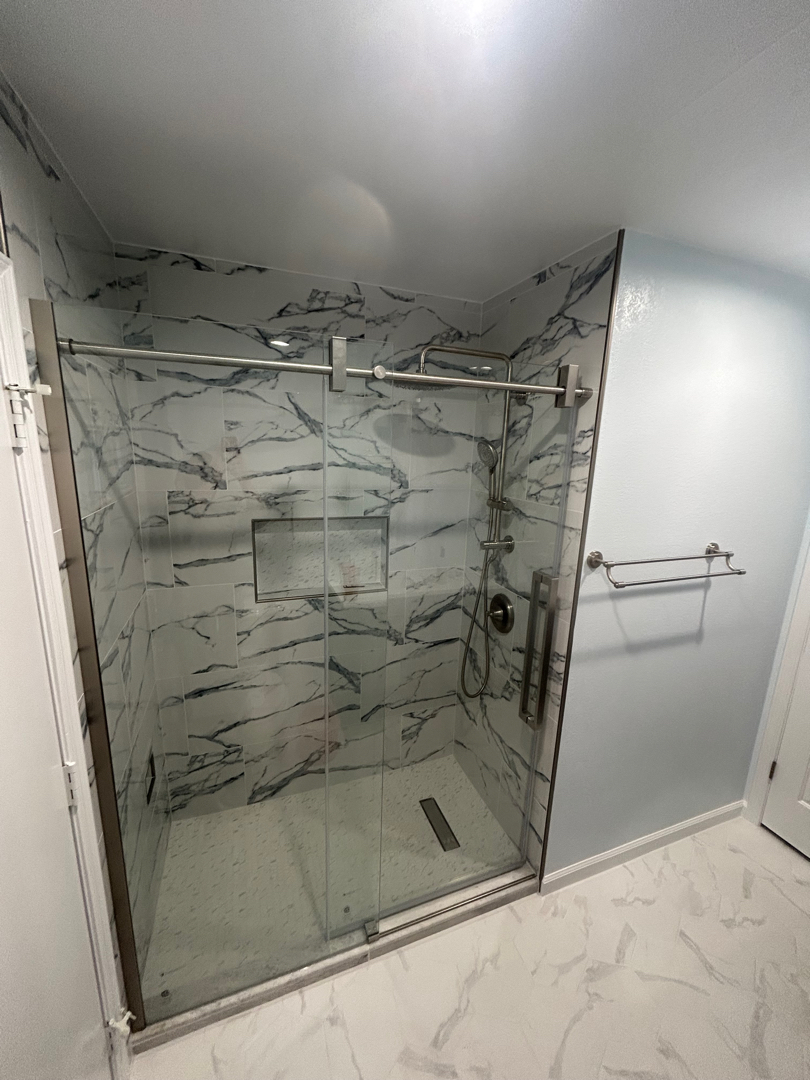
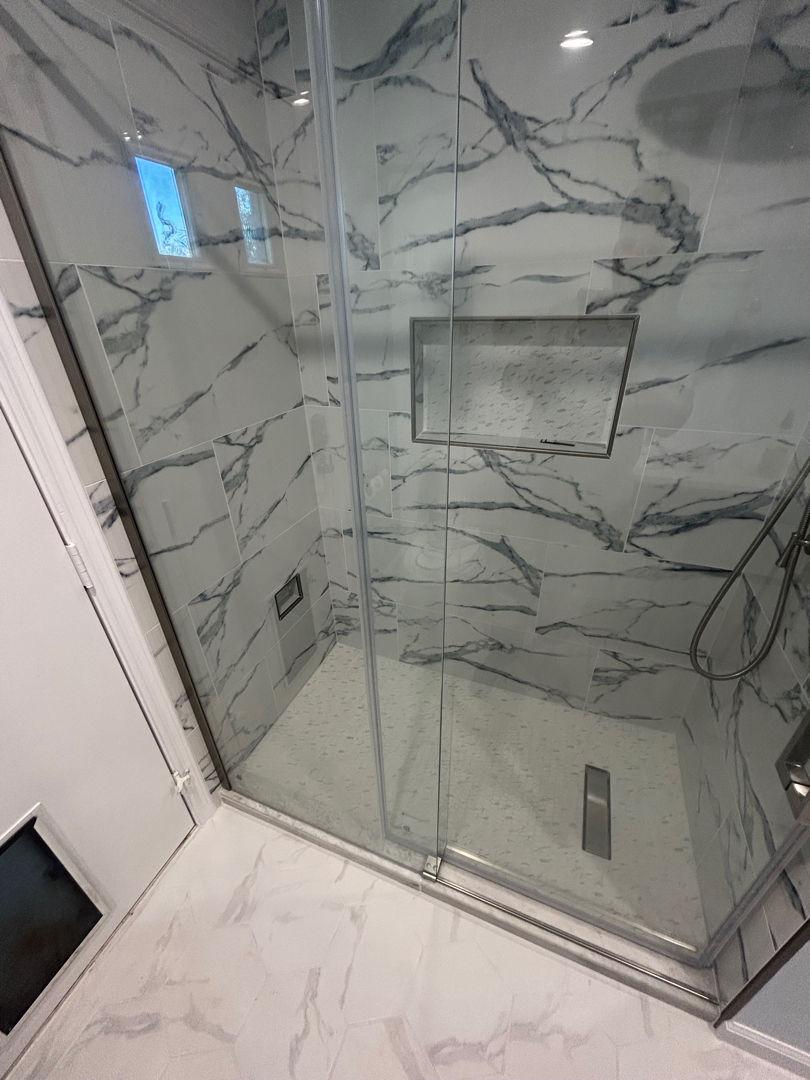
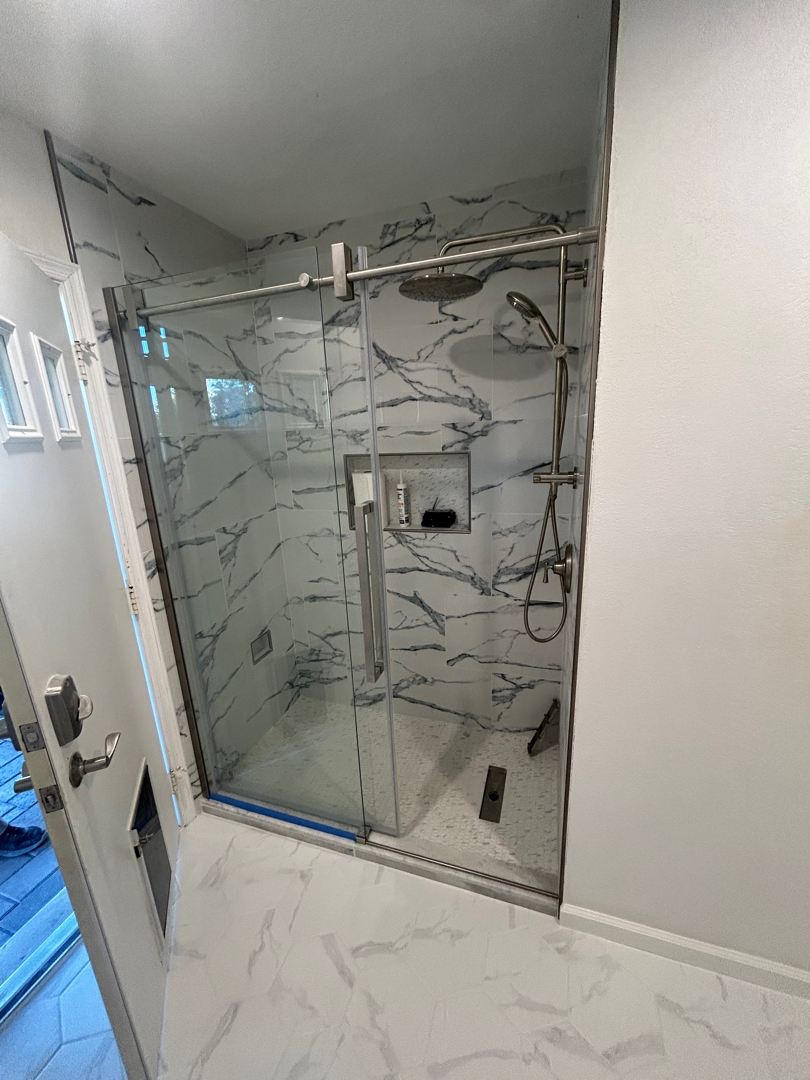
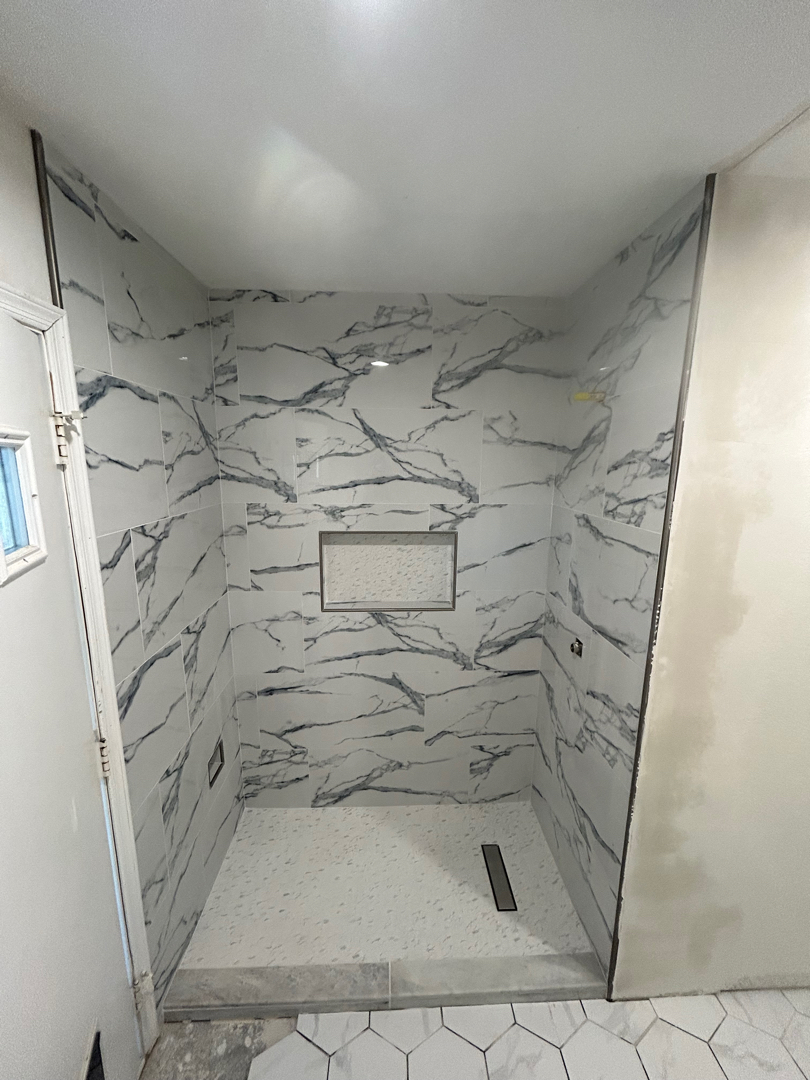
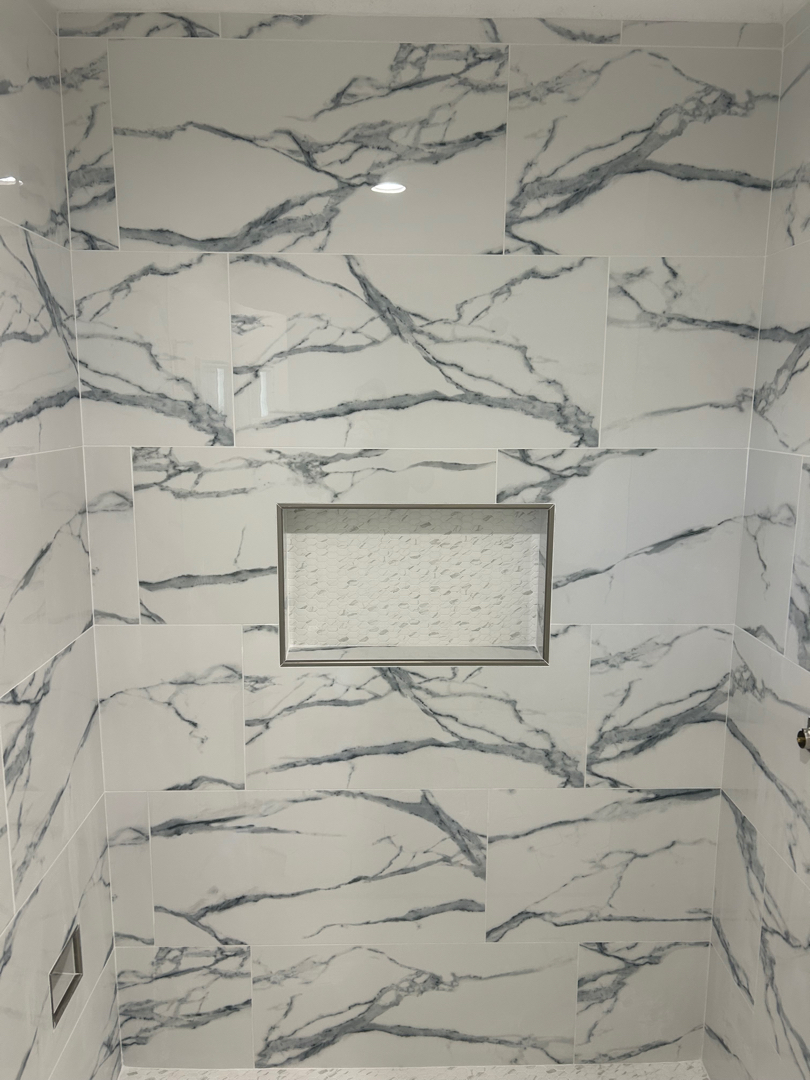
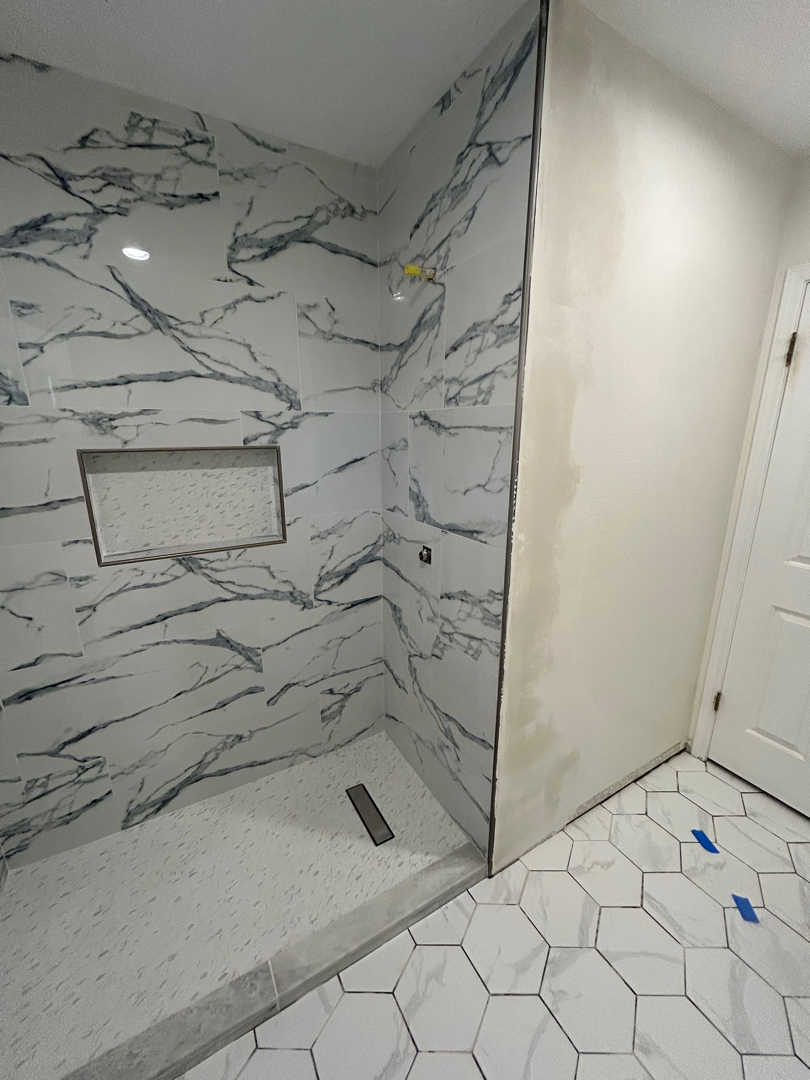
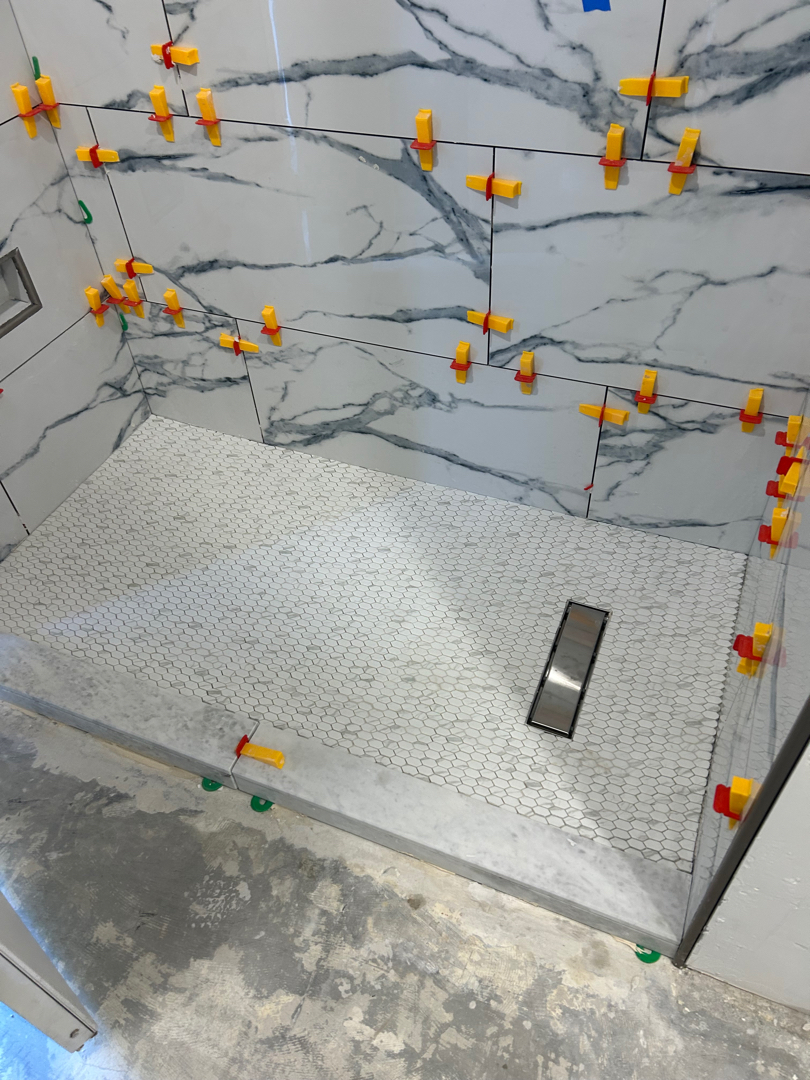
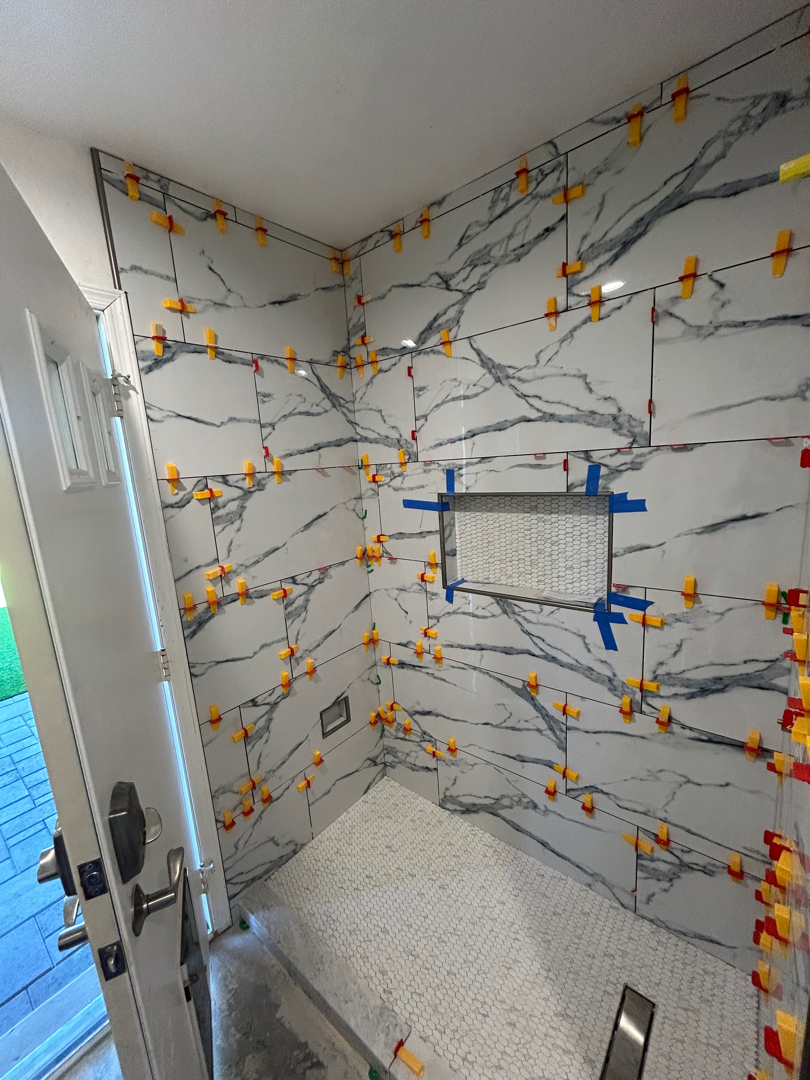
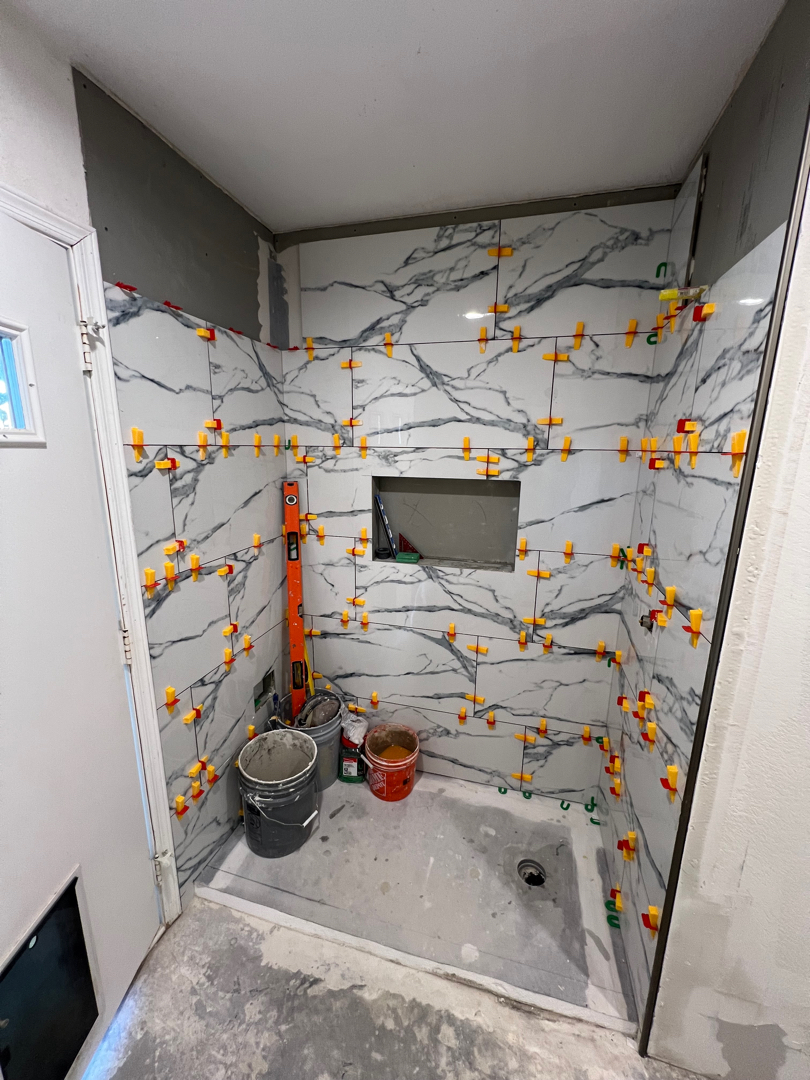
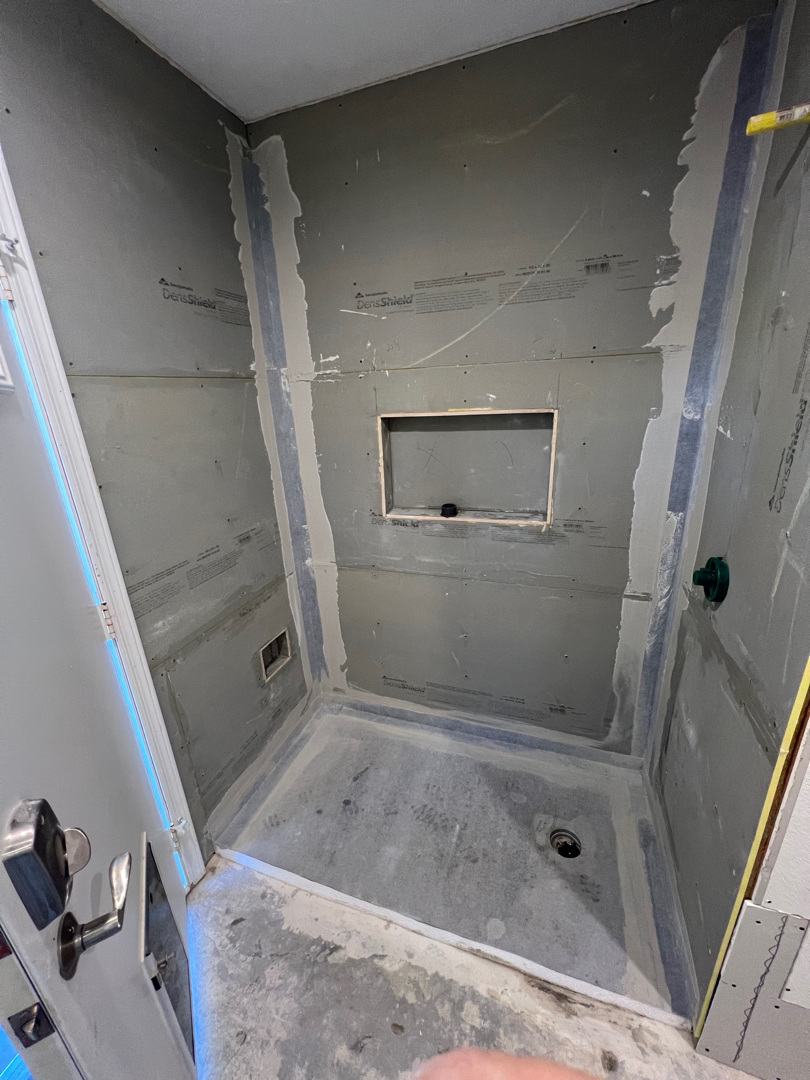
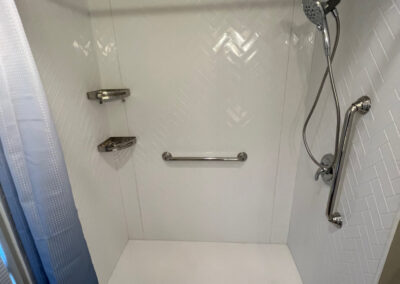
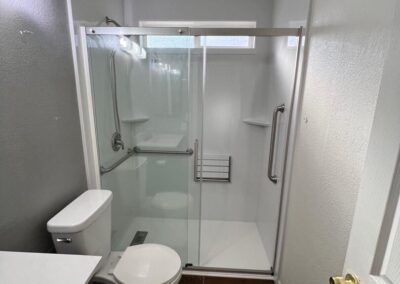
The focal point of this bathroom remodel was the custom tile shower. To begin, we hung water-resistant Denshield and waterproofed all seams to ensure the space would be durable and resistant to moisture. The shower walls were then tiled to the ceiling using beautiful 12×24″ marble-like ceramic tiles. A low-threshold curb was built, and the shower pan was tiled with a mosaic chosen by the customer. The mosaic tiles were carefully selected, with wall tiles and floor tiles included in the design. The tiles were sealed upon completion, ensuring long-lasting protection.
Shampoo and Shaving Niches
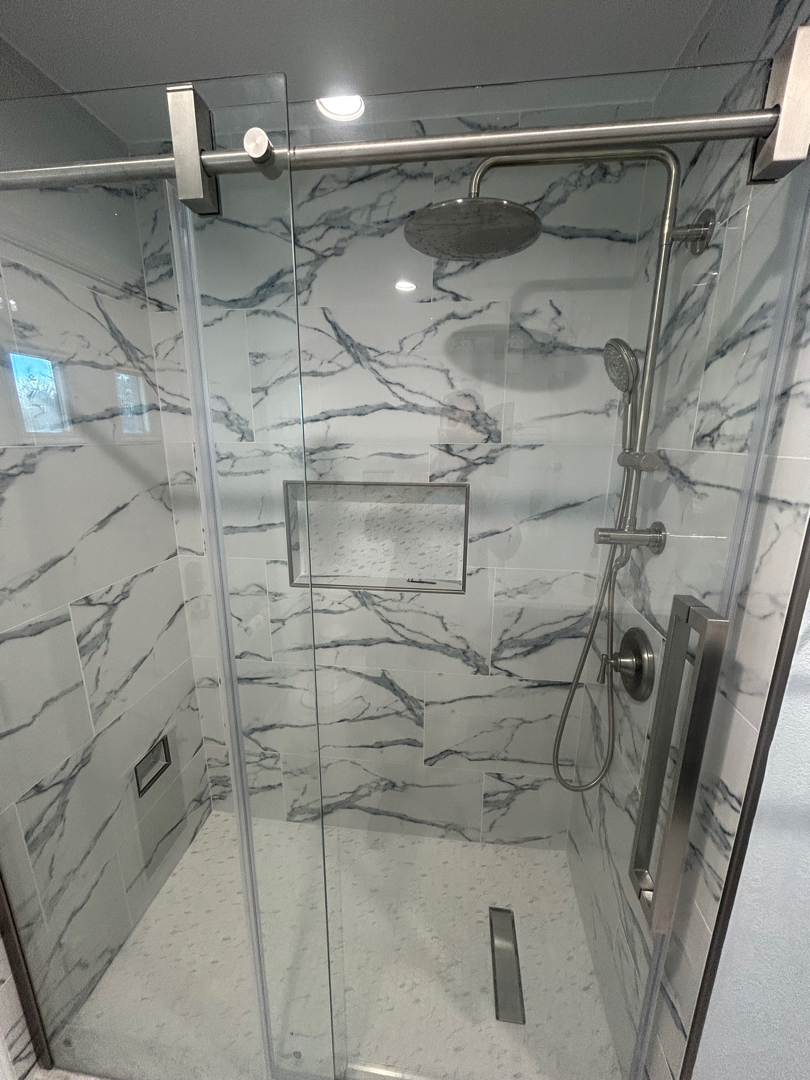
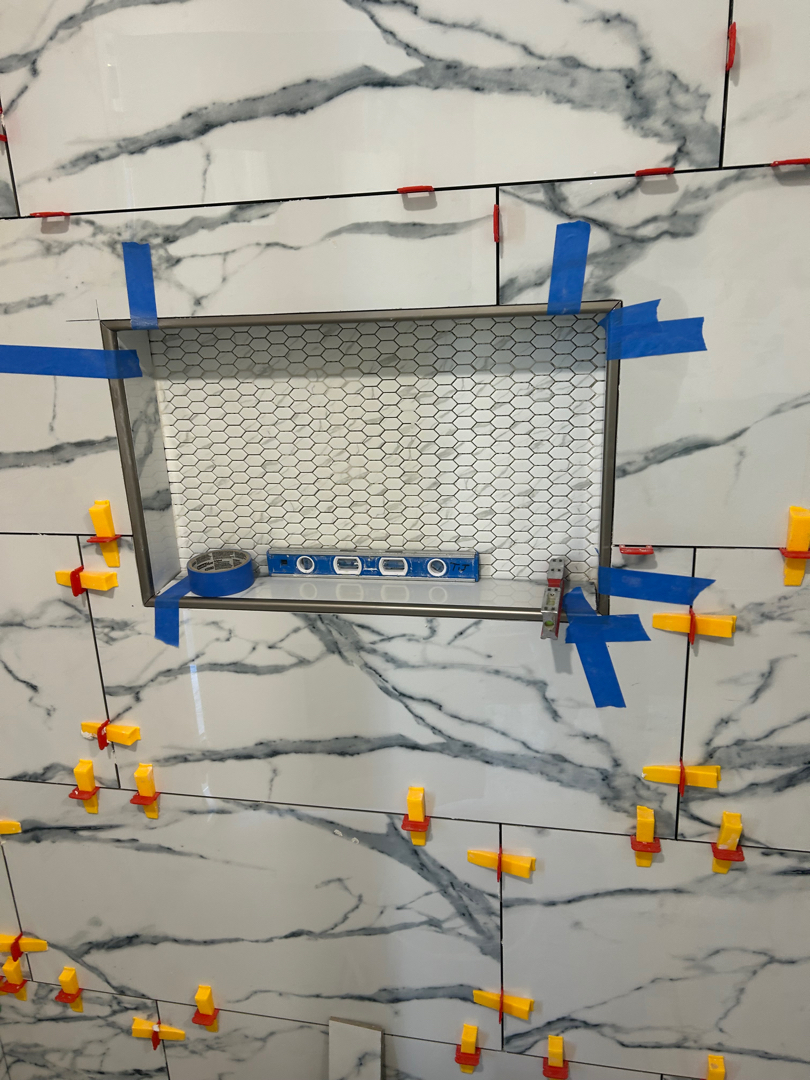
To enhance the functionality of the shower, we built a custom-sized shampoo niche, measuring 12 x 24″, and tiled it with the same mosaic as the floor, tying the design together. Additionally, a small shaving niche was created in a location chosen by the homeowner. These thoughtful additions not only offer practical storage but also contribute to the sleek, custom look of the space.
Shower Valve & Linear Drain
The bathroom’s shower was upgraded with a Moen Adler posi-temp valve, a new rain showerhead, and a handheld wand, all finished in brushed nickel for a modern touch. A 12″ linear drain was installed in the center of the shower floor, ensuring water drainage was efficient while maintaining the sleek aesthetics of the tiled shower pan.
Sliding Glass Shower Door
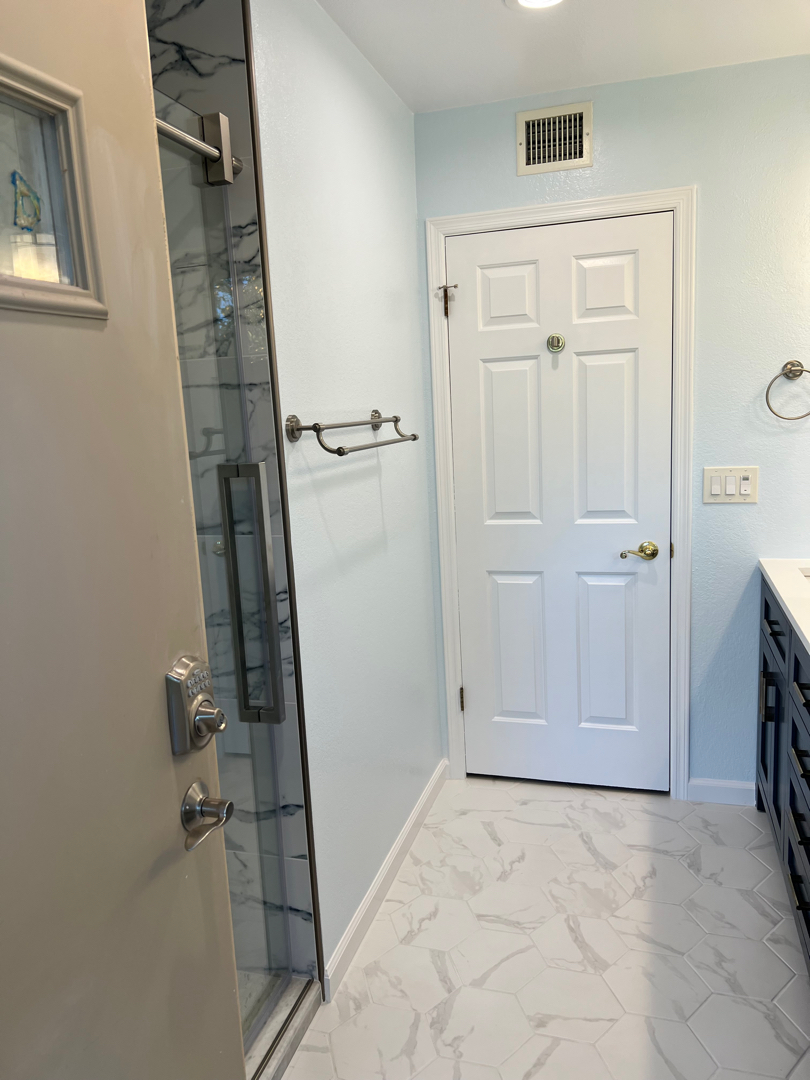
To complete the shower area, we installed a clear glass sliding shower door from Ove, featuring one sliding panel and one fixed panel. The brushed nickel hardware complemented the fixtures in the shower, while a spot-resistant coating on the glass ensures less maintenance. While we recommend using a squeegee for keeping the glass spotless, this feature reduces water spots for a cleaner appearance.
Vanity Installation & Plumbing
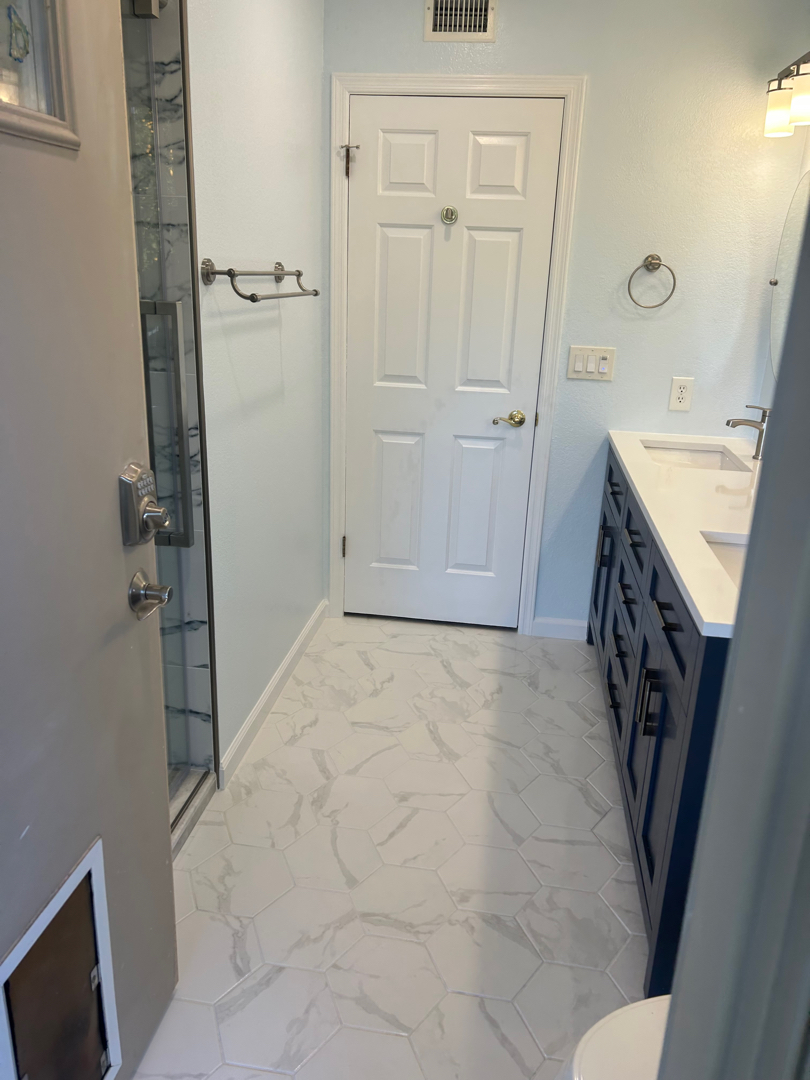
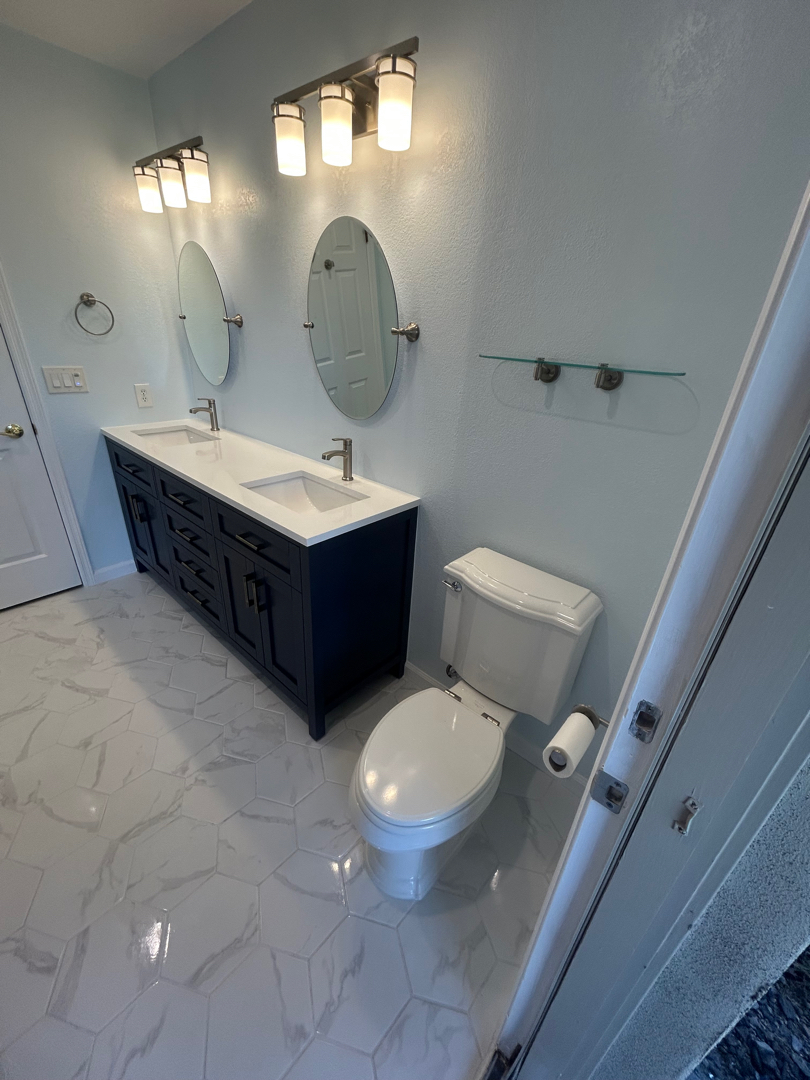
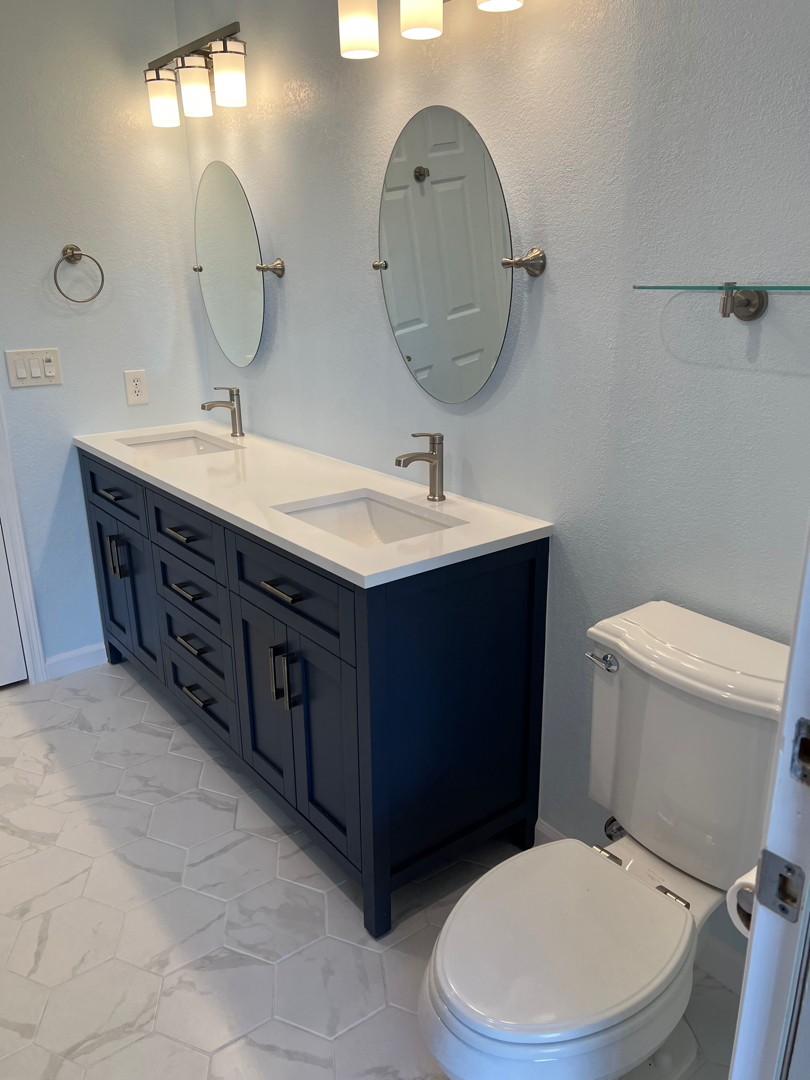
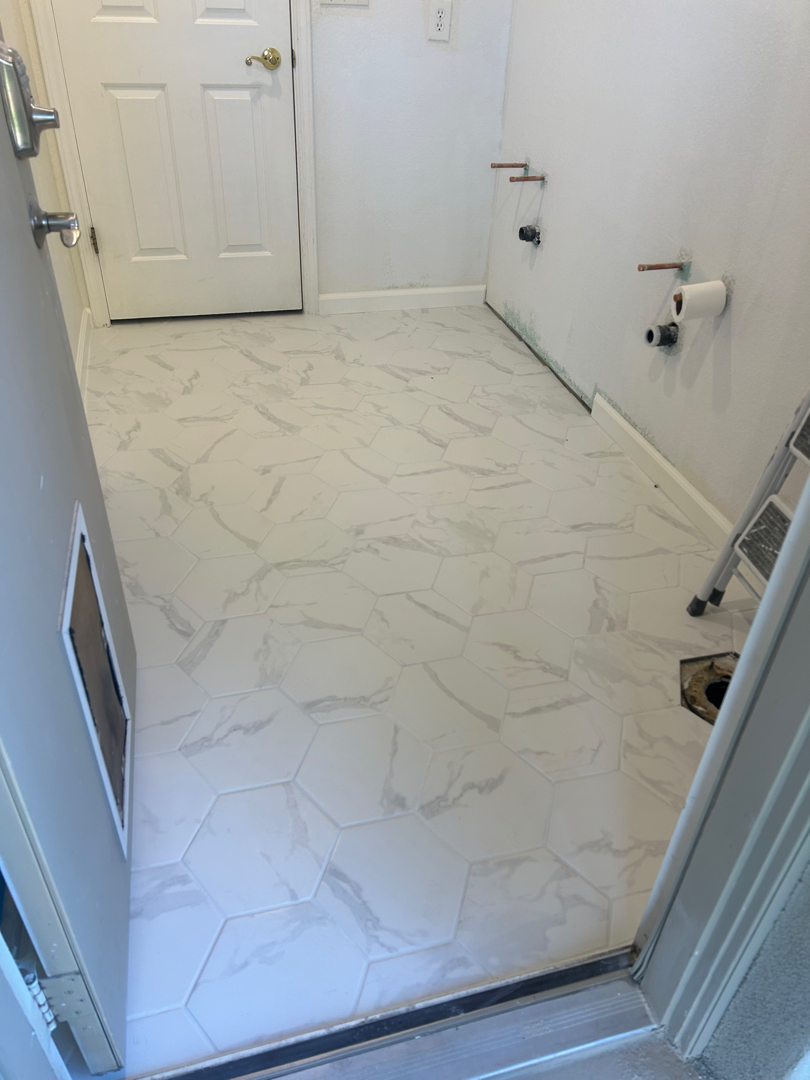
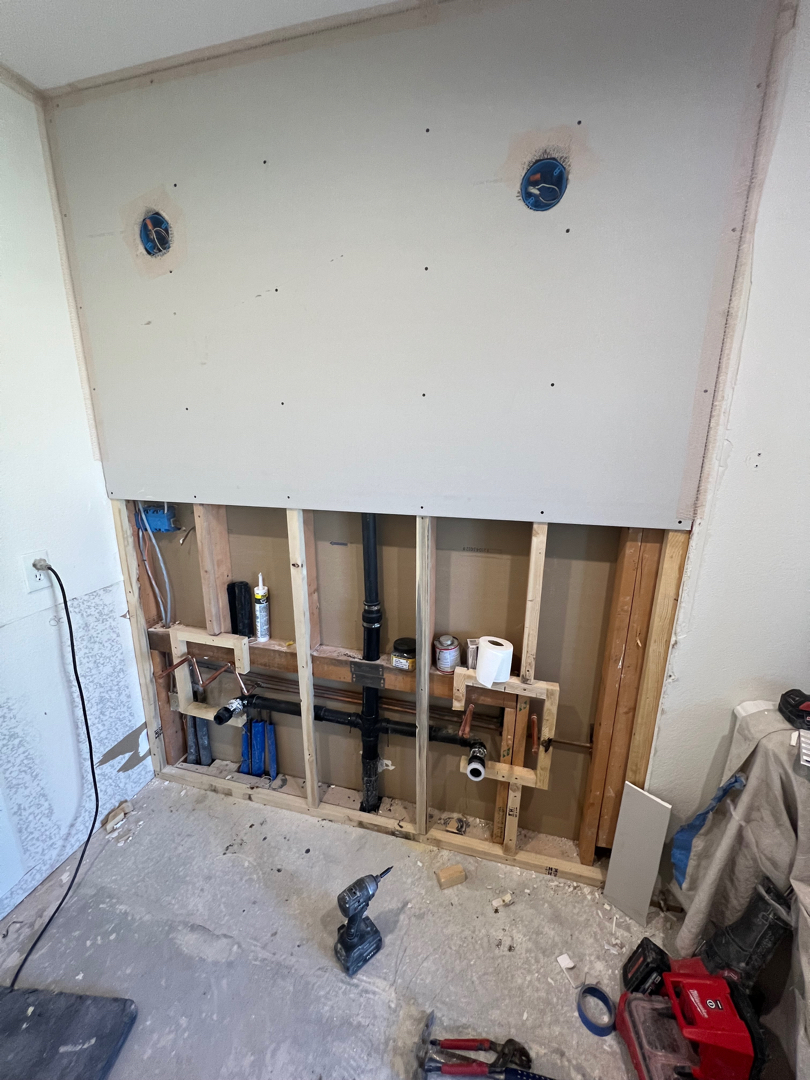
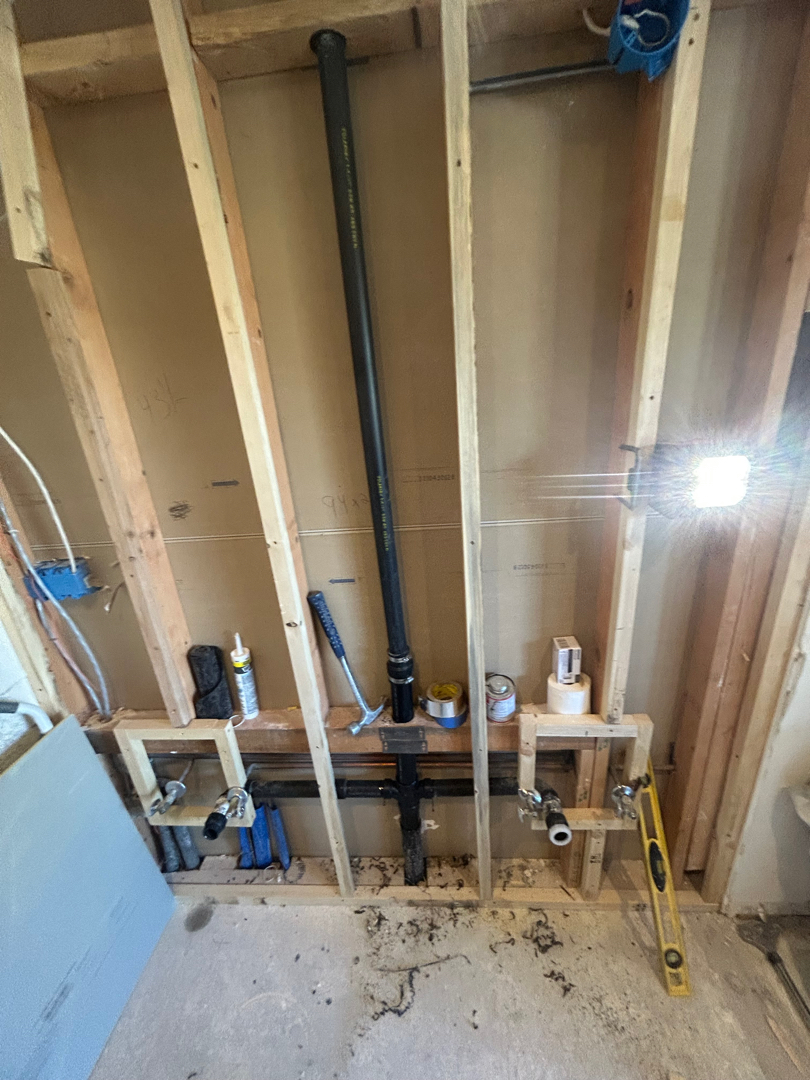
In this remodel, the vanity was supplied by the customer and installed with custom plumbing to fit perfectly in the new design. The plumbing was moved to accommodate the new vanity, and new angle stops and feed lines were installed for the fresh setup. With a focus on both function and style, the vanity brought a modern and clean look to the bathroom.
Floor Tile & Baseboards
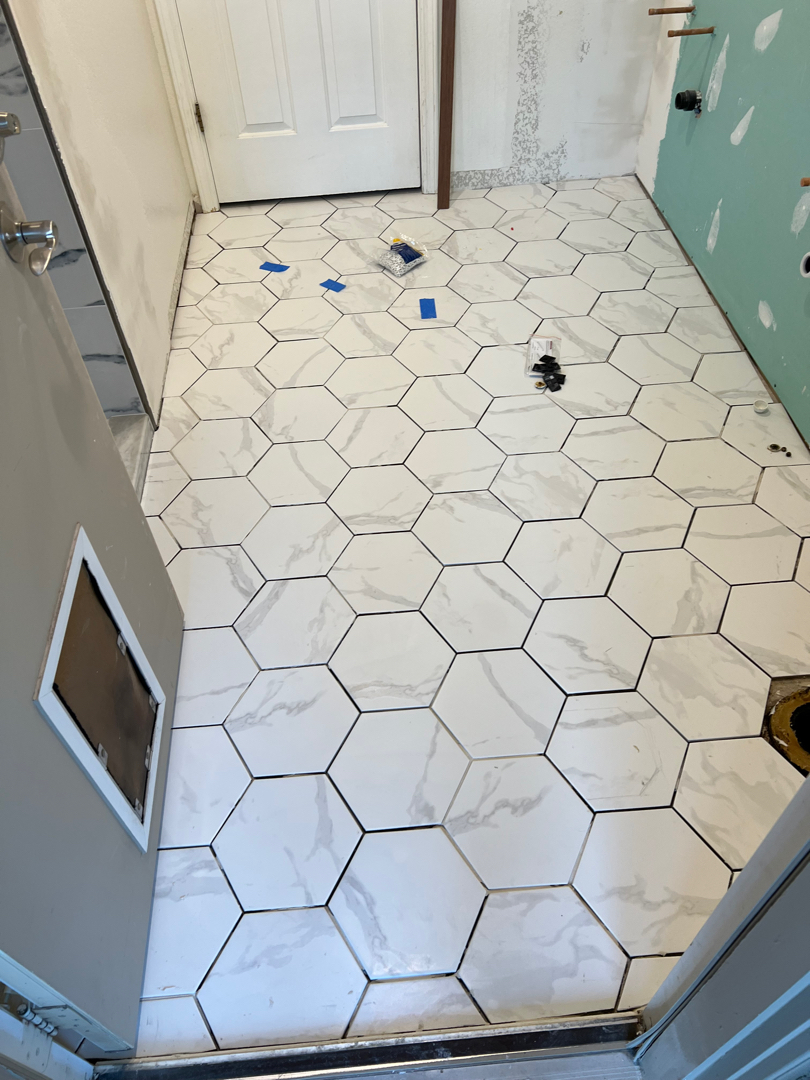
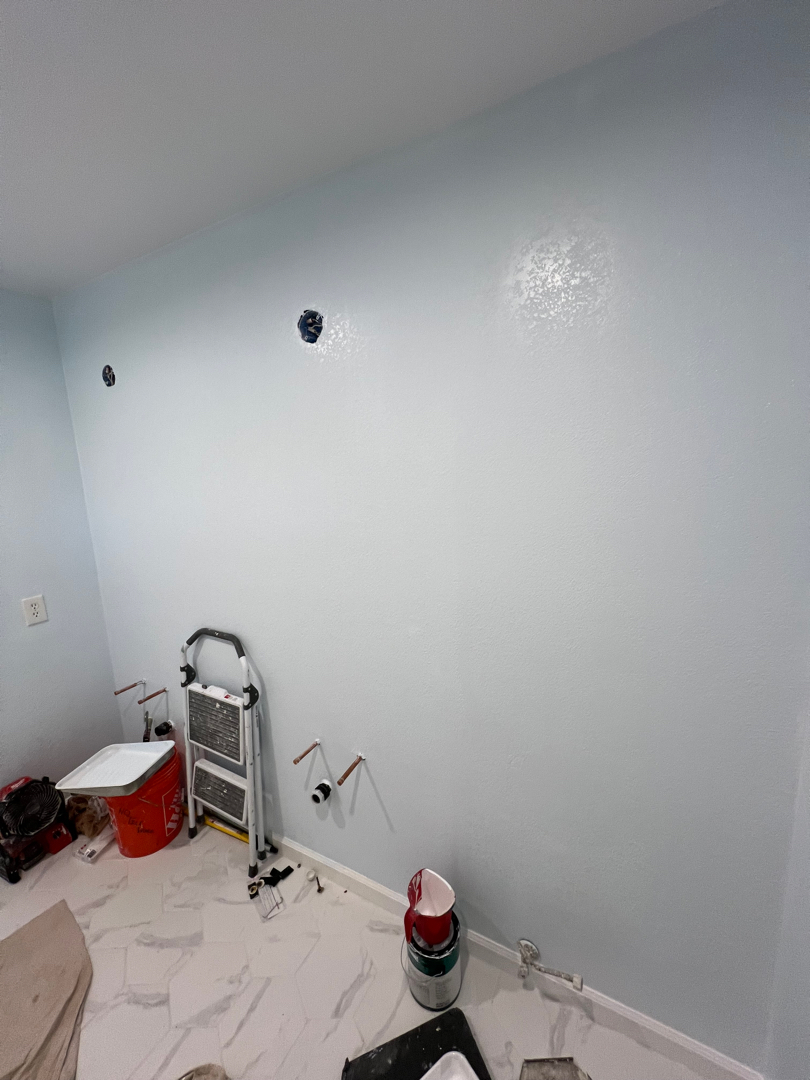
To complement the new shower design, we installed 12×24″ tiles throughout the bathroom floor, ensuring a seamless flow from the shower area to the rest of the space. These tiles were chosen for their durability and beauty. PVC waterproof baseboards were also installed, providing an added layer of protection against moisture in the bathroom.
Fresh Paint & Drywall Updates
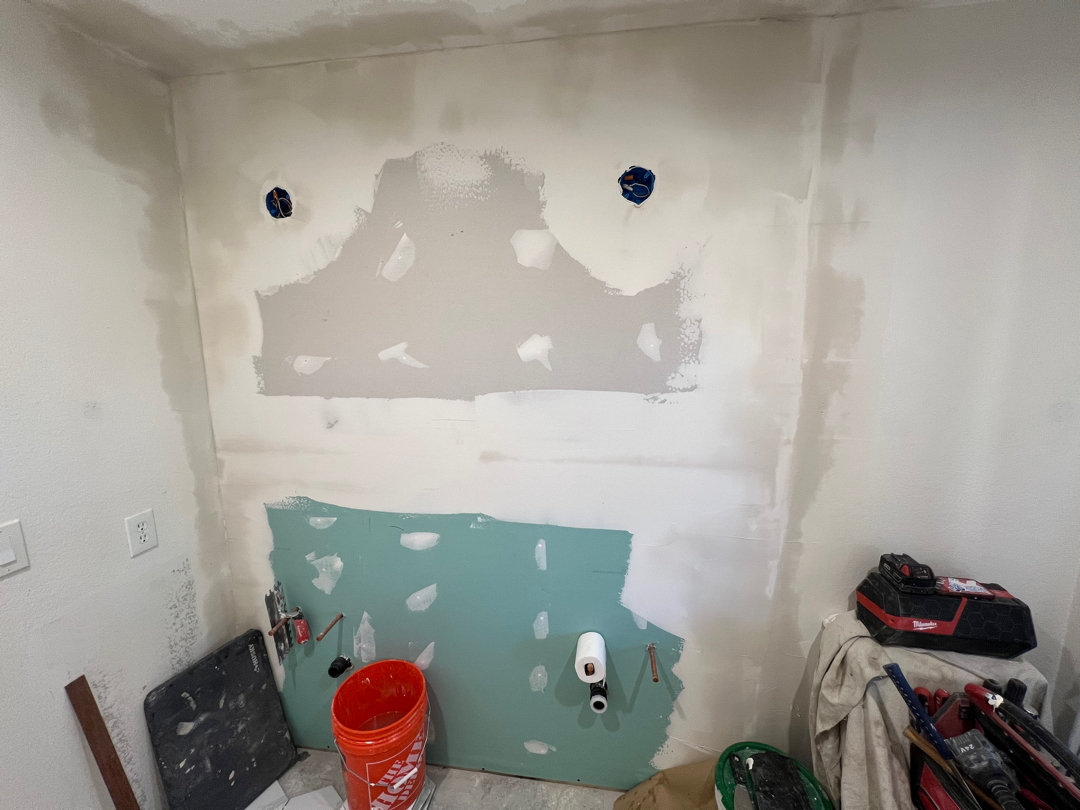
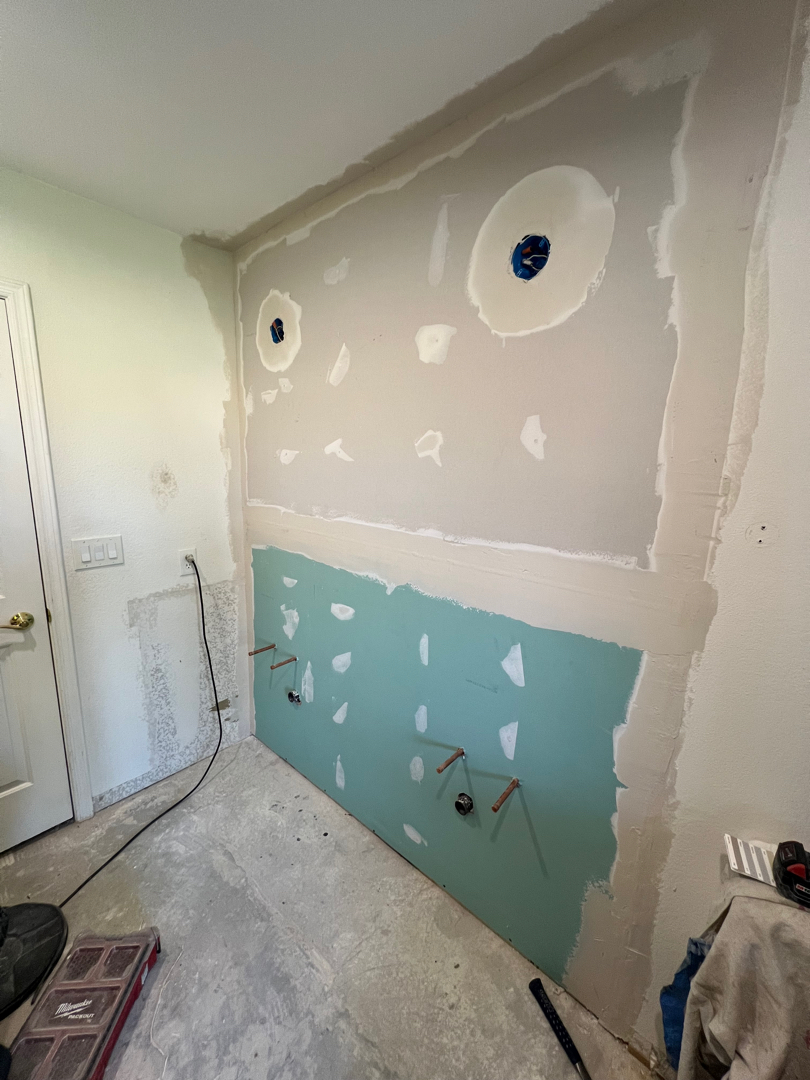
The walls and ceiling were prepped and painted to create a fresh, inviting atmosphere. The drywall was repaired and primed, ensuring a smooth and flawless surface. Premium paint was used for the walls in a color chosen by the customer, while the ceiling was painted white for a clean, bright look.
Lighting Upgrades
The bathroom’s lighting was updated with two LED can lights, one of which features a built-in nightlight. This addition not only enhances the overall brightness but also adds an energy-efficient option to the space. Vanity lights were replaced with modern fixtures, installed in their existing locations, to create a polished look. Finally, new low-Sone exhaust fans with humidity sensors were installed to keep the bathroom well-ventilated.
Toilet Installation
The final touch in the bathroom was the reinstallation of the existing toilet. The toilet was reinstalled with a new feed line, angle stop, and wax ring, ensuring it functions like new.
Plumbing Enhancements
To complete the remodel, we moved the vent pipe into the wall, removing any necessary concrete to ensure the pipe was completely enclosed within the wall. This improvement added to the overall sleek, modern aesthetic of the remodeled bathroom.
From the luxurious custom shower with a linear drain to the carefully chosen tile designs and lighting upgrades, every detail was meticulously planned and executed to create a space that is both stylish and practical. With everything from demolition to final installation completed with precision, this remodeled bathroom is now a serene retreat for the homeowners to enjoy for years to come.

